Last updated November 18, 2026




Free written scope consultation - allowances, timeline, and change-order rules on paper before a single trade is scheduled
Fence Installation Troubleshooting: Common Problems and How to Fix Them
A leaning fence panel almost always gets blamed on the panel. In our experience across Lake Forest, that’s the wrong suspect most of the time. In roughly 80% of the leaning fences we diagnose, the panels are fine. The post footing has cracked, heaved, or rotted at the base, and swapping the panel leaves the real problem exactly where it started, ready to pull the next panel down with it. This guide is about telling those two failures apart before you spend a dollar on materials, and then fixing the actual cause. You’ll learn a simple physical test to run today, how to pull a concrete-footed post without wrecking the good panels beside it, why two-year-old wood cups and warps, and how to read rust stains for structural trouble.
Quick Answer
To fix a leaning or failing fence, first identify whether the post or the panel is at fault: grab the post and push it side to side. If the post moves or the ground around it cracks, the footing has failed and needs to be reset or replaced. If the post is solid and only the panel sags, you have a panel or fastener problem that a repair can solve. Most “panel failures” are actually footing failures, and treating the panel is a temporary fix that fails again within a season or two.
Styles & brands we work with
- Kitchen remodeling
- Bathroom remodeling
- Home additions & ADU
- Roofing
- Windows & doors
- Driveway & pavers
- Fence
Table of Contents
- How do you tell a post failure from a panel failure?
- Why do fence posts fail at the footing in Southern California soil?
- How do you remove a concrete-footed post without wrecking the fence?
- Why do wood panels cup, warp, or split within two years?
- Why won’t the gate latch? Three causes, three fixes.
- What do rust stains on a metal or vinyl fence tell you?
- What does fence installation look like in Lake Forest specifically?
- When is a fence repair enough, and when do you replace it?
How do you tell a post failure from a panel failure?
Run the push test before you buy anything. Stand at the base of the suspect post and push it firmly side to side with both hands, then front to back. A healthy post set in good concrete won’t budge, and the soil around it stays put. A post with a failed footing will move, even a half-inch, and you’ll often see a hairline crack open up in the ground where the concrete meets the soil. Do this on every post along the run, not just the worst one. Leaning fences usually fail in sequence, and the post that looks straight today may be the next to go.
Next, check the panel independently of the post. If the posts are solid but a panel sags, bows, or has pulled loose from the rails, that’s a panel or fastener problem. Look at where the pickets meet the rails: rusted or pulled nails, split rails at the fastener, and pickets hanging from one nail all point to panel-side failure. The difference matters because the fixes are completely different. A panel swap is a few hours of work. A post reset means digging out old concrete and re-setting the post, and you want to know that before you start.
A quick reference for what you’re looking at:
- Post moves at the base, ground cracks around it: footing failure. Panel replacement won’t fix it.
- Post solid, panel sags or bows: panel or rail failure. Fastener or picket repair.
- Post solid, whole run leans one direction: usually a shared footing or soil problem affecting multiple posts.
- Post leans, panel intact and parallel: the post has rotated in a failed footing, and the footing is the culprit.
- Post fine, gate won’t latch: hardware, post lean, or a concrete slab that has heaved. See the gate section below.
In Lake Forest, we see this diagnosis misread constantly on hillside lots in neighborhoods like Portola Hills and Foothill Ranch, where grading and drainage push water toward fence lines. The post that looks like it failed on its own is usually the one sitting where runoff pools. That’s a drainage problem, and resetting the post without addressing where the water goes means it fails again.
Why do fence posts fail at the footing in Southern California soil?
Fence posts fail at the footing for three reasons, and all three are about what’s happening underground rather than what you see above it. The first is soil movement. Lake Forest sits in an area with expansive clay soils that swell when wet and shrink when dry. A post set in a shallow concrete plug gets pushed and pulled by that cycle, and over a few seasons the concrete cracks loose from the post and the post starts to rotate.
The second is drainage. Southern California gets its rain in concentrated bursts, and a fence line that catches runoff from a slope, a downspout, or a neighbor’s grade will saturate the soil around the post base. Wood posts rot at the soil line when they stay wet, and even treated posts will fail at the base if they sit in standing water. The third is depth. A post that isn’t set below the local frost line and into undisturbed soil has nothing to hold it, and it works loose under normal wind load.
What good footing looks like:
- Post set roughly one-third of its above-ground height into the ground, with the hole dug wider than the post to hold a proper concrete collar.
- Concrete that slopes up and away from the post at the top so water runs off instead of pooling at the base.
- Gravel at the bottom of the hole for drainage before the concrete goes in.
- Post base sitting above the soil line where possible, so the wood isn’t in constant contact with wet dirt.
- Posts spaced and set plumb before the concrete cures, checked with a level on two faces.
If you’re planning a new fence rather than fixing an old one, the footing work is where the money belongs. It’s the difference between a fence that stands for fifteen years and one that leans in three. Our Fence Installation in Lake Forest work starts with footing depth and drainage because that’s what determines whether the fence survives its first wet winter.
How do you remove a concrete-footed post without wrecking the fence?
You don’t need a mini excavator, and you don’t need to tear down the whole run. The trick is to work the post out of the concrete rather than the concrete out of the ground. Here’s the method we use:
- Disconnect the panels first. Pull the fasteners holding the adjacent panels to the failed post so the panels aren’t fighting you. Brace them or have a helper hold them so they don’t fall.
- Cut the post off at the concrete. Use a reciprocating saw or a circular saw with a masonry-capable blade to cut the wood post flush with the top of the concrete footing. This frees the above-ground post.
- Drill out the post core. With a long auger bit or a hole saw slightly smaller than the post, bore down through the center of the remaining post stub inside the concrete. This relieves the grip the concrete has on the wood.
- Collapse the stub inward. Use a pry bar or a chisel to break the remaining wood shell away from the concrete walls. Work around the inside of the hole, not the outside.
- Set the new post in the existing hole. If the concrete footing is sound, you can set a new post into the same hole with fresh concrete around it. If the footing is cracked or the concrete is loose, break it out with a sledge or a digging bar and start fresh.
Two tools make the difference. A reciprocating saw with a pruning blade cuts through a post and any embedded fasteners in seconds. A digging bar (the six-foot steel kind, not a shovel) lets you break out old concrete without digging a crater around the fence line. If the footing is deep and solid, a post puller that clamps the post and levers it out can save you from cutting at all, though it only works on posts that aren’t fully locked in.
What you don’t want to do is dig the whole footing out from the side. That undermines the adjacent posts and turns a one-post repair into a full fence rebuild. In Lake Forest, where a lot of fences run along property lines with small setbacks, that kind of excavation also risks disturbing a neighbor’s landscaping. The cut-and-core method keeps the damage contained to the failed post.
Why do wood panels cup, warp, or split within two years?
Wood panels that cup, warp, or split within two years almost always trace back to post spacing at installation, not wood quality. When posts are set too far apart, the rails between them span a longer distance and flex under wind load. The fasteners work loose, the pickets shift, and the panel absorbs movement it was never designed for. A panel that should be rigid becomes a flexing assembly, and wood that flexes cracks. The homeowner blames the lumber. The real culprit is a rail span that was too long from day one.
The second cause is fastener choice. Nails driven at an angle and left proud of the surface give water a place to sit, and they back out under seasonal movement. Ring-shank nails or screws hold far better, and they should be driven flush or slightly recessed. The third is wood that wasn’t allowed to acclimate. Green or wet lumber installed tight will shrink as it dries, opening gaps and pulling fasteners. That’s not a manufacturing defect; it’s an installation timing problem.
What proper spacing and fastening look like:
- Posts spaced no more than 8 feet apart for standard wood panels, closer on exposed or windy runs.
- Rails fastened with ring-shank nails or exterior screws, not smooth nails.
- Pickets attached with two fasteners per rail, not one.
- Wood allowed to dry and acclimate before final fastening, or kiln-dried lumber used from the start.
- A small gap left between pickets for expansion and airflow.
If your panels are already cupping, the fix depends on how far it’s gone. Minor cupping can be corrected by adding a mid-rail or re-fastening with screws. Serious warping and splitting means the panel is past saving and the spacing underneath it needs to be corrected before a new panel goes up, or the replacement will do the same thing. Our technicians have up to 12 years of experience reading this kind of failure, and the first thing we check on a warped panel is the post spacing on the run.
Why won’t the gate latch? Three causes, three fixes.
A gate that won’t latch has one of three causes, and the fix is different for each. The first is hardware: the latch, hinge, or strike plate has worn, loosened, or gone out of alignment. This is the easiest to rule out. Open the gate and check whether the latch mechanism engages smoothly when the gate is held in the closed position by hand. If it does, the hardware is fine and the problem is structural.
The second is post lean. The hinge post has moved, usually because its footing has failed, and the gate now hangs out of square. You’ll see the gap between the gate and the latch post change as you open and close it. If the hinge post is leaning, the latch won’t ever line up reliably, no matter how many times you adjust it. That’s a footing fix, not a hardware fix, and it brings you back to the post diagnosis in the first section.
The third is concrete heave. In Lake Forest, gates on driveways or walkways often sit over or near a concrete slab. When that slab lifts or shifts, the gate’s bottom rail can drag, or the latch post can be pushed out of plumb. Look for a crack in the slab radiating from the gate post, or a gate that drags only in certain seasons. That’s ground movement, and the fix is either re-setting the post or addressing the slab.
Each cause has its own fix:
- Hardware: adjust, repair, or replace the latch and hinges. A sagging gate can often be corrected with a hinge or catch adjustment in under an hour.
- Post lean: reset or replace the hinge post and re-hang the gate. Check the footing depth and drainage while the post is out.
- Concrete heave: address the slab or the post base together. In some cases, a mudjacking or slab lift is the fix; in others, the gate post needs to be reset above the moving slab.
Don’t torque the hinges down or bend the latch to force it shut. That treats the symptom, hides the real problem, and stresses the gate frame until it cracks.
What do rust stains on a metal or vinyl fence tell you?
Rust stains on a metal or vinyl fence tell you where water is getting into the structure, and that’s the clue most homeowners miss. On a vinyl fence, rust coming through generally means the steel reinforcement or the internal fasteners are corroding, which means water has found a path inside the post or rail, usually through a compromised cap or a fastener hole. On a metal fence, rust streaks at the post base or along a rail weld point to standing moisture and early structural corrosion. These aren’t cosmetic problems. They’re a warning that the hidden steel is weakening.
Read the pattern before you clean anything:
- Rust at the post base only: water pooling at the footing. Address drainage and check the post for internal thinning.
- Rust streaks running down from a fastener or cap: water intrusion at that point. Reseal or replace the component before the corrosion spreads.
- Rust along a weld or rail joint: a fabrication or coating failure. That joint is the weak point and may need reinforcement or replacement.
- Rust on an otherwise sound-looking vinyl fence: usually a hidden reinforcement bar. Probe carefully and call a professional before it fails under load.
Surface rust can be cleaned and treated with a rust converter and a fresh coating, and that buys time. But rust that comes back after treatment, or rust that’s visible at a structural connection, means the metal has lost section thickness and the component is compromised. A fence post that fails under load near a property line or a pool can be a real safety issue, so treat structural rust as a repair priority, not a cosmetic one.
Vinyl fences are common in newer Lake Forest communities because they handle the dry climate well, but they still have steel where the panels meet the posts, and that steel is where the corrosion starts. When we assess a vinyl fence in Lake Forest, the rust check is part of the inspection, because a fence that looks clean on the outside can have a compromised reinforcement inside the post.
What does fence installation look like in Lake Forest specifically?
Fence work in Lake Forest differs from a lot of Southern California because of the mix of hillside lots, HOA oversight, and the soil movement we covered earlier. Homes in neighborhoods like Portola Hills, Foothill Ranch, and the older tracts near El Toro Road sit on graded slopes where runoff concentrates along property lines. That means fence posts on the downhill side of a lot take on water they weren’t designed to handle, and a footing that would last decades on flat ground can fail in a few years on a slope. If you’re repairing or replacing a fence on a slope, the drainage plan matters as much as the post depth.
HOA and city requirements also shape what a fence can look like. Many Lake Forest communities have design guidelines on fence height, material, and style, and a fence that doesn’t match can trigger a compliance letter. Before you install or replace, confirm the requirements for your community and pull any permit the city requires. We handle the permit side on every project we build, because a fence that fails inspection or violates an HOA rule costs far more to fix than to get right the first time.
Material choice matters here too. Wood fences are the most common and the most vulnerable to our soil and sun cycles. Vinyl handles the climate well but still has steel inside. Both need proper footings. The good news is that a fence built with correct post depth, drainage, and spacing will outlast a cheaper installation by a wide margin, and the difference in cost up front is small compared to the cost of resetting posts every few years.
If the fence work is part of a larger project, like a backyard remodel or a new addition, it’s worth planning the fence alongside the rest of the work. Our Groundwork Construction Co. of Lake Forest home page lays out how a fence ties into a broader property improvement, and our Driveway & Pavers in Lake Forest work often runs alongside fence and gate installation so the driveway, gate, and fence line up properly.
When is a fence repair enough, and when do you replace it?
A fence repair is enough when the posts are solid and the damage is isolated to one or two panels, or to hardware. A single gate won’t latch, one panel has warped, a few pickets are split: those are repairs, and they’re worth doing. A panel swap or a gate re-hang is a fast, contained job, and it makes sense to repair while the structure underneath is sound.
Replacement is the better call when the posts are failing in multiple places, when the same post has been reset more than once, or when the wood has rot at the soil line across the run. If you’re resetting two or three posts in a run of ten, you’re already paying for most of a new fence, and the remaining posts are likely next. Rusted structural steel on a vinyl or metal fence is the same story: once the reinforcement is compromised in a few posts, patching the visible rust doesn’t restore the strength.
A simple way to decide:
- Count the failed posts. More than a quarter of the run means the footing system has failed and replacement is usually the honest answer.
- Check for repeat failures. A post that has been reset and leaned again means the underlying soil or drainage problem was never solved.
- Look at the wood at the soil line. Rot that’s soft to a screwdriver across multiple posts means the fence is past repair.
- Weigh repair cost against replacement. If the repair is a third or more of the replacement cost and the fence is already ten-plus years old, replacement wins.
In Lake Forest, a fence that’s failing across multiple posts usually has a drainage or soil problem underneath it, and a replacement that doesn’t correct the footings will fail the same way. That’s why our Home Additions & ADU in Lake Forest work includes site drainage review when a fence line runs alongside new construction, so the fence and the building aren’t fighting the same runoff.
Common Mistakes to Avoid
- Replacing the panel before testing the post. A leaning fence with a sound-looking panel still has a footing problem in most cases. Test the post first or you’ll pay twice.
- Setting posts in a shallow concrete plug. A footing that’s too shallow for the soil and the wind load is the single most common cause of a leaning fence in Lake Forest, and it fails within a few seasons.
- Skipping the HOA and permit check. Lake Forest communities have design guidelines on fence height and material, and a fence that doesn’t match can trigger a compliance letter and a rebuild.
- Using smooth nails on wood panels. They back out under seasonal movement. Ring-shank nails or exterior screws hold, and they’re the difference between a panel that lasts and one that racks loose.
- Torquing a gate latch to force it shut. That hides a post lean or a slab heave and cracks the gate frame. Find the cause first.
- Ignoring rust on a vinyl or metal fence. Visible rust on the outside usually means the hidden reinforcement is corroding. Treat it as a structural warning, not a stain.
- Installing on a slope without a drainage plan. On Portola Hills and Foothill Ranch lots, water concentrates along fence lines. A fence that doesn’t account for runoff will fail at the base.
See the difference
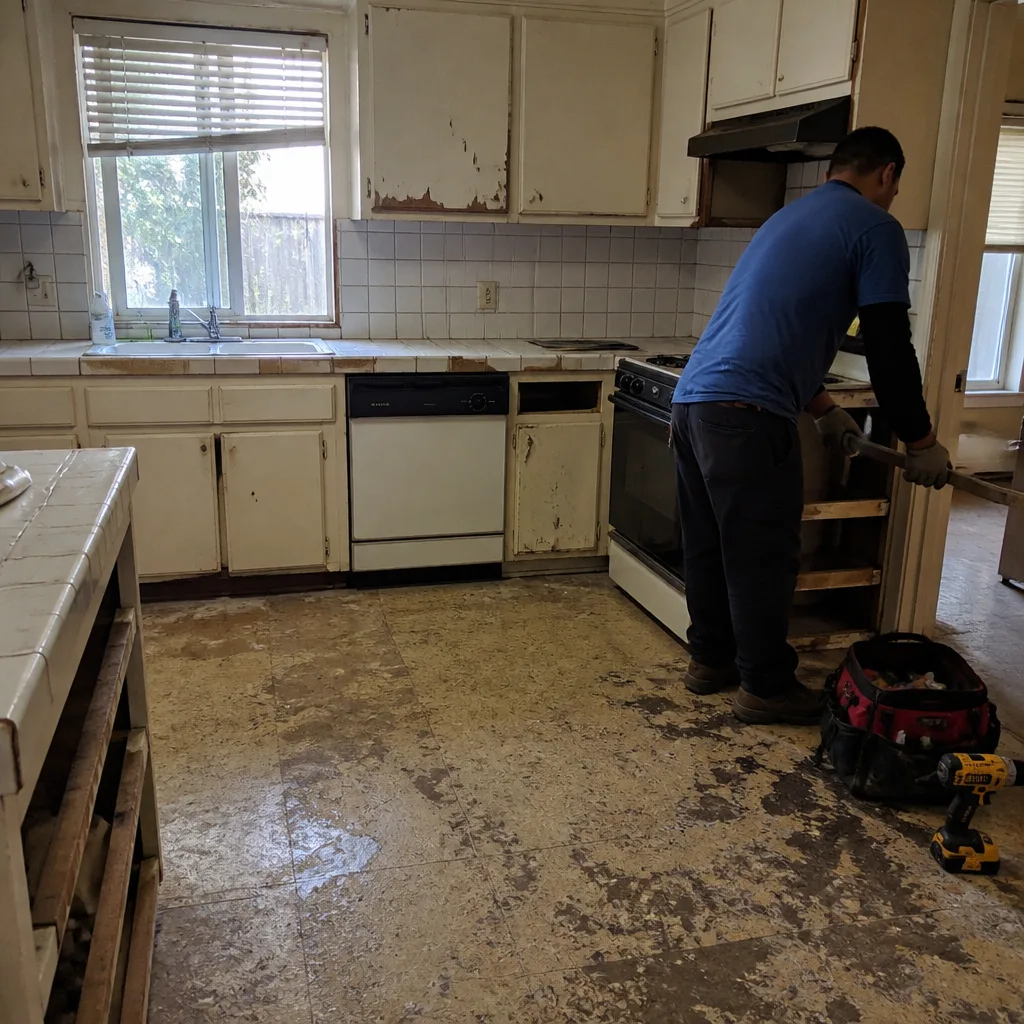 Before
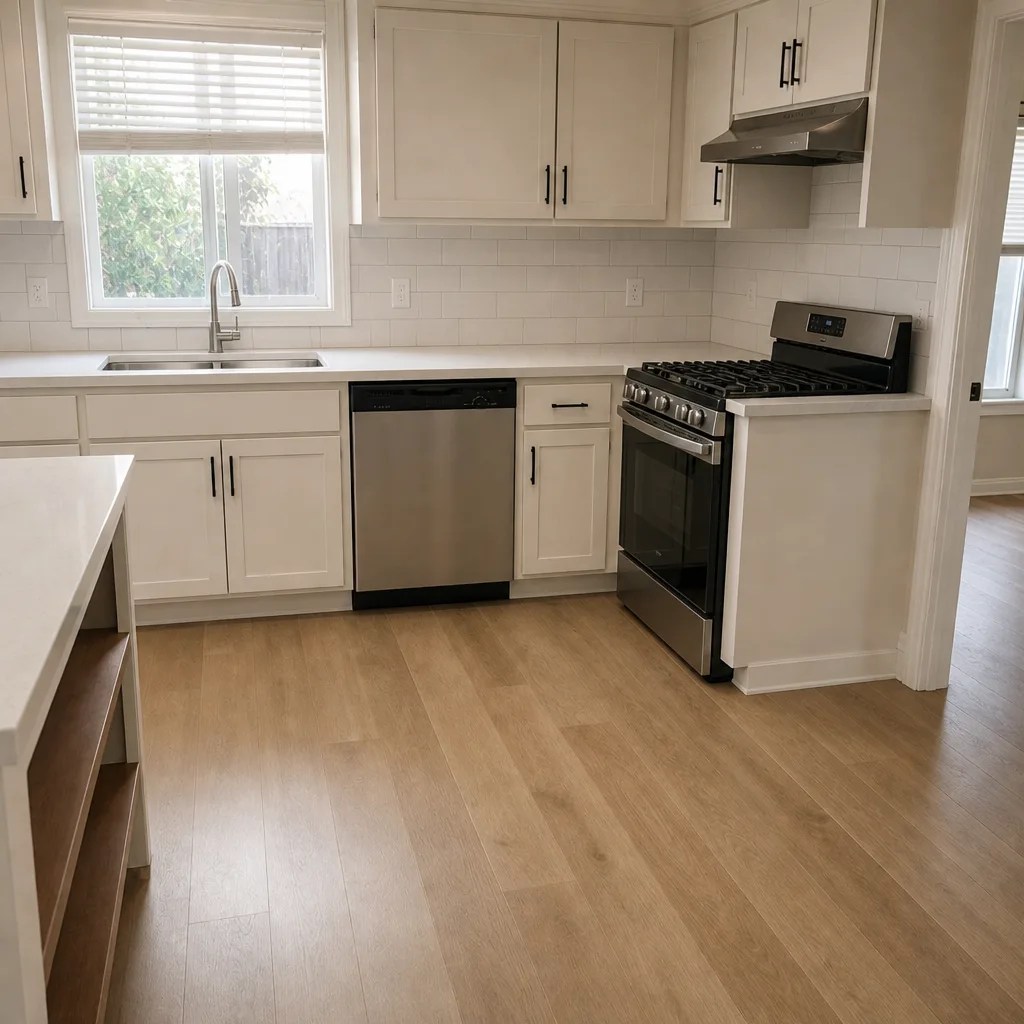 After
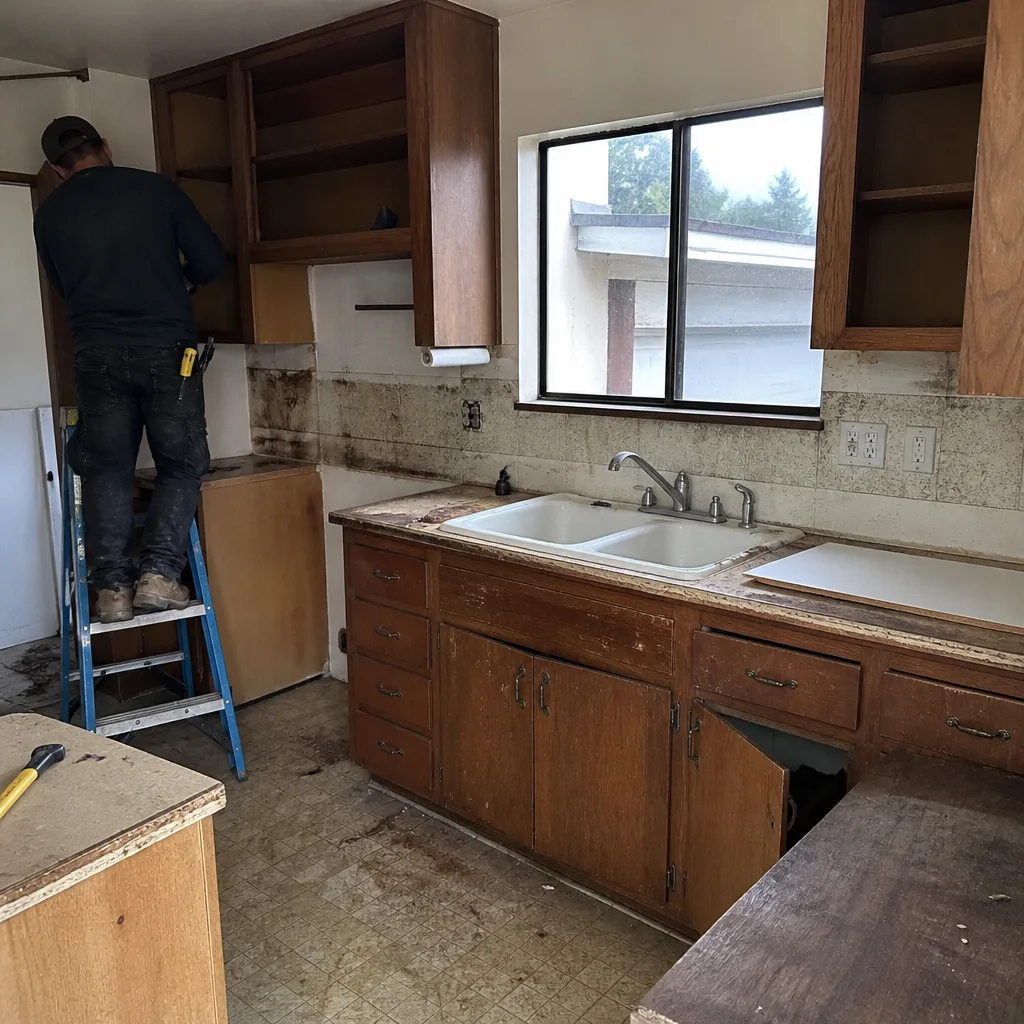 Before
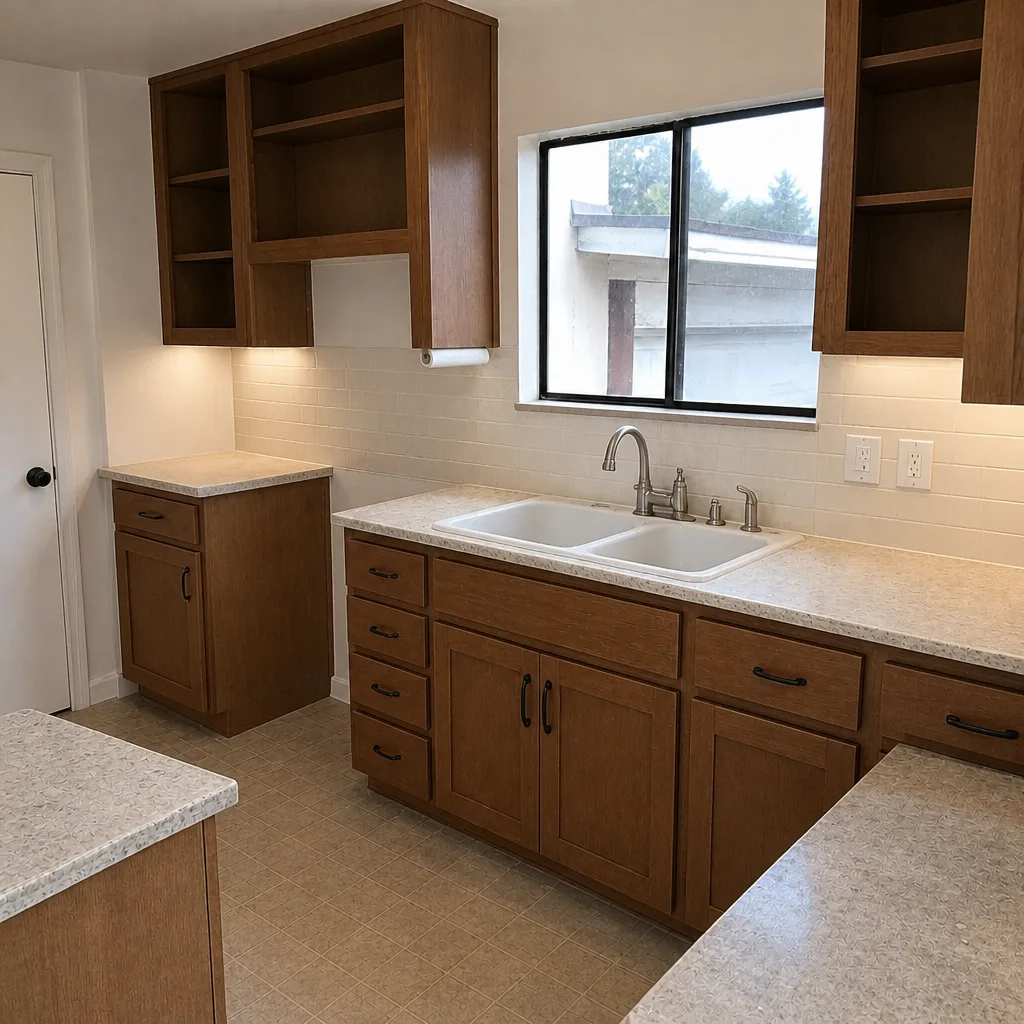 After
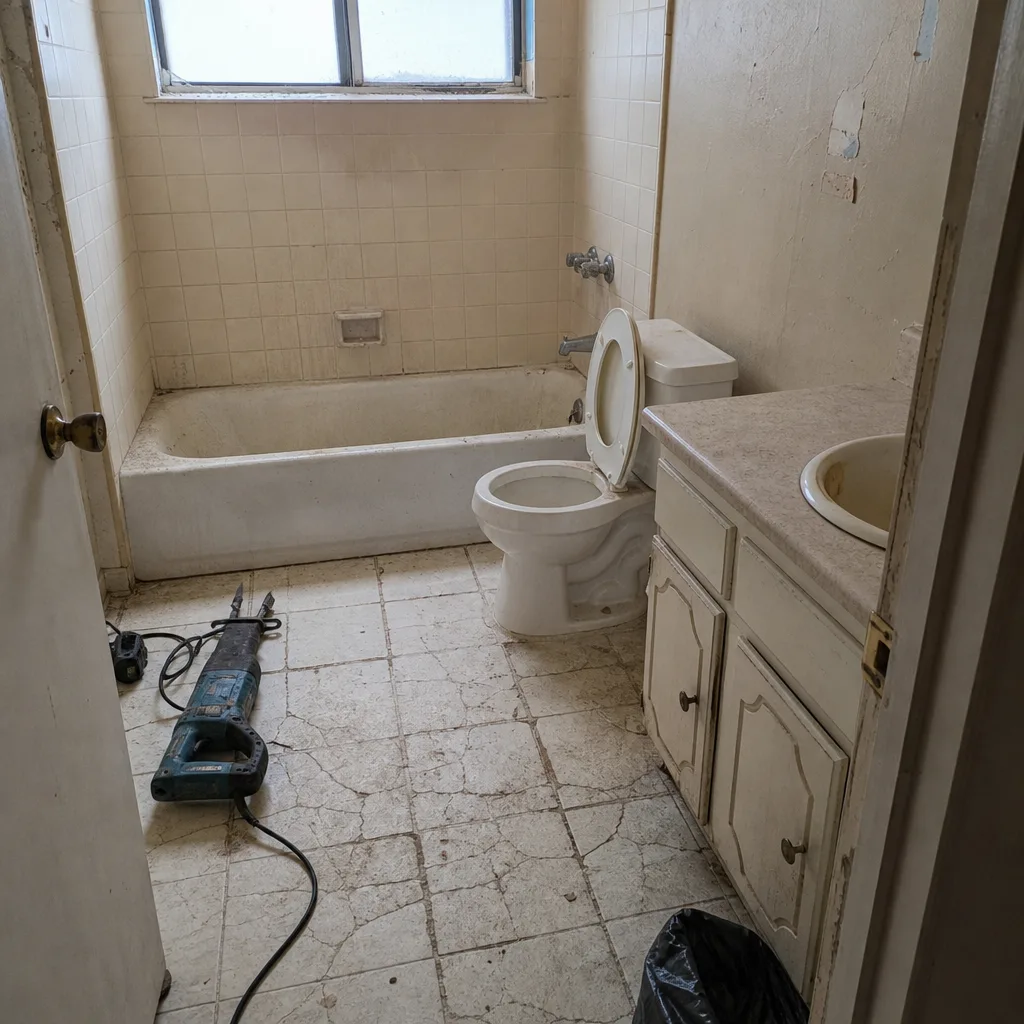 Before
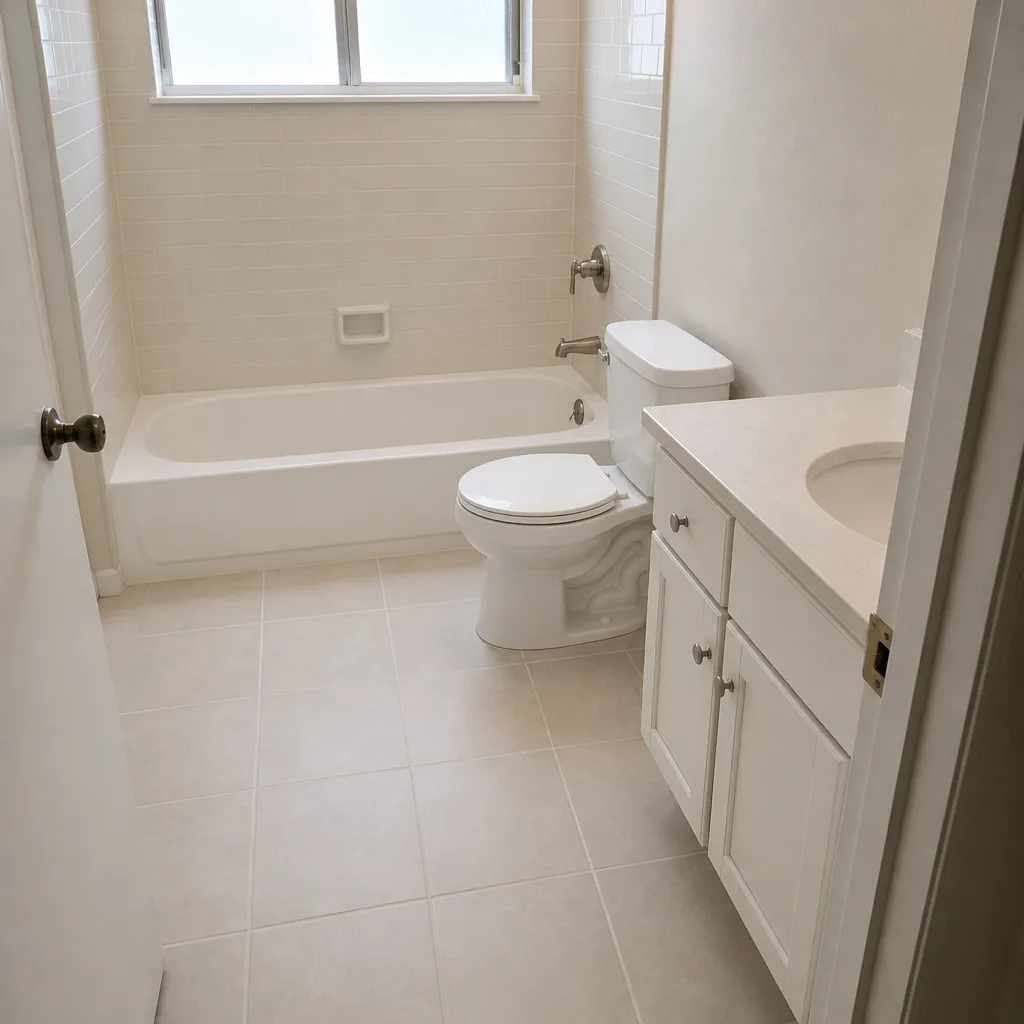 After
When to Call a Professional
Some fence problems are safe to handle yourself: a gate latch adjustment, a single split picket, a loose fastener. But call a professional when a post moves in the ground, when a post needs to be extracted from concrete, when rust is visible at a structural connection, or when a gate failure traces back to post lean or slab heave. Those jobs involve digging out footings, setting posts plumb in concrete, and reading the drainage and soil conditions underneath the fence, and getting them wrong means doing the work twice. Fence work near a property line, a pool, or a slope also has permit and safety considerations that are worth getting right.
Groundwork Construction Co. of Lake Forest offers free estimates in Lake Forest. Our technicians are background-checked and arrive in uniform, our pricing is upfront with no surprise change orders, and every project is backed by our 730-Day Done Right Promise. Call (855) 532-8973 to schedule your free estimate, and a live person will answer, any time, any day.
Frequently Asked Questions
Fence repair in Lake Forest typically runs from a few hundred dollars for a single panel or gate adjustment up to well over a thousand dollars when a post has to be extracted from concrete and reset. The variable that moves the price most is whether the footing has failed, because post extraction and reset is the labor-intensive part. Call (855) 532-8973 for an exact quote; estimates are free and we’ll tell you whether a repair or a replacement is the honest answer for your fence.
You can replace just one panel when the posts on either side are solid and plumb. If either post moves when you push it, the panel replacement is a temporary fix and the post needs attention first. Test both posts with the push test before you buy the panel, because a new panel on a failed post will lean before the season is out.
A fence leans after a wet winter because water has saturated the soil around the footing, and the post has rotated or the concrete collar has cracked loose. Lake Forest’s expansive clay soil swells when wet, and that movement pushes posts out of plumb. The fix is to reset the post with proper drainage, and to correct whatever is sending runoff toward that fence line so it doesn’t happen again next winter.
No. We provide upfront pricing, and the number you see is the number you pay. If we open up a footing and find something unexpected, we’ll show you what we found and agree on the scope before any extra work happens. There are no surprise change orders on our projects, and every job is covered by our 730-Day Done Right Promise.
Yes, we handle permits where the city requires them, and we check the HOA requirements for your Lake Forest community before we build. Fence height, material, and placement rules vary by neighborhood, and confirming them up front prevents a compliance letter or a failed inspection later. We build to the requirements, not around them.
A single-post reset or panel repair is usually a same-day job. A full fence replacement depends on the length of the run and the footing work, and we’ll give you a realistic timeline in your free estimate rather than a number we can’t stand behind. Call (855) 532-8973 and we’ll walk you through what your specific fence needs.
The Bottom Line
Most leaning fences are footing failures, not panel failures, and the push test tells you which one you’re dealing with before you spend money. Posts that move in the ground need to be extracted and reset; panels and hardware on solid posts can be repaired. Warped wood traces back to post spacing and fasteners, gates fail for three distinct reasons, and rust on metal or vinyl points to hidden corrosion that’s worth taking seriously. In Lake Forest, soil movement, slope runoff, and HOA rules shape every fence decision. Get the diagnosis right, and the fix holds.
If you’d rather hand the diagnosis to someone who does this every day, call Groundwork Construction Co. of Lake Forest at (855) 532-8973 for a free estimate. A live person answers around the clock, we show up in uniform, we back the work with our 730-Day Done Right Promise, and the price we quote is the price you pay.
Written by the team at Groundwork Construction Co. of Lake Forest.