Last updated November 18, 2026





Free written scope consultation - allowances, timeline, and change-order rules on paper before a single trade is scheduled
Home Additions & ADU Maintenance Schedule: What to Do and When
The first 18 months after an addition or ADU is finished are the most important maintenance window the structure will ever have, and most homeowners spend them doing nothing. That’s not a knock on anyone. Once the dust settles and the final walkthrough is done, the natural instinct is to treat a new building as finished, settled, a done deal. It isn’t. New construction moves, dries, shrinks, and settles through its first full cycle of seasons, and the small interventions you make in that window decide whether you’re dealing with a $200 caulk job later or a $9,000 water intrusion repair. This guide lays out exactly what to check, when to check it, and how to document it, written for the specific climate and conditions we build in around Lake Forest.
Quick Answer
Inspect a new addition or ADU at 30 days, 90 days, 180 days, and then twice a year, focusing hardest on the weather seal where the new structure meets the original house, the roof flashing, and the exterior caulk lines. Address any movement-related cracks, gaps, or sealant failures inside the first 12 to 18 months while contractor warranties are still active, then move to a seasonal routine centered on mini-split filter cleaning, tankless water heater descaling, and annual electrical panel checks. Document everything with dated photos so warranty claims and future resale are protected.
Styles & brands we work with
- Kitchen remodeling
- Bathroom remodeling
- Home additions & ADU
- Roofing
- Windows & doors
- Driveway & pavers
- Fence
Table of Contents
- Why a New Addition Needs More Maintenance Than an Old House
- The 30/90/180-Day Post-Construction Inspection Sequence
- Caulk, Flashing, and the Seam Between New and Old
- ADU System Maintenance: Mini-Splits, Tankless Water Heaters, and Electrical
- How Lake Forest Climate Accelerates Wear on Exterior Finishes
- The Seasonal Maintenance Calendar
- What to Document, Photograph, and File Each Year
- Common Mistakes to Avoid
Why a New Addition Needs More Maintenance Than an Old House
Here’s the counterintuitive part: a brand new addition often needs more attention in its first two years than a 30-year-old house needs in the same stretch. Older structures have already finished moving. The framing has shrunk as far as it’s going to. The soil under the foundation has settled. The caulk has been redone three times and everyone knows where the trouble spots are.
A new build starts that clock over. Fresh lumber dries and shrinks as it acclimates, which can open hairline gaps at trim joints and drywall seams. New stucco and paint cure over weeks and months, not days. The foundation goes through its first wet-and-dry cycle. All of that movement is normal, and none of it means the builder did something wrong. What matters is catching the small gaps before water finds them.
Additions and ADUs make this more complex because they tie two buildings together. An attached addition isn’t a freestanding structure. It shares a wall, a roofline, or both with the original house, and that shared junction is where the two buildings move at different rates. We’ve watched this play out on additions throughout Lake Forest, where the temperature swing from a 45-degree winter morning to a 95-degree August afternoon is wide enough to work on joints for months.
Detached ADUs have a different but related problem. They’re often smaller buildings with proportionally more exterior surface per square foot, which means weather has more opportunity to find a weak point. Backyard ADUs tucked against a fence line in communities like Foothill Ranch also get less airflow, which traps moisture against the wall on the shaded side.
None of this is a reason to worry. It’s a reason to check. The whole game in the first 18 months is catching movement before it becomes penetration.
The 30/90/180-Day Post-Construction Inspection Sequence
This is the core of the schedule, and it’s also the part most people skip. Every new addition and ADU should be inspected at three specific intervals while the contractor’s workmanship warranty is still open. If you’re building with us, the 730-Day Done Right Promise gives you a two-year window to flag anything that’s our responsibility. Use it.
Day 30: The Movement Check
One month after completion, the structure has begun its first round of settling but hasn’t finished. This inspection is about spotting early movement.
- Walk the perimeter and look for new cracks in stucco, paint, or drywall at the corners of windows and doors. Hairline cracks are expected; cracks wider than a credit card edge are worth a call.
- Open and close every window and exterior door. They should still operate smoothly. Sticking means the frame has shifted.
- Check the caulk lines inside the addition at the ceiling and floor joints. Look for any separation.
- Inspect the junction where the new structure meets the original house, both inside and outside.
- Look under sinks and around the water heater for any moisture.
Day 90: The Weather Seal Check
By 90 days, the exterior has been through enough sun and temperature cycling to show where the sealant is holding and where it isn’t. This is the inspection that prevents most long-term leaks.
- Inspect every exterior caulk joint, especially around windows, doors, and where the new roofline meets the old one. Look for cracking, pulling away, or gaps.
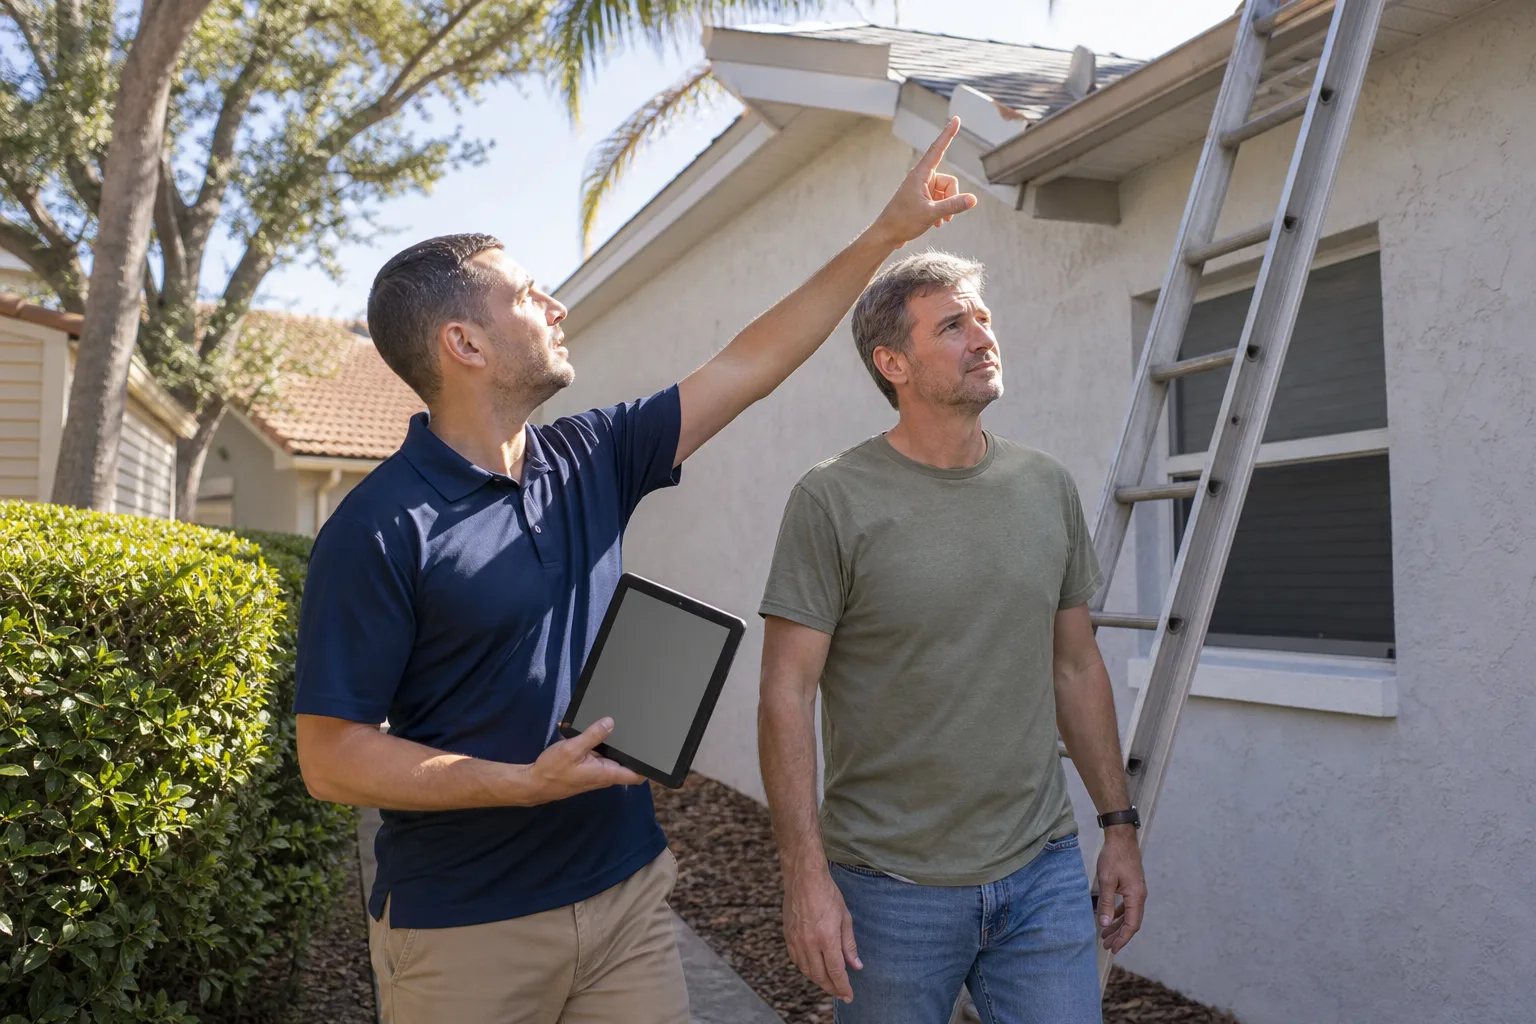
- Get on a ladder (or have someone do it safely) and look at the roof flashing at the junction. This is the single most likely leak point in an attached addition.
- Check that gutters and downspouts on the addition drain water away from the structure, not toward the original foundation.
- Look at the base of exterior walls for any sign of water staining or soil pulling away.
- Re-check all interior seams and joints for continued movement.
Day 180: The Full System Check
Six months in, everything should be close to settled. This is the inspection that catches anything that’s going to be a real problem while warranty coverage makes it free to fix.
- Do a full re-walk of everything you checked at 30 and 90 days.
- Test the mini-split system under both heating and cooling loads. Note any unusual noise or reduced output.
- Flush the tankless water heater if your water is hard. Around Lake Forest, our water runs moderately hard, so six months is a reasonable first descaling.
- Check the electrical panel. Ask that all breakers be labeled clearly. If any breakers have tripped, note which ones.
- Photograph everything you find, dated, and file it.
If any of these checks surface something that falls under workmanship, document it and call. Getting it fixed while the warranty is open is the entire point of the sequence.
Caulk, Flashing, and the Seam Between New and Old
If you only do one thing from this guide, do this one. The junction between the new addition and the original structure is the most common leak point in attached additions, and it’s not close. Water finds seams. When two buildings move at different rates, the seam between them is where the movement concentrates.
Flashing is the first line of defense. It’s the metal that directs water away from the joint, and it should be inspected at least twice a year, ideally after the first winter rains and again in late fall before the wet season. Look for lifting, corrosion, or gaps where it was fastened. Flashing that looks fine from the ground can be failing at the top edge, so a safe ladder inspection at the roof junction is worth doing once a year.
Caulk is the second line. Exterior caulk joints around the addition should be checked every 90 days for the first year, then every six months. Look for cracks, shrinking, or peeling. When you find a failing joint, remove the old caulk completely before applying new. Caulking over old caulk is the most common DIY mistake we see, and it fails within a season because the new material can’t bond to the cured surface.
Keep the following in mind for the seam specifically:
- Roofline junctions are highest risk because they collect water from two roof planes. Inspect after every significant rainstorm.
- Vertical wall junctions between the new and old exterior walls need to be inspected for paint failure, because failing paint is the first sign water is getting behind the cladding.
- Sliding door and window penetrations on the addition are high-wear points. Lift the head flashing and look for any sign of moisture behind the frame.
- Interior junction – drywall or plaster seams at the shared wall should be monitored for cracks. Interior signs of movement tell you the exterior is working too.
The materials matter here too. When we quote an addition or ADU in Lake Forest, the exterior finish and flashing details aren’t an afterthought. Better hardware and sealant extend the maintenance window from “check every spring” to “check once or twice a year with confidence,” and premium siding brands like James Hardie hold up to the sun better than cheaper options that bake and fail on south and west faces. The seal only holds as long as the substrate does.
ADU System Maintenance: Mini-Splits, Tankless Water Heaters, and Electrical
An ADU is a small, self-contained home. That means it has the full maintenance load of a house packed into a smaller footprint. The systems you need to stay on top of are specific, and they don’t maintain themselves.
Mini-Split Filters
Mini-split systems are the most common heating and cooling choice for ADUs because they don’t need ductwork. Their filters need cleaning every 30 to 90 days during use. A dirty filter chokes airflow, forces the compressor to work harder, and it’s the single easiest way to shorten the life of an expensive system. Pull the filter, rinse it, let it dry, put it back. That’s the whole job, and skipping it is the most common way people burn up a mini-split in five years.
Twice a year, look at the outdoor unit. Clear away leaves and debris from around the coil and check that the refrigerant line insulation hasn’t cracked or pulled away.
Tankless Water Heater Descaling
Tankless units need descaling once or twice a year depending on water hardness. Around Lake Forest, where water runs moderately hard, once a year minimum is a safe baseline. Descaling circulates a mild vinegar solution through the heat exchanger to break down mineral scale. Without it, the exchanger clogs, efficiency drops, and the unit fails early. This is a job many people can learn to do with the right kit, but if you’re not comfortable working with the water connections, it’s a routine service call.
Electrical Panel Inspection
The ADU has its own panel, or a dedicated sub-panel, and that panel needs an annual inspection. Look for any signs of heat: discoloration on the breakers, a burning smell, or breakers that trip repeatedly. Check that all breaker labels are still accurate. Once a year, with the power off, open the panel cover and have a qualified person look for signs of pest intrusion or moisture. Panel work is genuinely dangerous, so this is not a DIY inspection beyond the visual exterior check.
Alongside the systems, put a reminder to check the smoke and carbon monoxide detectors in the ADU every six months. Test them and swap batteries. A tenant or family member living in an ADU is a life-safety responsibility, and detector maintenance belongs on the schedule.
How Lake Forest Climate Accelerates Wear on Exterior Finishes
Lake Forest sits in a climate that’s kind to an addition in some ways and hard on it in others. The mild winters mean you don’t deal with freeze-thaw cycles that crack foundations in cold climates. But two forces do more damage than people expect: dry heat and Santa Ana winds.
Dry heat and UV exposure. South and west-facing walls take sun all afternoon. On a new addition, that means the paint and caulk on those faces cure faster and degrade faster than on shaded faces. We’ve seen caulk joints on west-facing walls in southern Lake Forest fail in half the time of the same joint on a north wall. The fix isn’t exotic: inspect west and south faces more often, and expect to recaulk those faces on a shorter cycle.
Santa Ana winds. When the Santa Anas blow through in fall and winter, they bring dry, hot, gusting air that stresses every exterior attachment. Roof shingles lift. Fence panels flex. Flashing edges get pushed. After a significant Santa Ana event, walk the addition and look for lifted shingles, loose flashing, or anything that’s moved. This is especially true for detached ADUs with more exposed roofline.
Hard water and dry soil. Lake Forest’s water is moderately hard, which accelerates scale in tankless units. The soil around a new foundation also shrinks and swells with the wet-dry cycle, so keep an eye on the grading around the addition. Water should always drain away from the structure, not pond against it. Adding soil or mulch against the base of the wall is a common mistake, because it holds moisture against the siding.
Wildfire-adjacent considerations. If your property sits in or near a higher fire-risk zone in the foothills, ember-resistant vents and fire-rated exterior materials are worth discussing when the addition is planned. That’s a build-time decision more than a maintenance one, but it’s part of the local reality.
The takeaway for Lake Forest homeowners: check the sun-exposed faces and the wind-exposed edges more often than you’d expect, and stay ahead of the water.
The Seasonal Maintenance Calendar
Once the 30/90/180-day sequence is done, the schedule shifts to a seasonal rhythm. Two big walkthroughs a year plus a few small tasks in between is enough to keep an addition or ADU healthy long term.
Spring (March to May): The Pre-Season Check
- Wash and inspect exterior walls. Look for paint failure on south and west faces first.
- Inspect and touch up exterior caulk joints, especially around windows and at the new-to-old junction.
- Check roof flashing and shingles. Look for lifted or missing material.
- Service the mini-split before cooling season: clean filters, clear the outdoor unit, inspect refrigerant line insulation.
- Test smoke and carbon monoxide detectors. Replace batteries.
Summer (June to August): The System Check
- Clean or replace mini-split filters every 30 to 90 days during cooling season.
- Descale the tankless water heater if you haven’t yet this year.
- Look under sinks and around the water heater for any sign of moisture.
- Check that grading around the foundation still slopes water away from the addition.
Fall (September to November): The Storm Prep Check
- Clear gutters and downspouts on the addition and the original house. Downspouts must direct water away, not toward the new foundation.
- Inspect flashing and the roofline junction before the rainy season.
- Walk the exterior after the first Santa Ana event and note anything that’s moved.
- Schedule an electrical panel visual inspection if it hasn’t been done this year.
Winter (December to February): The Post-Rain Check
- After a heavy rain, walk the addition interior and look for any moisture at the junction, around windows, and at the base of walls.
- Recheck exterior caulk joints on any face that took storm-driven rain.
- Test detectors and replace batteries again if it’s been six months.
If you take on a bigger project on the same property, like rebuilding a patio or hardscape around the addition, materials matter as much as the install. That’s why when we build outdoor living areas around an ADU we work with Belgard and Unilock pavers so the hardscape drains correctly and doesn’t push water back against the foundation. Fencing around a new ADU, set with products like ActiveYards, also has its own maintenance rhythm, which is covered in our Fence Installation in Lake Forest guide.
What to Document, Photograph, and File Each Year
This is the part that pays dividends you won’t feel for years. Document everything. Two reasons. First, it protects warranty claims. Second, it supports your resale value when you go to sell. A buyer and their inspector will have a lot more confidence in a documented addition than an undocumented one.
Start a digital folder labeled with the address and “addition maintenance.” Every time you do an inspection, take dated photos of the following:
- All four exterior faces, wide shots and close-ups of the new-to-old junction.
- The roofline flashing and any signs of caulk failure or paint failure.
- Any cracks or movement, with a coin or ruler in the shot for scale.
- The electrical panel with the cover on and every breaker labeled.
- The mini-split filter condition before cleaning, and the model plate on the outdoor unit.
- Any service records: water heater descaling, HVAC service, roofing repairs.
File the original build documents in the same folder. Keep the permits, inspection sign-offs, material spec sheets, and the warranty documentation. The 730-Day Done Right Promise covers our workmanship for two years, and if you ever need to make a claim, having a dated record of what the addition looked like six months in makes the process simple.
When you eventually sell, this file is a genuine asset. It shows a buyer that the addition was permitted, inspected, and cared for. In our experience, documented construction shortens a sale timeline and defends the asking price. Undocumented work raises questions. Documented work answers them before they’re asked.
A note on permits: if any repair on the addition or ADU ever involves structural work, electrical, plumbing, or roofing, pull a permit. Skip it and you create an undocumented change that will surface in a future inspection. The maintenance tasks in this guide don’t need permits, but anything that structurally alters the building does.
Common Mistakes to Avoid
- Skipping the 30/90/180-day inspections. These exist to catch movement while the warranty is open. Miss them and you’ll be paying out of pocket for problems that were ours to fix.
- Caulking over old caulk. New caulk won’t bond to cured caulk. It peels within a season. Remove the old material completely, clean, and reapply. This is the single most common exterior maintenance failure we see.
- Putting soil or mulch against the base of the addition wall. It looks tidy. It also holds moisture against the siding and creates the exact conditions wood rot needs. Keep the soil line low and let the wall dry.
- Letting the mini-split filter go a full season without cleaning. Around Lake Forest, dust and pollen collect fast. A dirty filter is the fastest way to shorten the life of the most expensive mechanical system in the ADU.
- Assuming the roof is fine because the addition is new. A new roofline still needs an annual flashing inspection at the junction. That junction takes water from two roof planes and is the most common leak point.
- Not documenting anything. No photos, no service records, no file. Then a warranty claim gets complicated and a resale inspection raises questions you can’t answer.
- Not dealing with a persistent crack or gap early. A 1/8-inch gap that’s finding water becomes a $200 repair in month two and a $9,000 repair in year three. Catch it small.
See the difference
 Before
 After
 Before
 After
 Before
 After
When to Call a Professional
Most of the seasonal checklist is homeowner work. Then there are the jobs that aren’t. Call a professional when you see water staining or moisture inside the addition after a storm, when the flashing or roofline at the junction is visibly lifted or damaged, when cracks in the drywall or stucco are wider than about a quarter inch, when any electrical panel shows discoloration or smell, or when the tankless water heater or mini-split is losing output after routine maintenance. Roofing and any work on ladders at the junction isn’t worth risking a fall to save a service call. Electrical panel work is genuinely dangerous and belongs to a licensed electrician.
Groundwork Construction Co. of Lake Forest offers free estimates in Lake Forest. If the addition or ADU needs a repair that falls under the 730-Day Done Right Promise, call us and we’ll come look. Call (855) 532-8973 to schedule. Calls are answered by a live person, 24/7.
Frequently Asked Questions
Inspect at 30, 90, and 180 days after construction, then switch to a twice-a-year routine with a spring walkthrough and a fall walkthrough before the rainy season. In between, do the small monthly tasks like mini-split filter cleaning and detector checks. The 30/90/180-day sequence is the critical one because it happens while contractor warranties are still active.
The junction where the new structure meets the original house, especially the roofline flashing and the vertical wall seam. Two buildings move at different rates, so that seam concentrates movement and is where water finds gaps first. Check the flashing and caulk at that junction twice a year and after every major storm.
Once a year minimum, and twice a year if you’re on harder water. Lake Forest water runs moderately hard, which means mineral scale builds in the heat exchanger over time. Descaling on schedule keeps efficiency up and extends the life of the unit. Skip it and the unit fails early.
The 730-Day Done Right Promise covers our workmanship for two years on the work we perform. If a maintenance inspection turns up something that falls under that coverage, we make it right. Routine homeowner maintenance like filter cleaning or caulk touch-ups isn’t covered, but the promise is there for genuine workmanship issues. Call (855) 532-8973 if you’re not sure whether something qualifies.
Routine maintenance like caulking, filter cleaning, and descaling doesn’t need a permit. Any repair that involves structural work, electrical, plumbing, or roofing modifications does. When in doubt, ask before the work starts. An undocumented structural change will surface in a future inspection, and it’s simpler to handle it correctly the first time.
Wait about 30 days, then do the first movement inspection: check for new cracks, test every window and door, and inspect the new-to-old junction inside and outside. Start a dated photo file immediately. Then plan the 90-day and 180-day inspections on your calendar before the busy season pulls you away. If you’re building now, our Home Additions & ADU in Lake Forest page covers what that build looks like from foundation to finish line.
The Bottom Line
A new addition or ADU isn’t finished the day you move in. It’s finished when it’s been through a full cycle of seasons and the movement has settled. The 30/90/180-day inspections are the highest-value maintenance you’ll ever do on the structure, and they cost nothing but an hour and a camera. After that, a twice-a-year spring and fall walkthrough plus a small monthly routine on the ADU systems keeps everything healthy. Document all of it. When you’re ready to build, repair, or inspect an addition or ADU in Lake Forest, call Groundwork Construction Co. of Lake Forest at (855) 532-8973 for a free estimate. Upfront pricing, no surprises. From foundation to finish line.
If you’re planning a wider project around the addition, the rest of the property has its own schedule. Our Driveway & Pavers in Lake Forest guide covers hardscape upkeep, and you can start at the Groundwork Construction Co. of Lake Forest home page to see all seven service lines. Quality materials hold up better in our climate, which is why we work with partners like Belgard, Unilock, Tremron, and ActiveYards across the outdoor trades.
Written by the team at Groundwork Construction Co. of Lake Forest.