





Free written scope consultation - allowances, timeline, and change-order rules on paper before a single trade is scheduled
Styles & brands we work with
- Kitchen remodeling
- Bathroom remodeling
- Home additions & ADU
- Roofing
- Windows & doors
- Driveway & pavers
- Fence
See the difference
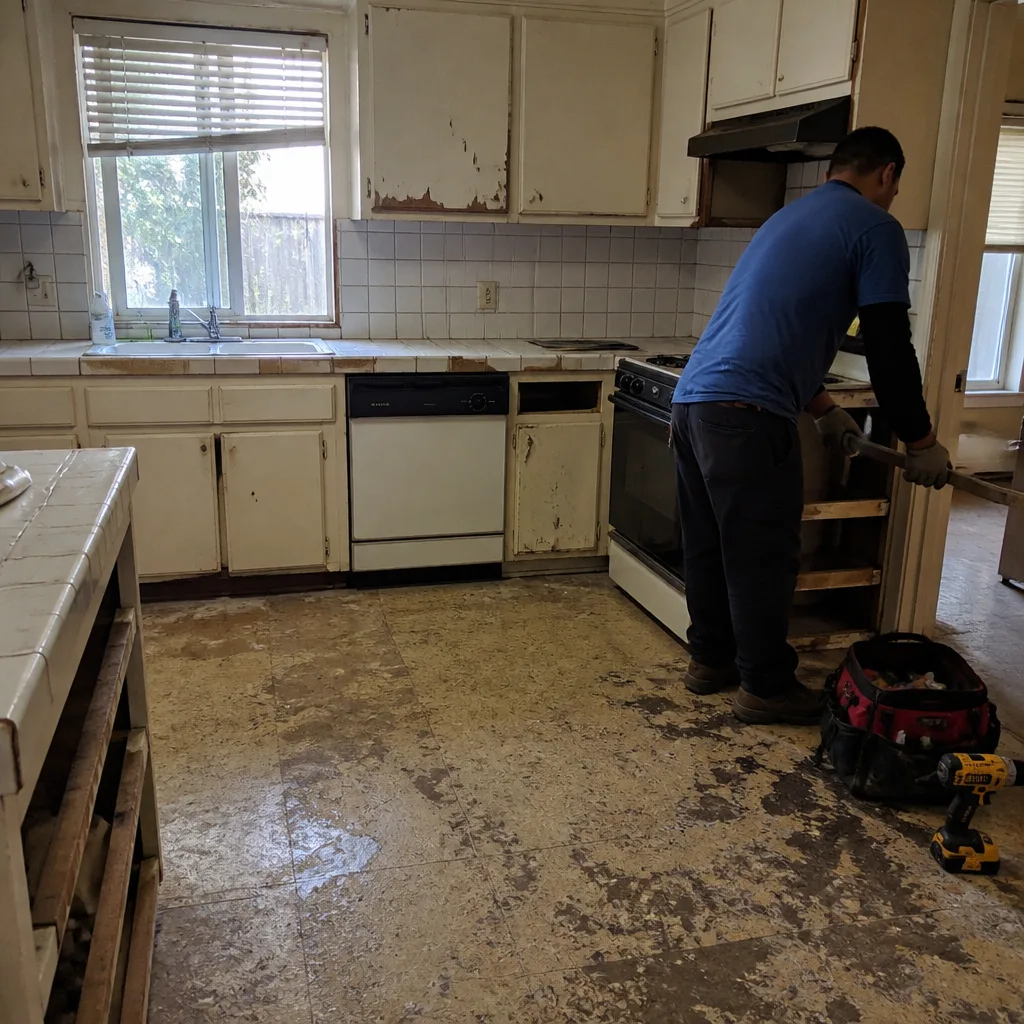 Before
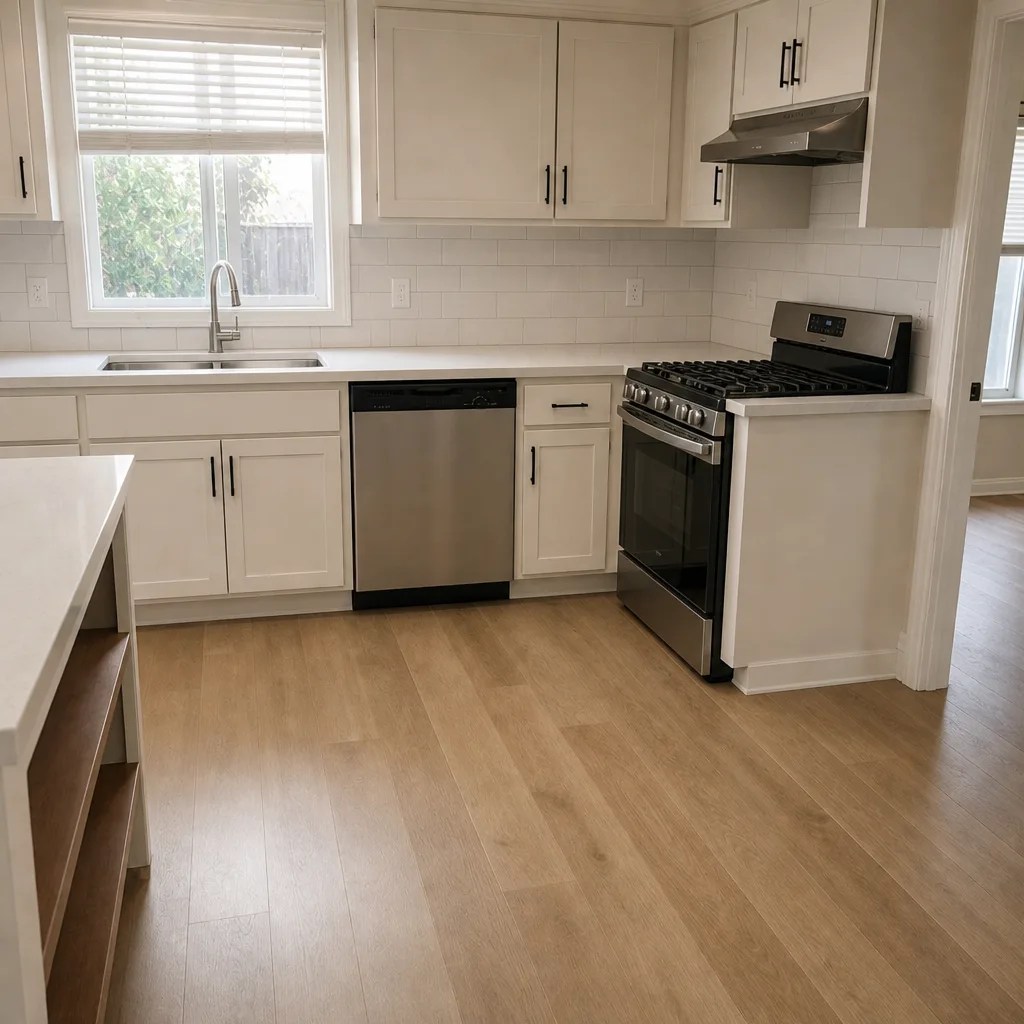 After
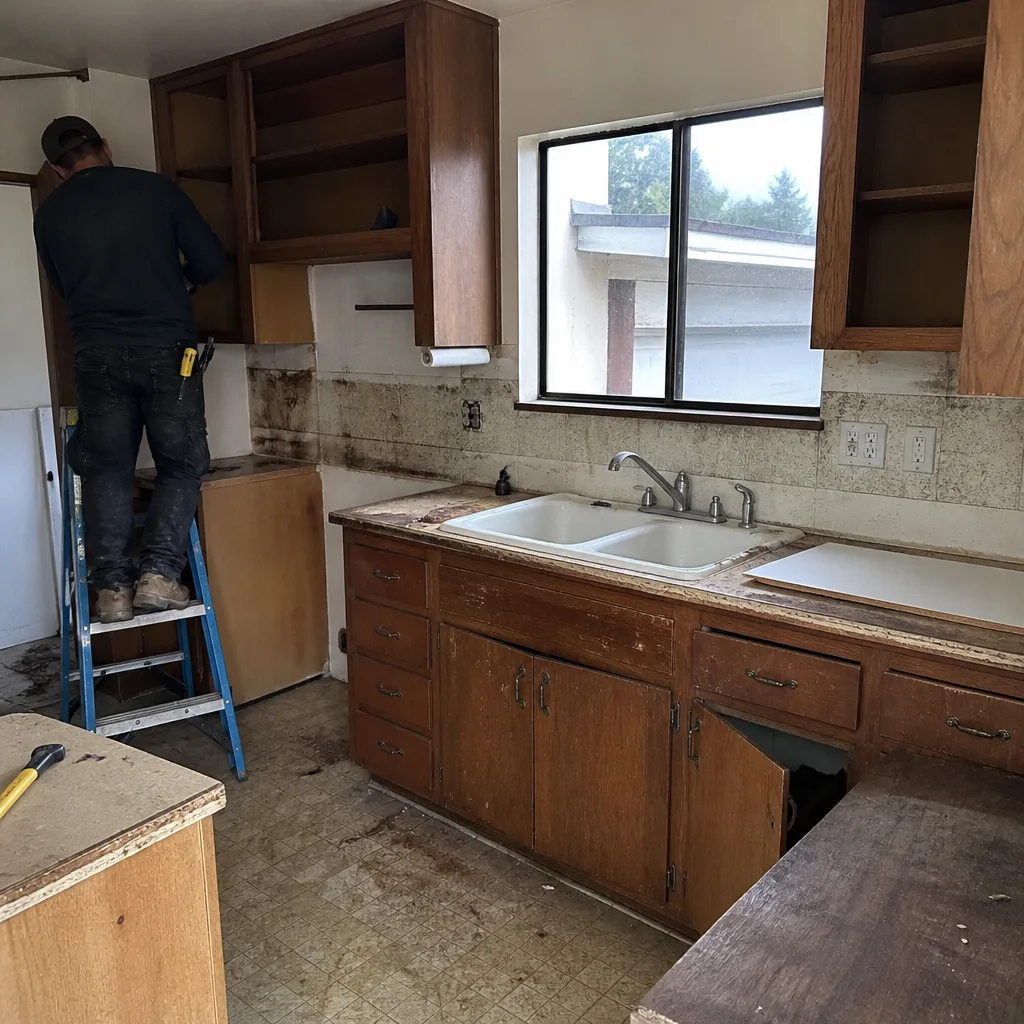 Before
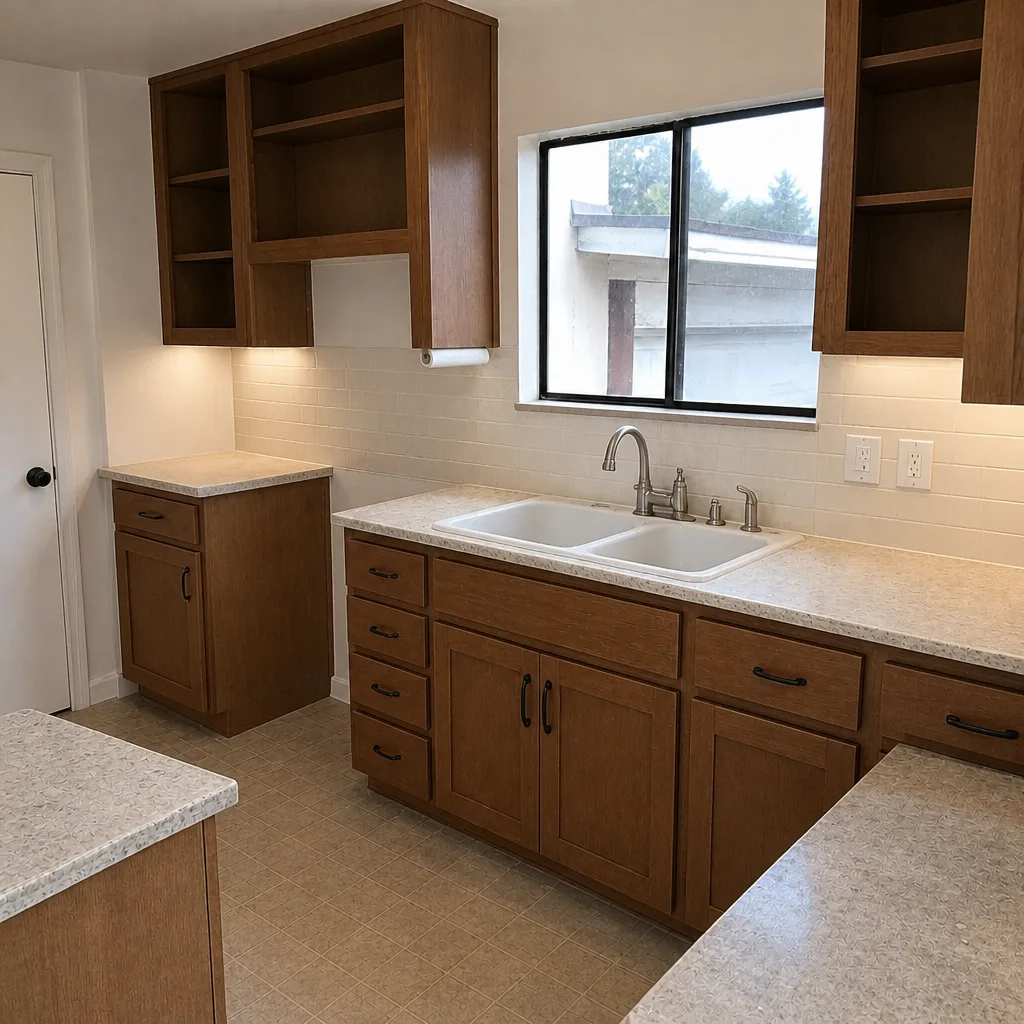 After
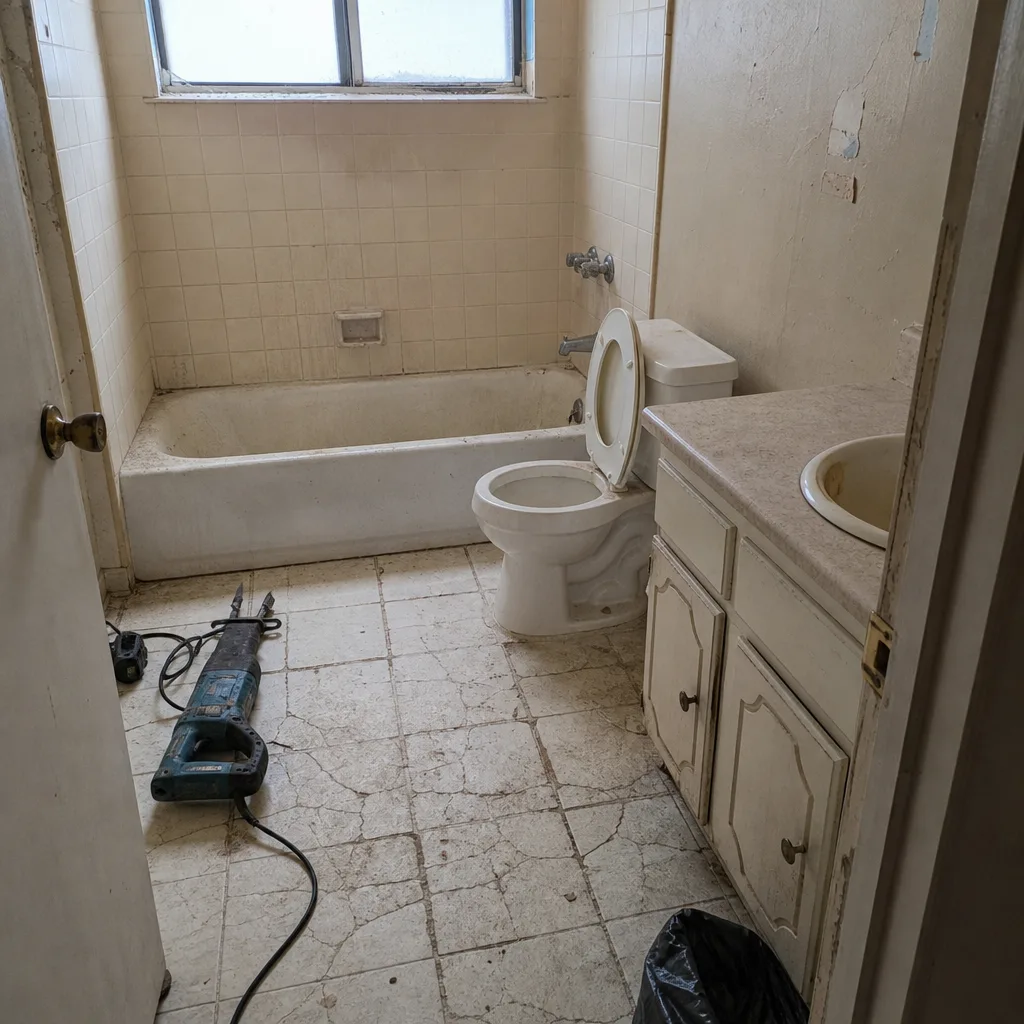 Before
 After
How to find a roof leak in Lake Forest: start uphill, not overhead
The short answer: the water stain on your ceiling is almost never directly below the entry point, because most Lake Forest homes were built with open-web truss attics that channel water sideways before it drops. To find the leak, get into the attic, turn on a bright light, and trace the wet trail on the insulation or vapor barrier uphill toward the ridge – the entry point is always above and usually several feet away from where the water shows up. If water is actively coming in and you can’t safely get into the attic, call (855) 532-8973; our line is answered by a live person 24 hours a day.
Standing under a drip in the hallway and staring at the ceiling tells you nothing useful. The stain tells you where water found an exit, not where it entered. In a typical 1980s Lake Forest tract home, a stain above the hallway bathroom often traces back 6 to 10 feet to a valley or a vent boot near the ridge. Chasing it from below wastes an afternoon. Chasing it from the attic takes twenty minutes once you know the pattern.
Key takeaways
- Work uphill in the attic, not overhead in the room below.
- Open-web trusses carry water horizontally, so entry and exit are rarely in the same spot.
- The three most common failure points in 1980s-1990s Orange County tract roofs are pipe boot flashings, valley metal, and skylight curb caulk.
- A sectioned garden hose “dry run” beats waiting for rain, and it’s far safer than walking a wet roof.
What to look for: leak signatures in Lake Forest’s tract construction
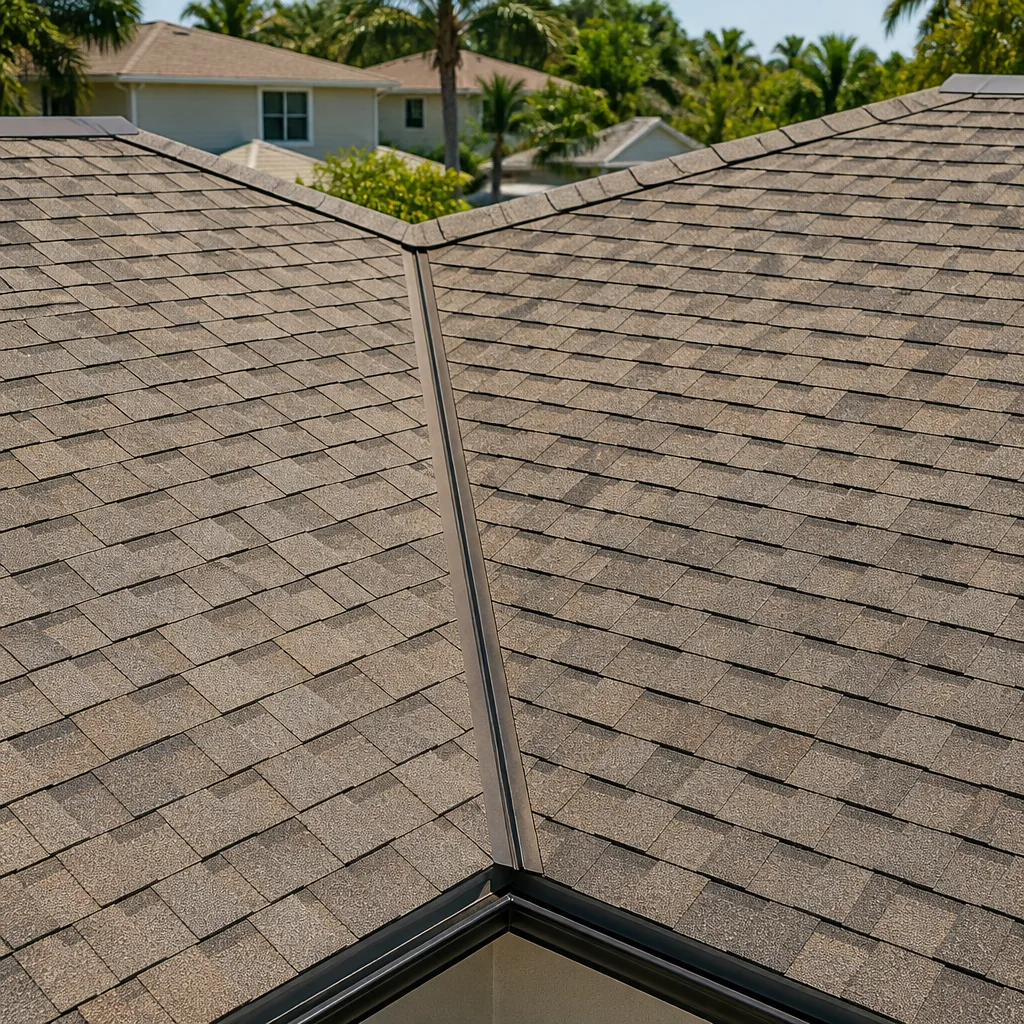
Lake Forest’s housing stock – 1970s through 1990s planned communities like Lake Forest Keys, Portola Hills, and Foothill Ranch – shares a roofing DNA. Once you know the four or five parts that fail first, the search narrows fast. Here’s how the common suspects compare, what each looks like up close, and why each one behaves the way it does in our semi-arid inland climate with hot, dry summers and periodic Santa Ana winds.
| Where it fails | What you’ll see | Why it happens here |
|---|---|---|
| Pipe boot flashing (plumbing vents) | Original rubber collar cracked, split, or curled up from the pipe | Years of UV and 90°F-plus summer heat dry out the neoprene; Santa Ana wind cycles accelerate it |
| Valley metal at the stucco interface | Rust streaks, lifted shingles, or a visible gap where valley metal meets stucco | Galvanized metal corrodes where it stays wet against masonry; original coating often gone by now |
| Skylight curb caulk | Dried, cracked bead around the curb; peeling at the corners first | Caulk loses flexibility after several seasons of heat cycling |
| Step flashing into stucco | Staining on the wall below a roof plane, not the ceiling | 1990s California construction often terminates step flashing into stucco at near-zero slope; looks like a wall leak but is a roof-to-wall interface failure |
| Nail pops through underlayment | Small circles of damp in the sheathing, no obvious exterior hole | Original underlayment tears at fasteners that back out over decades of thermal movement |
That last row – the stucco step-flashing issue – trips up almost every homeowner who tries to diagnose a leak from the ground. Water appears on a bedroom wall, so they assume the stucco is the problem. It usually isn’t. The wall is just where the water finished its journey. The failure is at the pocket where the roof plane steps down along the stucco, and water is wicking through that joint before it ever touches the drywall. If you’re seeing wall staining below a roof line in a 1990s Lake Forest home, look up and outward, not at the wall itself.
Do the hose test now instead of waiting for the next storm
You don’t have to wait for rain. A controlled hose test on a dry day pinpoints a leak faster than any downpour because you decide where the water goes. The trick is isolating one zone at a time, and keeping a spotter inside the attic where they can actually see the result.
- Pick a cool morning – not midday summer heat – and have a second person in the attic with a bright flashlight and a phone to take pictures.
- Start low on the roof and soak one zone for a full five minutes. Valleys, vent pipes, and skylight curbs first, since those are the high-probability hits.
- Wait a few minutes after each zone. Water has to travel through underlayment and framing before it reaches the attic floor, so the lag is normal.
- Move to the next zone only when the first one comes back dry. Note what you soaked and where the spotter saw water appear.
- Repeat at the ridge and along the stucco wall line if the lower zones were clean.
Which brings up the part most online guides skip: don’t be the one standing on the roof while you do this. A wet, sloped roof with dried-out shingles is a real fall hazard, and a fall off a one-story roof is still serious. Run the hose from a ladder or from the ground where you can reach safely. If the test still comes up empty after you’ve covered the valleys, boots, and curbs, that’s your signal to bring in someone with better tools. A pro can use thermal imaging and moisture meters to spot an active or recent leak in minutes, even without rain, and can read the pattern in the attic where the human eye misses it.
Our Roofing team uses that same attic-first, uphill-trace method on every diagnostic visit, and we back any repair with our 730-Day Done Right Promise – if it’s not done right, we make it right. It’s one of the longest workmanship guarantees in residential construction, and it’s in writing.
How much does roof leak repair cost in Lake Forest?
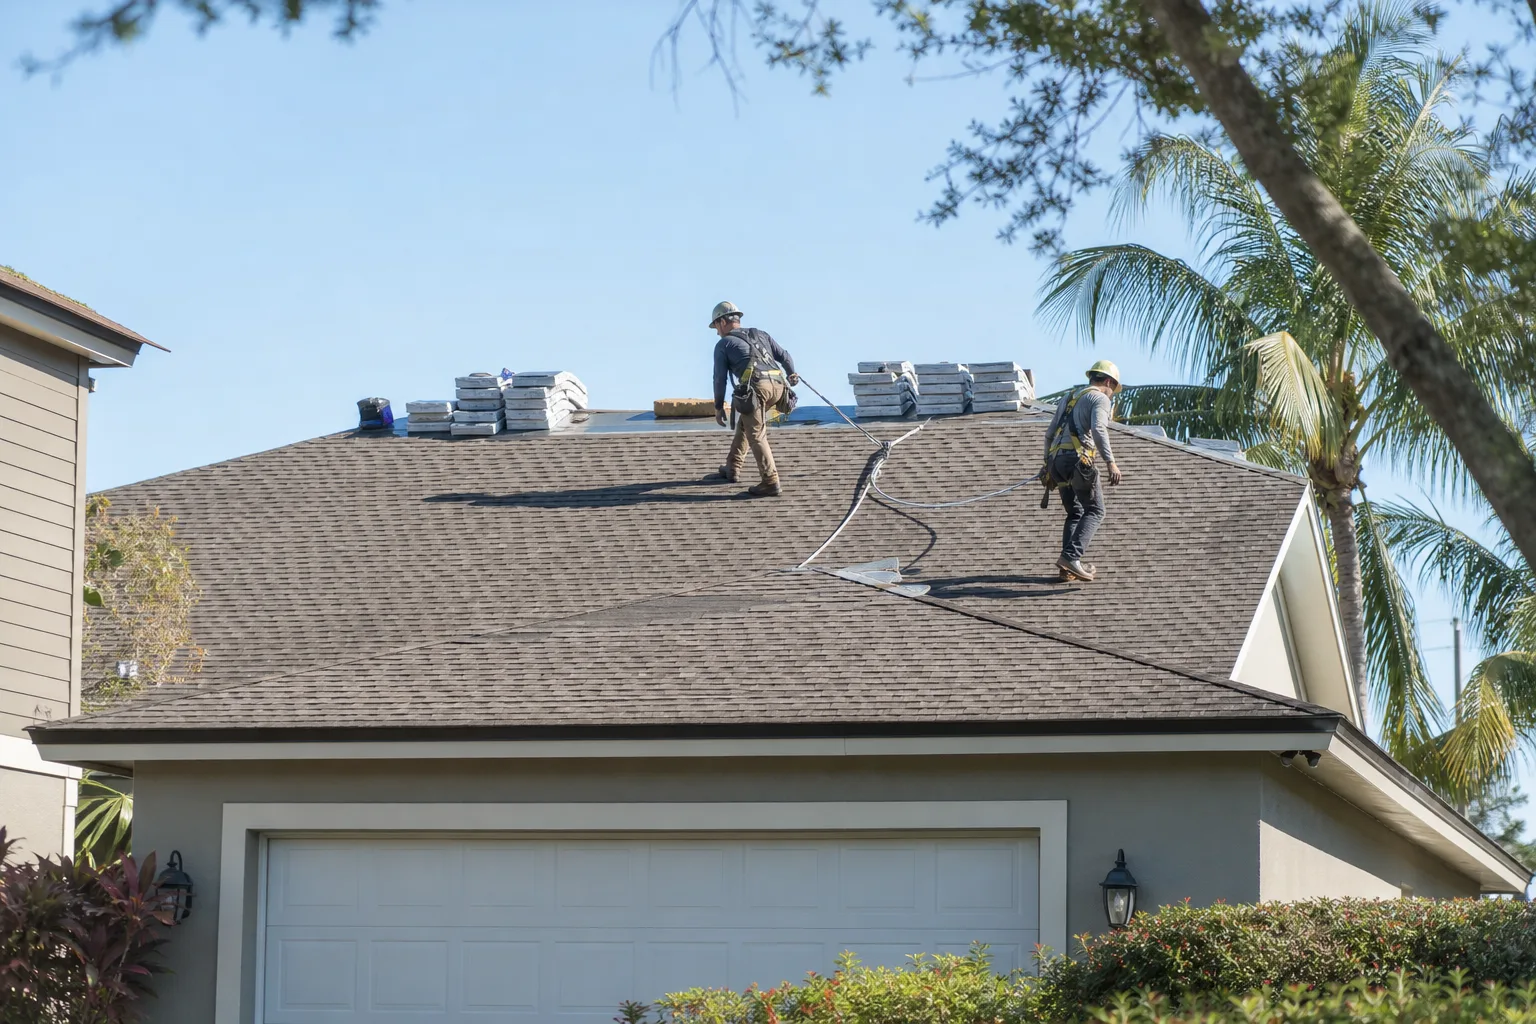
Most roof leak repairs in Lake Forest land between $400 and $1,800, depending on where the failure is and whether the fix is a single boot, a section of valley metal, or a stucco-interface flashing rebuild. Tile roofs run a little higher at the low end because of the lift-and-reset labor: $600 to $2,500 for tile-specific repairs. A full replacement, if the diagnosis turns up widespread underlayment failure, sits in our standard range of $8,000 to $20,000 – GAF, CertainTeed, and Owens Corning systems are what we install, and quality materials are built to last and backed in writing.
A few things worth knowing before you call anyone: what to look for in a repair isn’t just a lower price. Ask whether the quote is an upfront price or an estimate that “might change.” At Groundwork, upfront pricing means the number you see is the number you pay, and if the job grows past $10,000 we take $1,000 off with 0% financing for 18 months available. A free project estimate and design consult is standard on every job. For a leak that shows up on a Saturday night or during a Santa Ana wind storm, that live-answer line matters more than anything else in the quote.
FAQs
Trace it from inside the attic, most of the time. Open-web trusses in Lake Forest’s 1970s-1990s tract homes route water sideways, so the entry point is uphill from the ceiling stain, often several feet. A flashlight, a pair of gloves, and patience in the attic will usually show you the wet trail on the insulation or vapor barrier. If you’ve covered the attic and can’t find it, a hose test or a thermal-imaging inspection from a pro will close the gap. Call (855) 532-8973 and we’ll walk you through what to check first before you pay anyone – estimates are free.
Yes – a dry-day diagnostic is often more reliable than waiting for rain, and it’s always safer than walking a wet roof. We combine a visual attic trace with a controlled hose test and thermal imaging to force water through each suspect zone until we’ve isolated the failure. Most active leaks can be located in a single visit even in the middle of Lake Forest’s dry season. Call (855) 532-8973 to get an appointment; we answer live, 24 hours a day.
Repair is almost always cheaper in the short term when the leak is a single failure point – a boot, a valley section, a skylight curb – and the rest of the roof is still in decent shape. Repair runs $400 to $1,800 for most jobs. Replacement makes more sense when underlayment is failing broadly, when multiple leak points have already been repaired, or when you’re seeing shingle granule loss across the whole plane. A free estimate will tell you which side of that line you’re on. Call (855) 532-8973 for an upfront number.
The price is the same whether it’s Tuesday morning or Sunday night – our upfront pricing means no weekend surcharge surprise on the quote you receive. Roof repair ranges from $400 to $1,800, and tile repairs from $600 to $2,500. Active water intrusion at 2 a.m. is the reason our phones are answered by a live person around the clock, not a voicemail. Call (855) 532-8973 and we’ll start the conversation right then.
Lake Forest sits on graded hillsides and inside tightly regulated HOAs, so most roof work here happens on existing tract homes rather than new construction – which means the diagnosis is usually about aging flashings, not catastrophic failure. Our technicians have up to 12 years of experience reading those exact patterns. If you’d rather have it looked at, Groundwork Construction Co. of Lake Forest offers a no-pressure assessment in Lake Forest – call (855) 532-8973. Learn more about where we work on our Lake Forest service area page, or start from our home page to see the full lineup of services, from foundation to finish line.
Written by the team at Groundwork Construction Co. of Lake Forest, serving Lake Forest, CA.