Last updated November 18, 2026




Free written scope consultation - allowances, timeline, and change-order rules on paper before a single trade is scheduled
Fence Installation Maintenance Schedule: What to Do and When
Vinyl fence manufacturers sell their product as maintenance-free, and for the material itself that’s basically fair. The posts, the footings, and the gate hardware holding that vinyl up need attention every bit as much as a wood fence does, and skipping it is how a fence that should last thirty years starts leaning at year eight. Same story on the wood side: the homeowners who seal every single year often rot their pickets faster than the ones who stain on a smarter schedule, because they’re solving the wrong problem. What we’ll lay out below is a material-specific maintenance calendar for wood, vinyl, aluminum, and wrought iron, plus the Lake Forest wind-and-sprinkler details that actually drive fence failure here.
Quick Answer
Fence maintenance runs on a material-specific clock, not one universal annual routine. Wood needs inspection and spot-treatment every spring plus full stain or seal every 2 to 4 years, vinyl needs a wash once a year and a post-and-hardware check twice, aluminum needs a rinse and fastener check annually, and wrought iron needs rust touch-ups every one to two years. In every case, the two Lake Forest-specific non-negotiables are a post-tightening pass within two weeks of Santa Ana wind season ending and a hardware inspection on every gate at the same time.
Styles & brands we work with
- Kitchen remodeling
- Bathroom remodeling
- Home additions & ADU
- Roofing
- Windows & doors
- Driveway & pavers
- Fence
Table of Contents
- Why one maintenance schedule fails every fence material
- The full year-at-a-glance maintenance calendar
- Wood fences: stain vs. seal and when each one applies
- Vinyl fences: what the “maintenance-free” label leaves out
- Aluminum and wrought iron: fastener checks, rust, and coatings
- The Santa Ana wind routine: post-tightening and hardware
- Gate hardware maintenance as a single annual sequence
- Documenting fence condition year over year
- Common mistakes to avoid
- When to call a professional
- Frequently asked questions
Why one maintenance schedule fails every fence material
Most fence advice online is written for one material and then applied generically to all of them. That’s where homeowners lose money. A wood fence under a SoCal sun and a sprinkler schedule is a rot machine that needs a very specific treatment plan. A vinyl fence in the same spot barely notices the weather but has hardware and footings that shift with ground moisture and regular thermal expansion. Aluminum is a middle case: it doesn’t rot, doesn’t absorb water, but a bent bracket on a windy Lake Forest ridge turns into a rattling fence panel in one season.
In our experience across Lake Forest installations, the fences that survive the longest aren’t the ones with the biggest budget. They’re the ones whose owners matched the maintenance routine to the material and to the actual site conditions on their lot.
Three site conditions change the schedule more than any other:
- Direct sun exposure. A fence line facing south or west in Lake Forest gets full afternoon sun from roughly March through October. Wood there dries and checks much faster and needs stain, not just seal.
- Sprinkler contact. Drip or spray heads that hit a fence panel every morning push the wood moisture content up and create the conditions for rot at the base of pickets, even when the rest of the fence is bone dry. This is common in the older landscaped lots around Foothill Ranch and Portola Hills.
- Wind exposure. Elevated lots on the ridges above the 241 toll road corridor take more wind load than lots down in the flats. That means the hardware check and post-tightening pass matters more, and the interval is shorter.
If your fence is being replaced rather than maintained, our Fence Installation in Lake Forest page covers material choices laid out against these same conditions.
The full year-at-a-glance maintenance calendar
Here’s the schedule we hand to homeowners after an installation, compressed into one view. It assumes a normal Lake Forest lot – one side in sun, one side shaded, some sprinkler contact. Adjust intervals based on the notes above.
Quarterly (every 3 months)
- Walk the fence line and look for new lean, gaps between pickets or panels, and loose hardware.
- Check gate swing and latch engagement by hand – if the gate drags or the latch doesn’t catch cleanly, that’s a post-plumb issue starting.
- Clear vegetation growing against the fence, on both sides. Vines and ivy hold moisture against wood and vinyl panels and trap debris.
Annually (once per year, in spring)
- Full inspection of posts at the ground line – look for soft wood, cracks, soil erosion, and any gap between post and footing.
- Wash vinyl panels and posts with a garden hose and mild soap. No pressure washer on the panel faces.
- Rinse aluminum and wrought iron, then touch up any chipped coating or rust spots.
- Full gate hardware sequence (see the dedicated section below).
- Document the year’s condition with photos (see the documentation section).
Every 2 to 4 years
- Wood fences get either stain or seal, based on sun and moisture exposure (next section explains the decision).
- Wrought iron gets a full rust touch-up and recoating on any areas showing surface oxidation.
- Fastener sweep on all metal fences – replace any bolt, screw or bracket showing rust or play.
Every 5 years
- Wood fence: post-level inspection by a professional, including digging or prying back soil at post bases to check for hidden rot.
- Vinyl fence: post-alignment check across the full run, with replacement of any sagging top rail or bowed panel after thermal expansion has had time to accumulate.
- Metal fence: full structural review of anchor bolts and footing condition.
That’s the whole map. The rest of this guide explains what to actually do at each interval, and why.
Wood fences: stain vs. seal and when each one applies
This is where most wood fence owners lose money. Seal and stain are not interchangeable, and the wrong one accelerates rot instead of preventing it. Here’s the decision rule we use.
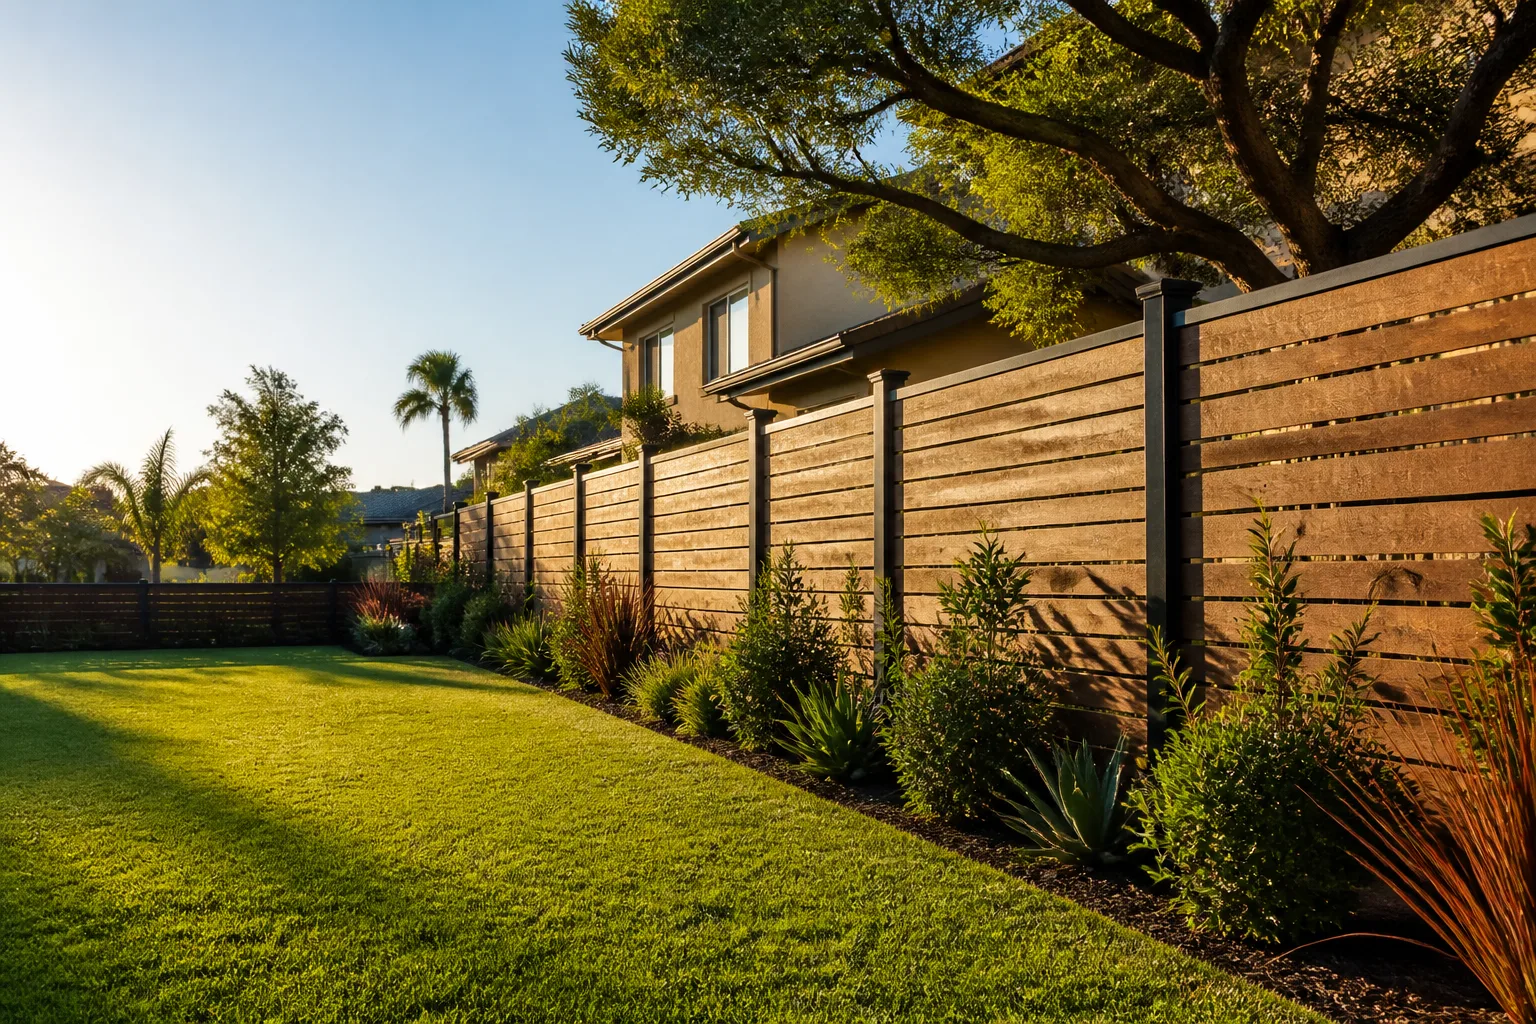
If your fence is in direct sun for most of the day – a west-facing line, a south-facing run, a lot with no mature trees on the sun side – you want a penetrating stain with UV blockers, refreshed every 2 to 3 years. Seal is clear, and a clear sealer on a sun-blasted fence offers very little UV protection. The wood under it goes grey, checks and cracks, and those cracks collect moisture. The stain adds pigment that shields the fiber from the sun’s UV and slows the checking cycle. Around Lake Forest, the lots in Baker Ranch and the newer builds off Portola Parkway often have this exact exposure.
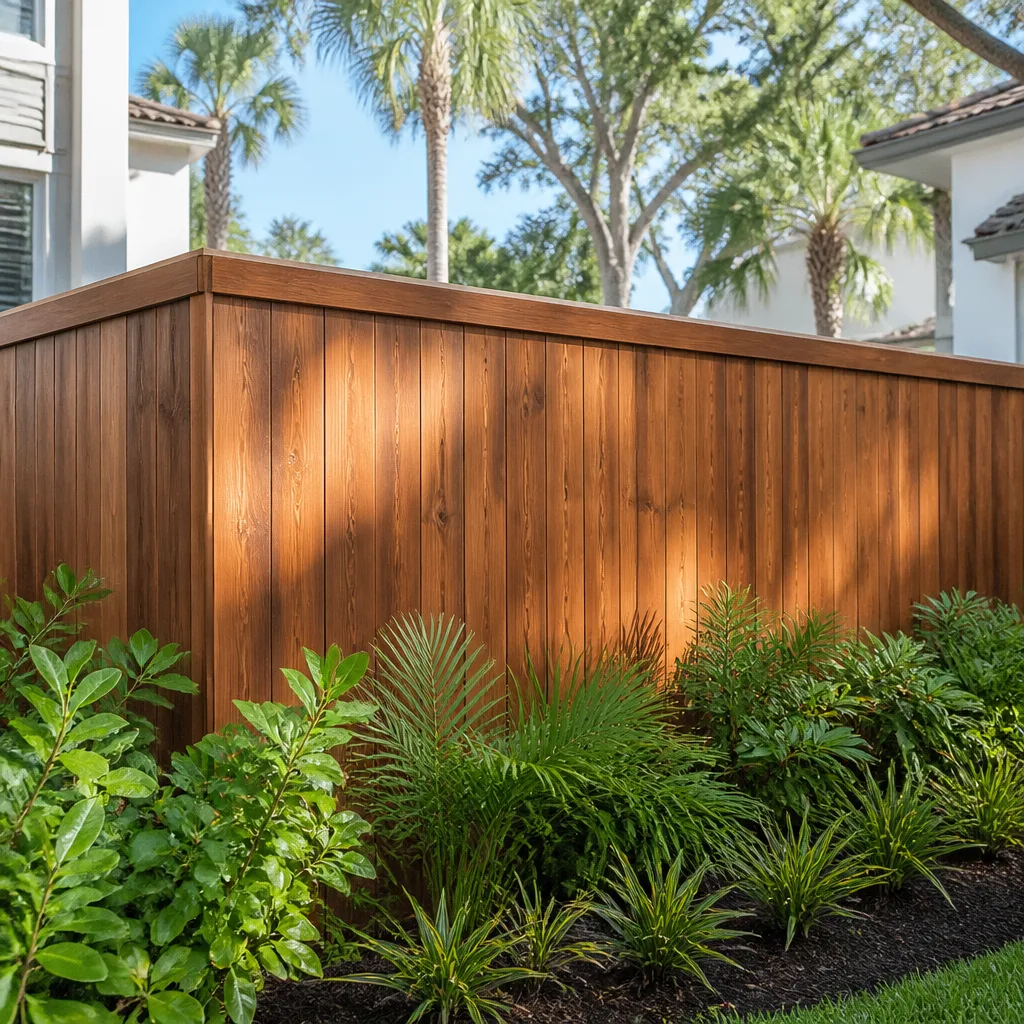
If your fence is in partial shade or light sun – one side of the yard shaded most of the day, trees overhead, north-facing run – a sealer refreshed every 3 to 5 years is fine. The wood isn’t under UV stress, and the clear sealer’s job is just to keep water from soaking in. Stain here is a waste of money and adds a color-maintenance chore you don’t need.
If your fence has sprinkler contact – spray heads hitting the same pickets on a daily schedule – neither sealing nor staining is the fix. The fix is redirecting the sprinkler head, or adding a drip line. Sealer under continuous wetting is a moisture trap. Water gets behind the film, can’t evaporate, and rot starts from inside. This is the failure we see most often on the older landscaped lots around Foothill Ranch. Redirect the water first, let the fence dry for a full week in dry weather, then seal or stain.
The correct application routine when you do stain or seal:
- Wait for a dry stretch of at least three days after any rain, and a forecast of 48 dry hours after application. In Lake Forest, late April through mid-June is usually the sweet spot.
- Clean the fence with a wood-safe cleaner and a soft brush. Let it dry fully.
- Sand any rough or checked areas with 80-grit, then 120-grit, following the grain.
- Apply the stain or sealer with a brush, roller or sprayer rated for the product. Two thin coats beats one heavy coat every time.
- Let each coat dry per the product’s spec – usually 24 to 48 hours between coats.
One more note: sealing a brand-new wood fence too early is a common mistake. Fresh pressure-treated lumber needs to dry out and stabilize first, typically 4 to 8 weeks in Lake Forest’s climate. Sealing on installation day traps moisture the wood needs to release.
Vinyl fences: what the “maintenance-free” label leaves out
A quality vinyl fence from a manufacturer like Bufftech or ActiveYards genuinely doesn’t need painting, staining, or sealing. Ever. That’s real. What the label leaves out is that the system around the vinyl does need attention, and that’s where the surprises come from.
The three things that fail on a vinyl fence, in the order we see them:
- Posts shifting in their footings. Vinyl is light and rigid, which means it doesn’t flex like wood. When the post footing moves, the panel above it racks or bows, and there’s no “give” to absorb the movement. Post base inspection every year, especially after the Santa Ana winds, is the top maintenance item.
- Top rail and picket separation after thermal cycles. Vinyl expands and contracts with temperature swings. Lake Forest summer afternoons in the 90s and winter mornings in the 40s create a meaningful swing across the year. Panels can pop out of their rails or develop visible gaps over a few seasons. Check the rail-picket connection points on every panel during the annual inspection.
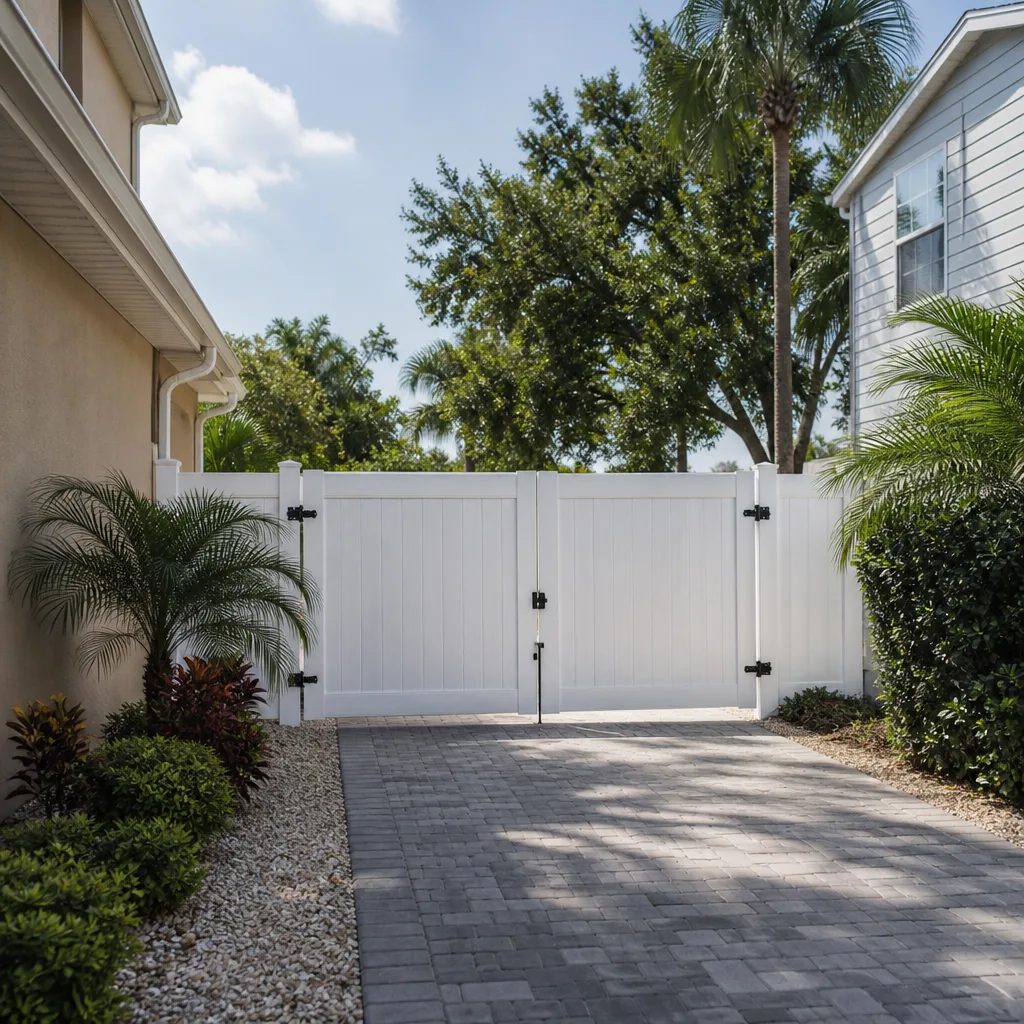
- Hardware and gate sag. Same as any gate. Hinges, latches and post alignment. Vinyl gate hardware often carries a bigger mechanical load because the gate is heavier and more rigid than wood, so the hinge and latch inspection is more important, not less.
Cleaning is easy: garden hose, mild soap, soft brush. Do not use a pressure washer on the panel face. High pressure can drive water behind the panel and into the post interior, and it can etch the vinyl surface. Rinse, don’t blast.
One Lake Forest-specific vinyl tip: our summer UV is strong. Vinyl from a good manufacturer is UV-stabilized, but a treated or coated product line holds its color noticeably better than a budget one. If you’re replacing a faded panel, matching the original color is much easier if you’re working with a quality line in the first place. Our Fence Installation in Lake Forest team can walk you through the manufacturer options and what each one holds up to over 10 and 15 years.
Aluminum and wrought iron: fastener checks, rust, and coatings
Metal fences are the lowest-maintenance option in the lineup, but “low” isn’t “none.” Aluminum and wrought iron have completely different failure points, and the calendar should reflect that.
Aluminum (typically powder-coated or mill-finish) doesn’t rust the way iron does, but it does corrode where the coating gets damaged, and the powder coat itself doesn’t last forever. Annual routine:
- Rinse the fence line with a hose. Salt air isn’t a Lake Forest issue, but dust and irrigation overspray are.
- Inspect the full run for chips, scratches and coating wear. Touch up with a matching aluminum-safe paint within a season of discovering the damage.
- Check every fastener – screws, bolts, brackets. Aluminum hardware loosens over time from thermal movement, and a rattling aluminum panel is usually a loose fastener, not a structural failure.
Wrought iron is heavier, more decorative, and rusts. The protective coating (paint or powder coat) is the whole defense, so the maintenance routine is about maintaining that film:
- Inspect annually for rust spots, especially at the bases of pickets near soil and at every welded joint.
- Sand any rust spot down to bare metal, apply a rust-inhibiting primer, and paint with a color-matched topcoat. Do the touch-up in dry weather and give it 24 hours to cure before rain.
- Every 1 to 2 years, do a full coating review. If more than a small percentage of the surface is showing rust or coating failure, it’s time to recoat the whole fence rather than keep chasing spots.
- Check anchor bolts at the base plates every year. Wrought iron fence posts handle a lot of wind load, and a loosened anchor bolt on a Lake Forest ridge lot can turn into a swaying fence in one Santa Ana season.
For both metals, the fastener sweep is the fastest diagnostic you can do. Walk the fence with a wrench and a screwdriver and give every connection a half-second check. Anything that moves more than a hair gets snugged or replaced. It takes twenty minutes for a typical residential run and catches most problems before they become expensive.
The Santa Ana wind routine: post-tightening and hardware
Santa Ana winds are the single biggest driver of fence damage in Lake Forest, and they run on a fairly predictable calendar: strongest from October through March, with the sharpest events usually in December and January. A fence that’s been quietly fine all summer can come out of a single Santa Ana event with a leaning panel, a sagging gate, or a post that’s shifted an inch in its footing.
The routine that prevents this is not complicated. It just requires doing it on time.
- Walk the fence line within two weeks of the last significant Santa Ana event of the season. For most Lake Forest homes that’s late February or early March. Stand at one end and sight down the full run. Any post that’s leaning out of plumb by more than a half inch over its height needs to be addressed.
- Check every gate. Swing it by hand and watch the latch engagement. A gate that used to close cleanly and now needs a nudge is telling you the post has moved. Don’t ignore it – a gate that doesn’t latch properly under wind load is a security risk, not just a nuisance.
- Check hardware at the post connections. Bolts and brackets at the hinge side of the gate take the most wind load. Snug any that are loose. Replace any that are stripped or showing movement.
- Look at panel-to-post connections and rail connections. On wood, look for loose nails or screws at every rail. On vinyl, look for rails that have shifted out of their posts. On metal, check the picket-to-rail fasteners.
- Check the fence line for debris damage. Palm fronds, tree limbs, and wind-blown debris are the second leading cause of fence damage in Lake Forest during wind events – after the wind itself.
If a post is significantly out of plumb, the fix usually involves digging out the footing, resetting the post, and re-pouring concrete. That’s not a job for a homeowner with a shovel and a Saturday, especially on a fence that needs to keep standing through the next Santa Ana season. Our team handles post resets and repairs on the same footing-spec standard we use for new installs.
The other thing worth doing before wind season: check your homeowners insurance. Most policies cover fence damage from a wind event, but only if the damage is documented. Which brings us to the next point.
Gate hardware maintenance as a single annual sequence
Gate problems almost always start with the post and cascade outward to the hinge, then the latch, then the gate itself. Homeowners who handle gate maintenance as three separate reactive repairs spend far more than homeowners who run the same three-step procedure once a year as a single sequence.
The sequence, in order:
- Post plumb check. This comes first because everything else depends on it. Use a 4-foot level against the gate post on both the face and the side. Any lean beyond a hair means the post has moved, and hinge and latch adjustments on a tilted post are just delaying the real fix. For a Lake Forest gate facing the afternoon sun, also check for post rotation – a wood post can twist over years.
- Hinge tension and alignment. With the post confirmed plumb, open the gate to 90 degrees and let it hang. Check the top and bottom hinges for play. Grab the gate at the far edge and lift – any vertical movement at the hinges means the hinge barrel or pin has worn and needs replacing. Adjustable hinges get tuned here so the gate sits level with a consistent gap at the latch side.
- Latch alignment. With hinges set, verify the latch engages fully without force. The latch strike plate should meet the gate frame cleanly. A latch that catches only halfway is a wind-thrown gate waiting to happen, and a gate that won’t stay latched is the security compromise we get called about most often.
Do all three in one pass, once per year, ideally in the same session as the Santa Ana post-season check. Write down what you found and what you changed. Next year’s check takes half the time because you have a baseline.
Gate hardware replacement is one of the few fence jobs that’s genuinely homeowner-friendly for a confident DIYer. Post resetting is not. If the plumb check fails, call us.
Documenting fence condition year over year
Fence condition documentation matters more than most homeowners realize, and it’s the single easiest maintenance habit to build. The reason: neighbor disputes about fence maintenance responsibility are common in Lake Forest, especially on lots where the property line runs along a shared fence. California law generally treats a boundary fence as a joint responsibility between adjoining owners unless there’s a written agreement otherwise, but “generally” is doing a lot of work in that sentence. What actually determines who pays for a repair usually comes down to evidence of condition and who knew what when.
The documentation routine:
- Once per year, walk the fence line and photograph every section. Start at one corner and work your way around so the photos are in order. Photograph the good sections too, not just the problems.
- Photograph the ground line at every post. This is where rot and footing problems live, and where the earliest evidence shows. A dated photo of a solid post base in year one is worth a lot in year five if a neighbor claims the fence “was already failing.”
- Note any interaction with the neighbor’s landscaping or irrigation. If their sprinkler hits your fence panel, document it with a photo and a note. This is the most common source of dispute, and the most common cause of accelerated rot.
- Keep a simple log. A one-page document with the year, the date of inspection, any issues found, and any repairs made. Digital photos in a dated folder plus a short written log is plenty.
- If a repair is made by a professional, keep the invoice. Especially for post resets and footing work. That record is what lets you demonstrate the fence was properly maintained.
This isn’t about being litigious. It’s about being prepared. A neighbor who’s reasonable will be reasonable regardless. A neighbor who’s not will respect a dated folder of photos a lot more than a verbal claim.
If you’re planning an addition, ADU, or landscaping overhaul that will affect the fence line, our Home Additions & ADU in Lake Forest team coordinates the fence impact with the main project scope so the documentation stays clean.
Common mistakes to avoid
- Annual sealing on every material. Sealing a sun-exposed wood fence annually instead of staining it every 2 to 3 years doesn’t protect the wood, and it builds up a moisture-trapping film. Vinyl doesn’t need either. Reading one generic maintenance checklist and applying it to every fence material is the mistake that wastes the most money.
- Sealing a fence in direct sprinkler spray. We see this constantly on Lake Forest lots with irrigation hitting a fence panel. Sealing that panel is not protecting it – it’s trapping water behind the film and accelerating rot. Redirect the sprinkler first, then treat the fence.
- Skipping the post-Santa Ana inspection. Wind damage is much cheaper to fix in week one than in week ten. A post that’s moved half an inch can be reset. A post that’s been moving for two seasons is a full-section rebuild.
- Pressure-washing vinyl and wood faces. High pressure drives water into post interiors and etches vinyl surfaces. Use a garden hose and a soft brush, not a pressure washer.
- Ignoring gate latch problems. A gate that won’t latch properly is a security compromise, not a minor annoyance. In Lake Forest, a gate that’s been failing through a Santa Ana wind event is often a post that’s already out of plumb.
- Adjusting hinges on a tilted post. If the post has moved, hinge adjustment just delays the fix. Check plumb first, then adjust hinges, then check latch. In that order.
- Not documenting. Fence disputes go easier when you have photos. Most homeowners don’t take them until the dispute is already happening, and by then the year-one baseline is gone.
When to call a professional
Most of the routine in this guide is homeowner work: a walk of the fence line, washing vinyl panels, checking fasteners, photographing posts. The calls that should go to a professional are specific. Post plumb that has moved beyond half an inch and won’t adjust with tightening. Footing damage or soft wood at the ground line on a wood fence. A vinyl panel that’s popped out of its rails after thermal expansion and won’t reseat. A wrought iron section with rust through the metal rather than just on the surface. Any gate that hangs correctly only after hardware abuse – which usually means the post has failed and needs a reset. And any fence where you suspect the damage is wind-related and you intend to file an insurance claim; documentation matters and pro inspection gets you a proper record.
Groundwork Construction Co. of Lake Forest offers free estimates in Lake Forest – call (855) 532-8973 to schedule. A live person answers, 24/7, and we’ll give you a written line-item scope of what needs fixing and what doesn’t. No change orders once work starts, and the work is covered by our 730-Day Done Right Promise – if it’s not done right, we make it right.
Frequently asked questions
A wood fence in Lake Forest should be stained every 2 to 3 years if it’s in direct sun, and sealed every 3 to 5 years if it’s in partial shade. The decision is exposure-driven, not calendar-driven. Sun-facing fences need stain with UV blockers; shaded fences need a clear sealer. If sprinkler contact is present, redirect the water before treating – sealing over wet wood accelerates rot. Call (855) 532-8973 for an on-site assessment and a free estimate.
The vinyl panels themselves are – they don’t need paint, stain, or sealer, and a quality product from a manufacturer like Bufftech or ActiveYards holds its color well. But the posts, footings, and gate hardware need attention nonetheless. Plan on an annual wash, a twice-annual post and hardware check, and a post-alignment review every five years. Users who treat vinyl as zero-maintenance are the ones who end up with a leaning panel after the first real Santa Ana season. Call (855) 532-8973 if you want a professional look at a fence that’s already showing post movement.
Yes – within two weeks of the last significant Santa Ana event of the season, which for most Lake Forest homes is late February or early March. The inspection should include a full run sight-down for post plumb, a gate swing test, and a hardware snug-down at every post-to-rail and hinge connection. A post that’s moved half an inch can be reset. A post that’s been leaning for two seasons usually becomes a section rebuild. Call (855) 532-8973 to book a professional post-wind inspection.
Yes – post resets are a standard repair, and the fix usually involves digging out the original footing, checking the post for rot below grade, and re-pouring the footing to spec. Most leaning posts are fixable, and most are cheaper to fix in the first season than the second. A post that’s out of plumb by more than half an inch over its height should be reset, not shimmed. Call (855) 532-8973 for a free estimate in Lake Forest.
Routine maintenance such as staining or sealing a typical residential wood fence runs several hundred to just over a thousand dollars depending on fence length and prep work. A single post reset typically runs several hundred dollars per post. A full section rebuild costs more. All of our written quotes are line-item and fixed – the number you see is the number you pay, with no change orders once work starts. Call (855) 532-8973 for an exact quote – estimates are free.
An annual photo walk of the full fence line in order, dated photos of every post base at the ground line, a note of any neighbor landscaping or irrigation contact, and a written log of inspections and repairs. A professional invoice for any post or section repair is the strongest piece of evidence in a dispute. The habit takes about twenty minutes a year and pays off the moment a question comes up. Call (855) 532-8973 if you want a professional documentation pass on a fence you share with a neighbor.
The Bottom Line
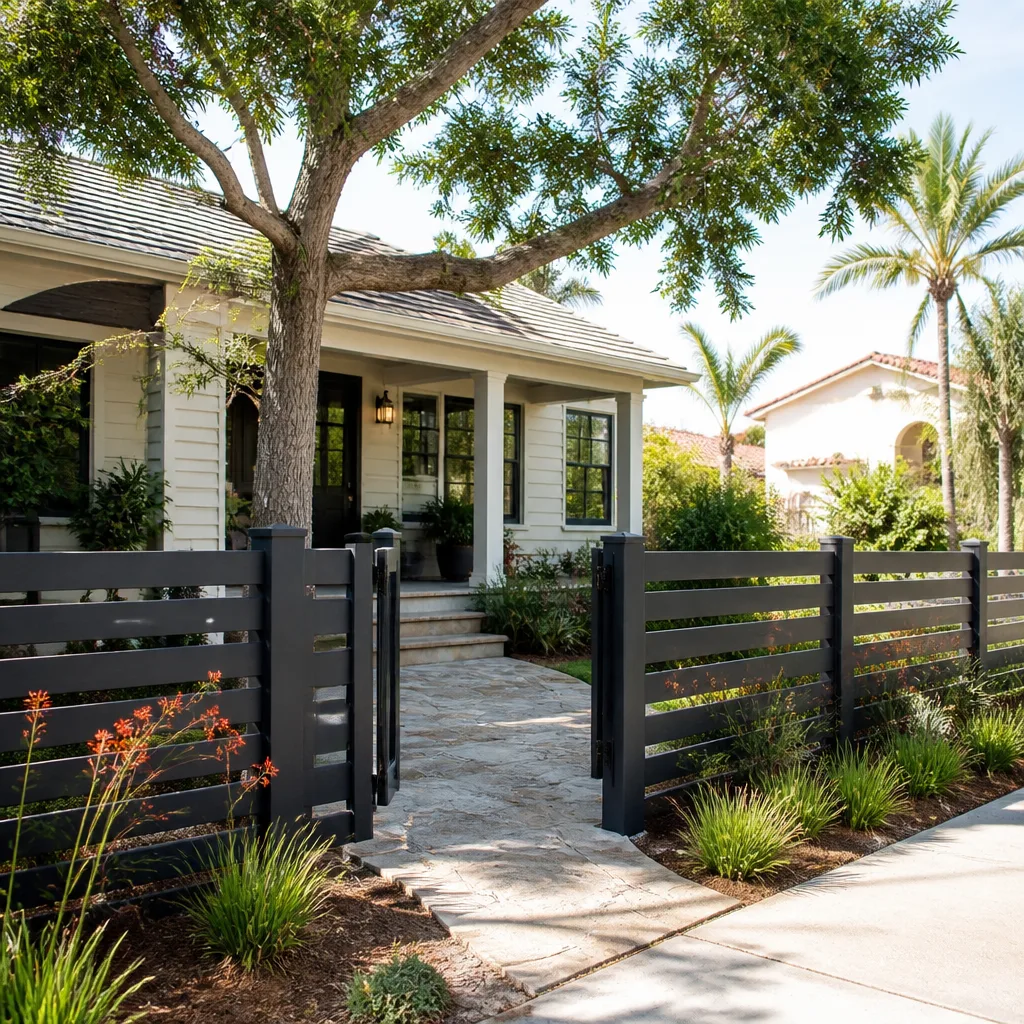
Fence maintenance isn’t one schedule – it’s four, one per material, tuned to your lot’s sun, sprinkler, and wind exposure. Wood needs stain in sun and seal in shade, with sprinkler contact solved before any treatment. Vinyl needs an annual wash, a hardware check, and post-and-footing attention every bit as real as a wood fence. Aluminum wants a rinse and fastener check. Wrought iron wants rust touch-ups every one to two years and a full coating review beyond that. All four benefit from the same two Lake Forest-specific routines: a post-season Santa Ana inspection and a once-a-year gate hardware sequence that starts with the post, then hinges, then latch. Do those, document the year, and your fence will hit its full service life.
If any of it looks beyond what you want to handle, call Groundwork Construction Co. of Lake Forest at (855) 532-8973. We’ll inspect, quote, and give you a straight answer on what’s maintenance and what’s a repair – and back anything we fix with our 730-Day Done Right Promise. You can also start with our Groundwork Construction Co. of Lake Forest home page for the full service lineup, or our Driveway & Pavers in Lake Forest page if you’re already planning hardscape work alongside the fence.
Written by the team at Groundwork Construction Co. of Lake Forest.
See the difference
 Before
 After
 Before
 After
 Before
 After