Last updated November 18, 2026





Free written scope consultation - allowances, timeline, and change-order rules on paper before a single trade is scheduled
Driveway & Pavers Troubleshooting: Common Problems and How to Fix Them
If your pavers are sinking, shifting, or sprouting weeds along the joints within the first three years, the pavers themselves are almost never the problem. Something went wrong six inches below them. We’ve torn out enough failed driveways in Lake Forest to know the pattern: a homeowner spends a few hundred dollars re-sanding joints and patching heaves, then watches the same spot fail again by the next rainy season. The paver surface gets blamed. The base layer caused it. This guide shows you how to tell a cosmetic joint problem from a structural base failure before you spend a dollar, which problems you can legitimately reset yourself, and when pulling the pavers and recompacting the base is the only repair that holds.
Quick Answer
Sinking, shifting, and joint weeds in pavers are usually symptoms of a failed base layer, not bad pavers. A small, scattered problem with intact edges is often a joint-sand issue you can fix; a repeated pattern of settlement, heaving, or washout means the sub-base needs to be pulled, recompacted, and rebuilt. Diagnose the cause before you repair, or you’ll pay for the same fix twice.
Styles & brands we work with
- Kitchen remodeling
- Bathroom remodeling
- Home additions & ADU
- Roofing
- Windows & doors
- Driveway & pavers
- Fence
Table of Contents
- How to Diagnose the Problem Before You Spend a Dollar
- What the Settlement Pattern Tells You
- Drainage, Tree Roots, and Installation Failures
- Efflorescence: Cosmetic Stain or Structural Warning?
- Re-Sanding Polymeric vs. Traditional Joints
- What You Can Fix Yourself and What You Can’t
- Preventing the Next Failure
- Common Mistakes to Avoid
How to Diagnose the Problem Before You Spend a Dollar
The first move isn’t buying sand or calling anyone. It’s reading the surface. Walk the driveway with a straightedge or a 4-foot level and look for how the settlement is distributed. Uniform minor settlement across a large area that still drains points one direction. A single low corner near the garage or the street, or a raised hump in the middle, points another. The difference decides whether you’re looking at a joint-sand top-off or a base problem, and that difference is the gap between a $400 repair and a full reinstall in Lake Forest.
Here’s the diagnostic sequence we walk through on every estimate:
- Check the edges. If the pavers along the border are tight and locked but the center is loose, the restraint edge may be working while the base underneath has settled. If the border itself has spread or the pavers are walking outward, the edge restraint has failed and the base is exposed.
- Probe the joints. Push a screwdriver into a joint. If it slides easily, the joint sand has washed out and the bedding layer is thin. If it stops hard against compacted base, the sand loss is superficial.
- Look for lippage. Run your hand across the surface. A sudden step between two pavers that aren’t adjacent to a drainage point usually means one paver has rocked on an uncompacted spot.
- Watch it after rain. Standing water that lingers for hours, or water pooling against the foundation, is a grading and base problem, not a paver problem.
- Inspect the base at a joint or edge. If you can see the base at an edge, check whether it’s compacted aggregate or loose soil. Loose soil under pavers is an installation failure, full stop.
Most homeowners in Lake Forest discover their driveway problem in late winter or early spring, and that timing matters. The rainy season we get here exposes every drainage flaw in a base. If a paver driveway was installed on a slope with no positive fall to the street, the water has already told you what’s wrong.
What the Settlement Pattern Tells You
Sunken pavers don’t fail randomly. The shape of the depression is a fingerprint, and it names the cause. Read it before you reset a single paver.
- One low corner near the street or the garage apron: typically a grading problem. Water sheeted off the driveway, undermined the edge, and the base at that end lost its compaction. This is the most common pattern we see on Lake Forest driveways that fall toward the street.
- A bowl-shaped depression in the middle with high spots around it: usually a base compaction failure in the center, often from a base that was laid too thin or compacted in one pass. If the whole driveway sags in the middle, the base thickness was short.
- A long, narrow trough running the width of the driveway: often a buried utility line, a repaired trench, or a joint between two pours of base that was never properly tied together.
- Paver courses that curve or spread outward along the edge: edge restraint failure. The pavers are migrating because nothing is holding the field, and no amount of re-sanding will lock them.
- Localized heave in a line or cluster: tree roots. Roots lift the base from below, and the fix is root management plus a base rebuild, not a paver reset.
The critical diagnostic rule: two or more of these patterns appearing together usually means a base failure, even if the surface looks minor. A single isolated pattern in one corner can often be repaired locally. A pattern that repeats across the driveway cannot. This is where the “surface-level vs. structural” call gets made, and it’s the call that determines your budget.
Drainage, Tree Roots, and Installation Failures
Three culprits cause nearly every base failure we tear into: water, roots, and shortcuts at installation. They leave different evidence.
Drainage problems leave a grading signature. Water pools in the same low spot after every storm, or flows toward the foundation instead of the street. In Lake Forest, the clay-heavy soil common to many lots holds water instead of draining it, so a base that looked fine in summer can turn to mush by February. If a driveway was installed without a positive fall away from the house, the base absorbs what the surface can’t shed. That’s an installation failure, not a paver failure.
Tree roots leave a signature too: heave in a line that traces back to a mature tree, plus crack patterns in the base. If a tree sits within a few feet of a driveway, the roots will find the moisture trapped under the pavers and lift the base over time. The fix combines root management and a base rebuild at that section, not a paver swap. Cutting roots to save the pavers can destabilize the tree, so this is a job for someone who knows both sides of it.
Installation failures leave the deepest signature. If the base was laid too thin, compacted poorly, or laid over topsoil instead of compacted aggregate, the pavement settles from day one. This is the failure homeowners can’t see, and it’s the one that reappears after every repair. On pavers, the base should be compacted aggregate of the right depth for the traffic load, not a bag of sand over dirt. When we open a driveway that failed early, we usually find the base was the shortest part of the job.
One more culprit worth naming: the joint between a paver field and a concrete apron, garage slab, or walkway. Any gap or failed sealant there lets water in, and the base under it fails first. That’s why driveway corners fail before the middle. Seal that joint as part of maintenance, not repair.
Efflorescence: Cosmetic Stain or Structural Warning?
Efflorescence is the white, chalky mineral film that shows up on paver surfaces after wet weather. It looks alarming and is usually the most misunderstood problem on a paver driveway. Here’s the honest answer: most efflorescence is a cosmetic moisture issue, not a structural warning. Water carrying salts moves through the paver, evaporates at the surface, and leaves a mineral deposit behind. It’s a symptom of moisture cycling through the system, which is normal.
It becomes a structural warning when it appears with other symptoms. White staining on its own, fading and returning with the seasons, is a cleaning and sealing discussion. White staining plus a soft, crumbling surface, joint sand washing out, or the stain concentrated at a low, sinking spot is the base talking to you. In that case the efflorescence is the messenger, not the problem.
What we do about it: diagnose the moisture source first. If water is getting under the pavers through a failed joint or a low edge, fixing that drainage issue often reduces the efflorescence over time. Cleaning efflorescence with a proper paver cleaner works, but it treats the symptom. Sealing a paver driveway while it’s still wet or before the salts have left can trap moisture and make it worse. We don’t recommend sealing any paver surface that has active open joints or unresolved drainage.
Re-Sanding Polymeric vs. Traditional Joints
Re-sanding is the repair homeowners most often do wrong, and the mistake is using the wrong type of joint sand for the surface. Polymeric sand hardens after it’s wetted and creates a semi-rigid joint that resists washout. Traditional sand stays loose and is easier to top off but washes out faster and needs more frequent maintenance. Putting polymeric sand over a surface that still has movement, or into joints that are too wet or too full, traps water and can cause the very failure it was supposed to fix.
The correct process matters as much as the product. Here’s the sequence we use:
- Fix the cause first. Never re-sand a surface with settlement, edge spread, or active water issues. Sand the joints and the water goes nowhere.
- Clean and open the joints. Remove loose sand and old debris to a consistent depth. Joints should be dry before polymeric sand goes in.
- Choose the sand to match the joint and traffic. Polymeric for driveways and heavy traffic where washout has been a repeated problem, traditional sand for light-duty walkways you can top off easily.
- Sweep and dampen correctly. Follow the product’s water instructions exactly. Too much water too fast can wash out the polymeric binder; too little stops the joint from setting.
- Re-check drainage. After re-sanding, confirm water still sheds off the surface rather than pooling.
One more detail: if you had traditional sand in the joints and switch to polymeric, pull out the old sand first. Mixing the two leaves a joint that’s neither loose nor rigid, and it fails fast. On any paver driveway in Lake Forest, we match the joint system to the surface and the drainage profile rather than using one sand on everything.
What You Can Fix Yourself and What You Can’t
Some paver repairs belong in the homeowner’s hands. Others belong with someone who can compact a base, and the difference is base access. Here’s the honest split.
You can handle these: topping off joint sand on an otherwise stable driveway, cleaning efflorescence with a proper paver cleaner, removing weeds from joints and re-sanding that section, replacing a single broken or chipped paver in a stable field, re-sealing a joint between the pavers and the garage apron, and pulling leaves and debris out of the drainage path.
Call a professional for these: any settlement or heaving, pavers that rock or walk at the edges, repeated sand washout after you’ve topped it off, roots lifting the base, standing water after storms, and any repair where you’d have to lift the pavers and dig into the base. The reason is mechanical. Whether a paver reset holds depends on whether the aggregate beneath it is properly compacted and the base thickness is adequate. A plate compactor handles that in a way a hand tamper never will. Patching a sunken paver without correcting the base puts that paver’s weight on the wrong point, and it fails again.
There’s also a Lake Forest-specific reason to call before digging deep: if the base is failing near a property line, a shared driveway, or a drainage easement, the repair has to respect the grading and the drainage pattern of the lot. A local paver specialist who works these hillside and flat-lot driveways knows what the typical grading issues look like, and that saves guesswork. If you’re planning a full replacement rather than a repair, our Driveway & Pavers in Lake Forest page shows how we build the base from the ground up.
Preventing the Next Failure
The cheapest paver repair is the one you prevent. A few habits keep a driveway out of the failure column.
- Keep the joints sanded. Joint sand isn’t decoration; it locks the pavers and stops water from reaching the base. Check it every spring after the rains and top it off.
- Watch drainage. If water pools anywhere on the driveway after a storm, fix the grading rather than the pavers. A shallow swale or a repitch of the failed section usually beats a full reinstall.
- Seal the edges and the joint at the garage. Edge restraint and the joint where pavers meet concrete are the two spots that fail first. A small repair now beats a base rebuild later.
- Manage tree roots early. If a mature tree stands near the driveway, have the root zone evaluated before it lifts the base. Root cutting and paver repair belong together.
- Don’t seal wet pavers. Wait for a dry stretch and make sure the drainage under the surface is sound.
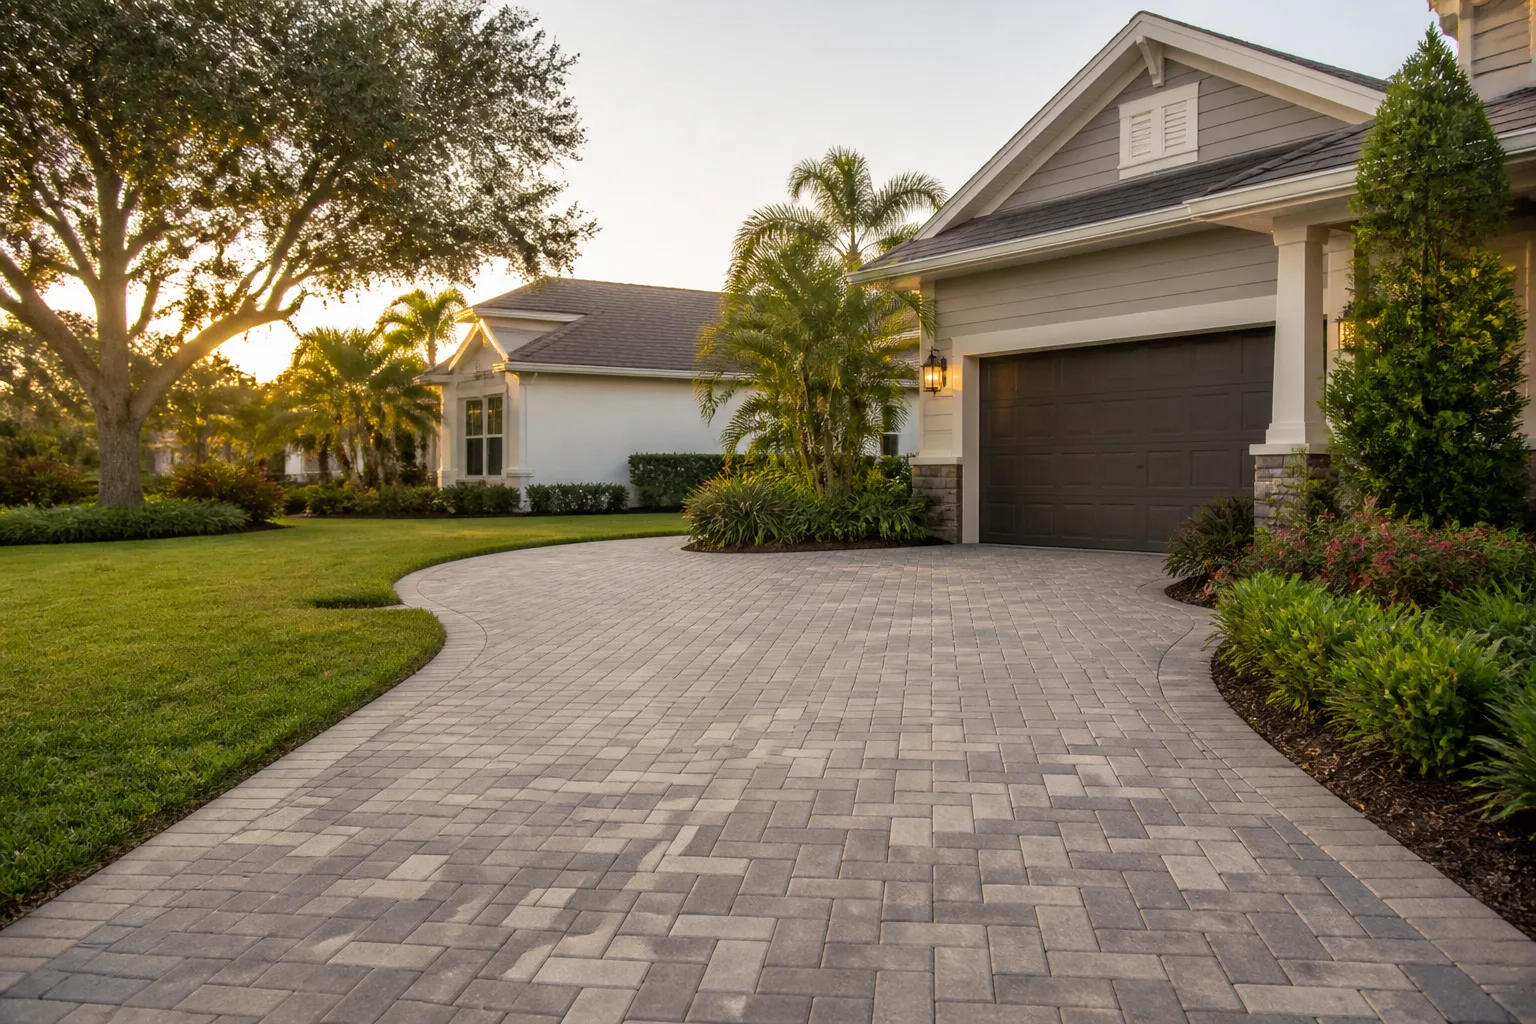
And when a base does need rebuilding, build it right the first time: compacted aggregate of the right depth, proper edge restraint, and a positive fall away from the house. That’s the difference between a paver driveway that lasts and one that fails at year three. If you’re resolving drainage issues at the property line at the same time, a new fence installation in Lake Forest is often the moment to grade the perimeter properly.
Common Mistakes to Avoid
- Re-sanding over a failed base. Adding sand to a driveway that’s still moving locks the symptom in place. The water still gets under the pavers, and the repair fails again after the next wet season.
- Using the wrong joint sand for the surface. Polymeric sand smeared into wet joints, or traditional sand on a driveway that keeps washing out, both make things worse. Match the sand to the joint and the traffic.
- Lifting one paver without fixing what’s under it. A single reset without compacting the base beneath it pushes the failure onto the next paver. Small repairs on a failing base just relocate the problem.
- Ignoring the edge restraint. Border pavers that have spread tell you the base has lost its lock. Re-sanding the field while the edge is open is a waste of a weekend.
- Sealing pavers that are still wet or still draining poorly. Sealing traps moisture under the surface, and in Lake Forest’s wet winters, that accelerates efflorescence and base softening.
- Cutting tree roots to save the pavers without a plan. Removing structural roots can destabilize a mature tree. The repair has to account for both.
- Burying the drainage problem with a fresh layer of sand. It looks better for a season and fails worse by the next spring. Diagnose the cause before you touch the surface.
See the difference
 Before
 After
 Before
 After
 Before
 After
When to Call a Professional
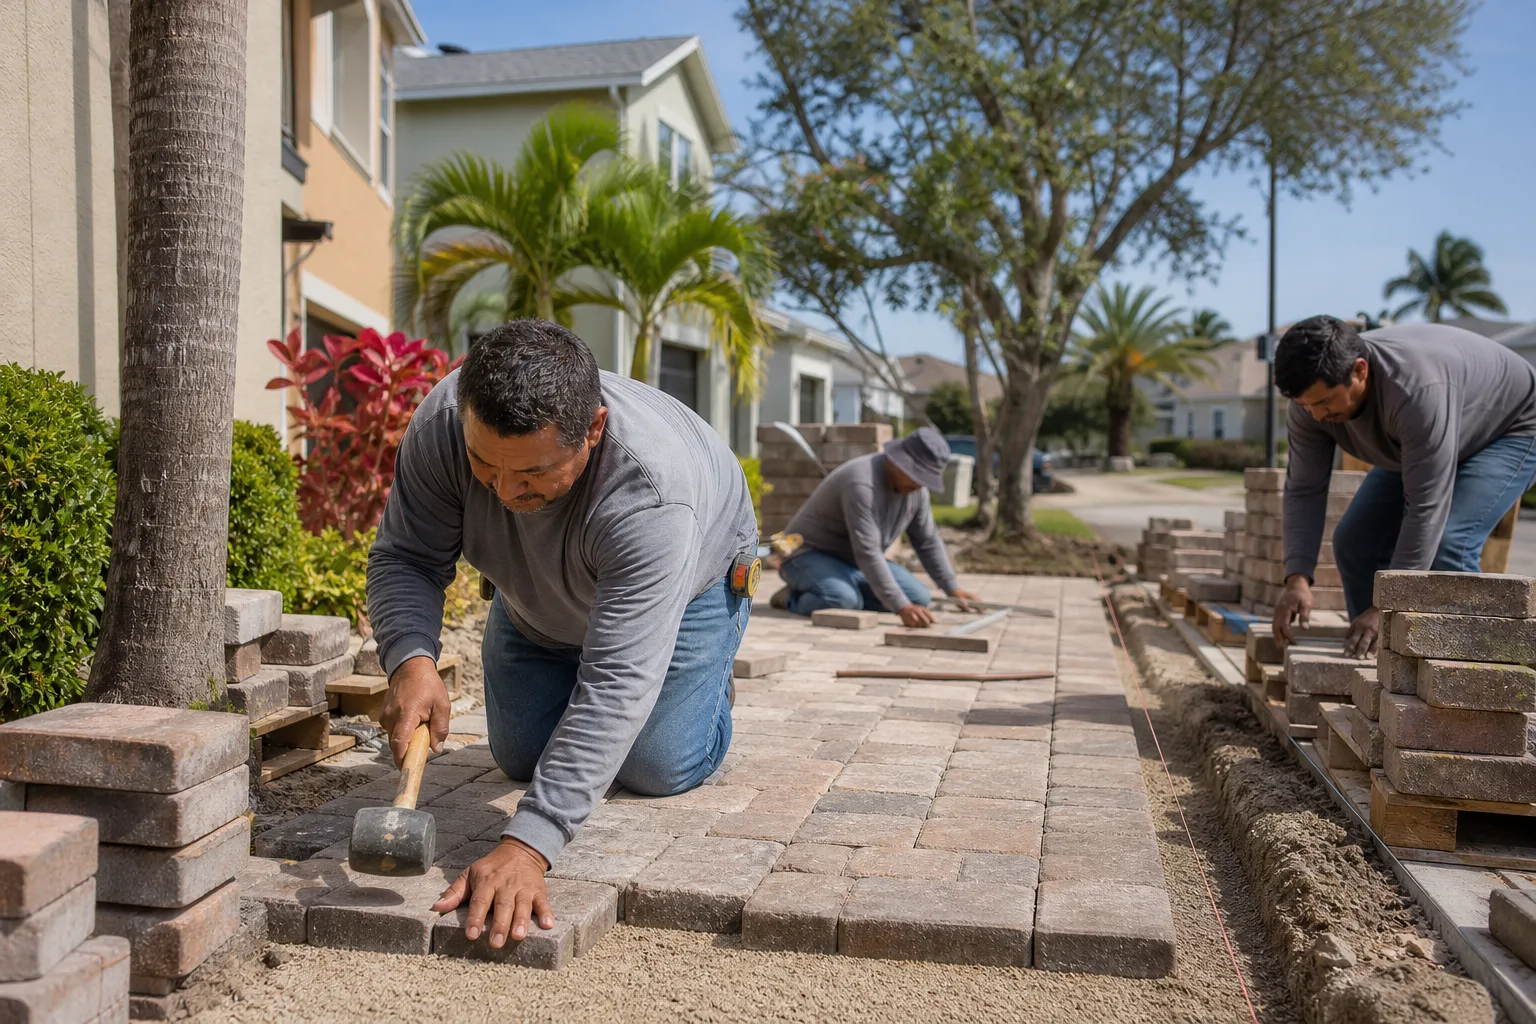
Call a professional when the paver pattern tells you the base is failing: repeated settlement after a re-sand, pavers that walk at the edges, heaving or roots lifting a line of pavers, standing water that lingers after storms, or a whole driveway that sags in the middle. Those are base rebuilds, and base rebuilds are where a homeowner’s weekend work turns into a full reinstall. The other scenario is a driveway that’s failed twice. A repair that failed once can be a fluke; a repair that failed twice means the diagnosis was wrong.
Groundwork Construction Co. of Lake Forest offers free estimates in Lake Forest for paver repairs and replacements. Our technicians have up to 12 years of experience, they’re background-checked and uniformed, and every project is backed by our 730-Day Done Right Promise: if it isn’t done right, we make it right. You get upfront pricing with a written line-item quote, and calls are answered by a live person 24/7. Call (855) 532-8973 to schedule your free estimate and design consult. If your project grows beyond the driveway, our Home Additions & ADU in Lake Forest team can plan the grading and drainage together with the new structure. And you can see the full scope of what we build on our Groundwork Construction Co. of Lake Forest home page.
Frequently Asked Questions
Because the base layer failed, not because the pavers are bad. Early sinking and shifting almost always trace back to an installation problem: a base that was too thin, compacted improperly, or laid over soil instead of compacted aggregate, or a drainage issue that let water reach the base. Call (855) 532-8973 for a free diagnosis before you spend money on surface repairs.
Only if the problem is surface-level joint-sand loss with no settlement, edge spread, or drainage issues. If pavers are moving, the base failed and re-sanding hides the symptom. We recommend diagnosing the cause first; a free estimate in Lake Forest will tell you which problem you actually have.
It’s usually efflorescence, a cosmetic mineral film from moisture moving through the paver, and it’s not serious on its own. It becomes a warning sign when it appears with settlement, crumbling joints, or a low spot that collects water. In that case the moisture source needs fixing before the stain is treated. Call (855) 532-8973 to have a pro look at it.
Use polymeric sand for driveways and heavy-traffic areas where washout keeps recurring, and traditional sand for light-duty areas you can top off easily. Never mix them, and never re-sand over a base that’s still moving. If you’re not sure which joint system your driveway needs, a free estimate will cover it.
It depends on the cause. Joint-sand top-off is a small line item; a localized reset or edge-restraint repair is more; a section rebuild with a recompacted base costs more again, and a full base rebuild is a replacement-scale number. That range is exactly why diagnosis comes first. Call (855) 532-8973 for an exact quote with upfront pricing and no surprises; estimates are free.
Minor repairs and re-sanding generally don’t require a permit, while a replacement that changes grading or affects drainage is a different conversation with the city. We pull permits where required and work to the local code. Call us to confirm what your specific project needs before work starts.
The Bottom Line

Pavers fail at the surface, but the cause is almost always underneath. Sunken, shifting, or weedy joints with intact edges are usually a joint-sand fix; any settlement pattern that repeats or combines (a low corner plus edge spread, a middle sag plus washout, root heave plus low spots) points to a base that needs pulling and recompacting. Diagnose the pattern, fix the cause before re-sanding, match the joint system to the surface, and know which repairs belong in your hands. Do that and you won’t pay twice for the same problem. Groundwork Construction Co. of Lake Forest backs the work with our 730-Day Done Right Promise, delivers upfront pricing with a written line-item quote, and answers calls with a live person 24/7. Call (855) 532-8973 to schedule your free estimate and design consult. Now through the end of the season, we’re offering $1,000 off projects over $10,000 and 0% financing for 18 months for homeowners who qualify.
Written by the team at Groundwork Construction Co. of Lake Forest.