Last updated November 18, 2026



Free written scope consultation - allowances, timeline, and change-order rules on paper before a single trade is scheduled
Driveway & Pavers Maintenance Schedule: What to Do and When
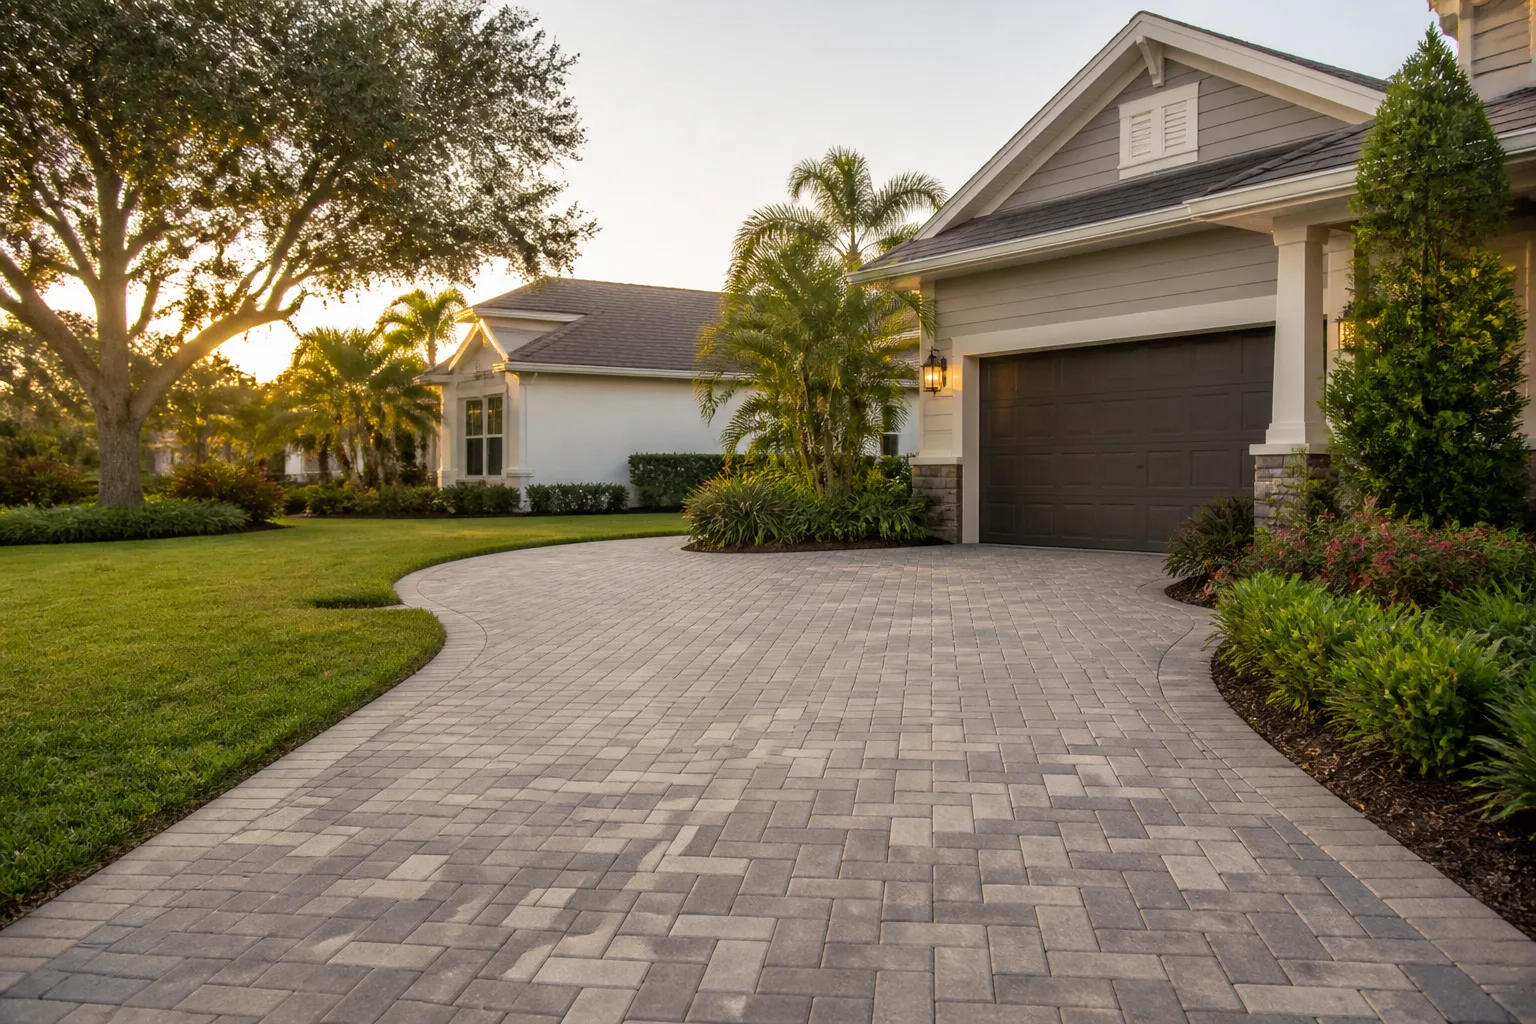
Sealing new pavers too soon is one of the most common mistakes we see homeowners make, and it backfires in exactly the way you’d fear. Fresh pavers release moisture and mineral salts for weeks after installation. Trap that under a sealer and you lock in the efflorescence and trapped dampness you were trying to prevent, and the surface can spall and haze. Get the timing right and a paver driveway will outlast a neglected one by 15 to 20 years. This guide lays out a month-by-month schedule built for Lake Forest conditions: Santa Ana winds, dry summers, and the first rains of fall. You’ll learn what to do each season, what to skip, and the warning signs that mean base trouble.
Quick Answer
A paver driveway needs light attention every season and one deep cleaning in fall before the rains. Skip sealing for the first 60 to 90 days after installation so the pavers can cure and release moisture. Clean joints and re-sand before the rainy season, spot-weed through spring, and inspect for settling or washout at the edges once a year. Done on schedule, maintenance is mostly an afternoon or two per season. Skipped for years, small joint failures turn into base repairs that cost many times more.
Styles & brands we work with
- Kitchen remodeling
- Bathroom remodeling
- Home additions & ADU
- Roofing
- Windows & doors
- Driveway & pavers
- Fence
Table of Contents
- The First Year: Curing, Efflorescence, and When to Seal
- Fall Cleaning: The Most Important Window of the Year
- Penetrating vs. Film-Forming Sealers in Southern California Sun
- Joint Inspection and Re-Sanding Before the Rains
- The Month-by-Month Schedule
- Warning Signs Your Base Is in Trouble
- Common Mistakes to Avoid
- When to Call a Professional
The First Year: Curing, Efflorescence, and When to Seal
New pavers need time before they’re sealed. The concrete or clay is still releasing moisture, and the polymeric sand in the joints needs to set and settle. In our experience across Lake Forest, that hold-off window runs roughly 60 to 90 days after installation. During the hottest stretches of a Lake Forest summer, we lean toward the longer end, since pavers laid in full sun cure unevenly and the surface moisture takes longer to leave. Sealing during the curing window traps that moisture under the film. When the sun hits the sealed surface, the trapped dampness pushes up as white mineral haze (efflorescence) and can lift the sealer in patches.
What to do instead during the curing window:
- Let it breathe. Don’t seal, and don’t apply any topical coating, even a “cure and seal” product.
- Sweep, don’t wash. Light sweeping keeps debris out of the joints. Avoid pressure washing for the first few months, since it blows out fresh joint sand.
- Rinse efflorescence, don’t scrub it in. A light rinse with a garden hose handles most surface bloom. If white haze persists after a few weeks, a diluted white-vinegar wash on a test patch is usually enough. Rinse thoroughly afterward.
- Keep heavy loads off the new surface. No dumpsters, no delivery pallets parked on the pavers for the first month. Ask for drop-off on the street or the concrete apron.
When the 60-to-90-day window closes, do a small test patch before committing to a full seal. Seal a hidden corner or the edge behind the garage, let it cure, and check the color and finish. Some pavers darken noticeably under a sealer. If the test patch doesn’t match what you pictured, that’s a lot cheaper to discover on a three-foot square than across a whole Lake Forest driveway. Our technicians have up to 12 years of experience with this and can tell you in a walkthrough whether your pavers are ready. For questions about a full driveway install or replacement, see our Driveway & Pavers in Lake Forest page.
Fall Cleaning: The Most Important Window of the Year
Fall is the most critical maintenance window of the year for a paver driveway in Lake Forest, and it has everything to do with the Santa Ana winds. From roughly September into November, those dry offshore winds push fine dust, grit, and leaf litter across the county. That fine debris is the enemy of a paver system. It works its way into the joints, packs down, and holds moisture after the first rains. Debris that stays in the joints through winter feeds weeds and moss and slowly undercuts the joint sand that holds the whole surface together.
Here’s how we approach fall cleaning:
- Clear the surface completely. Leaf blow the whole driveway, including the edges where debris drifts and piles against fences and garage doors. Pay extra attention to the low side of the driveway where wind-driven grit settles.
- Pull weeds while they’re small. A weeding knife or a stiff brush handles most joint weeds. Don’t spray broad-spectrum herbicide across pavers, since runoff stains and can harm the joint sand.
- Pressure wash at a controlled setting. Use a wide fan tip and keep the wand moving. Too much pressure on one spot scours the joint sand and can chip the paver edges. Work on a dry, mild day, not a windy one.
- Let it dry, then inspect joints. Give the surface at least 24 hours to dry. Walk the whole driveway and look at joint depth. Any joint that’s more than a quarter-inch low needs refilling before the rains.
- Re-sand before the first storm. This is the single highest-value task of the year (more on this below).
The fall window matters most in Lake Forest’s older neighborhoods, where mature trees drop leaves and seed pods onto driveways that face the wind. Get the cleaning done in late September or early October, before the first real rain. Once joint sand washes out, water finds the base, and that’s where the expensive repairs begin.
Penetrating vs. Film-Forming Sealers in Southern California Sun
For a driveway in Southern California sun, a penetrating sealer is almost always the right call. A film-forming sealer lays a coating on top of the pavers. In Lake Forest, where a south- or west-facing driveway bakes through triple-digit afternoons, that film gets hard, then brittle, then it peels or turns milky. A peeling film sealer looks worse than unsealed pavers, and stripping it costs more than sealing properly in the first place.
Here’s the difference in practical terms:
- Penetrating sealer: Soaks into the paver and blocks moisture uptake from inside the stone. It’s breathable, so moisture can still escape. It doesn’t create a film, so there’s nothing to peel. It darkens the color slightly and needs reapplication every two to three years.
- Film-forming sealer: Sits on top and creates a glossy, sometimes wet-look finish. It can look great on a decorative patio in shade, but on a sun-exposed Lake Forest driveway it forms a film that traps moisture and eventually lifts. Avoid it on driveways unless the product is specifically rated for driveways and full sun.
On a driveway, the sealer also has to survive car tires, jacks, and the occasional dropped tool. Penetrating sealers handle abrasion far better. If a film-forming product gets scratched, the scratch lifts the coating. If a penetrating sealer gets scratched, it just looks like a scratch, and you touch it up at the next application. That’s a big repair-versus-reapply difference over a 20-year horizon.
One more thing on Southern California sun: apply sealer on a mild, overcast day, not on a blazing afternoon. Sealer applied to a hot surface flashes off too fast, and the finish goes blotchy. Aim for temperatures between roughly 50°F and 85°F, with no rain in the forecast for at least 24 hours. In our experience, an October or November application window in Lake Forest works well because the Santa Anas have usually settled and the sun is less brutal.
Joint Inspection and Re-Sanding Before the Rains
The joint sand is the structural core of a paver system. It locks every paver against its neighbors, spreads loads, and keeps water from driving straight into the base layer. When joints wash out, water gets under the pavers, softens and shifts the base, and cracks appear. Re-sanding before the rainy season is what stops that chain. Around Lake Forest, the first real rain usually arrives between late October and December, so plan the re-sand for October.
How to inspect and re-sand the joints:
- Walk the full driveway on a dry day. Look at every joint. The sand should sit roughly a quarter-inch below the paver chamfer, not flush with the surface and not sunk deep.
- Probe the weak joints. Use a key or a flathead screwdriver to see how loose the sand is. If it gives way easily, that joint needs refilling.
- Choose polymeric or regular joint sand. Polymeric sand hardens when wet and resists washout and weeds better on a sloped Lake Forest driveway. Regular sand is cheaper and easier to work, but needs more frequent topping up. Most homeowners we work with go with polymeric.
- Pour and sweep. Pour the sand over the surface, then sweep it into the joints with a soft push broom. Work in small sections. Don’t leave piles of sand sitting on the pavers.
- Compact and mist. Run a plate compactor with a rubber pad over the surface to settle the sand into the joints. Then mist the whole surface lightly to activate the polymeric sand. Don’t flood it.
- Brush off the haze. After the mist, brush the surface again to clear residual sand from the paver faces. Once it hardens, that haze is hard to remove.
Re-sand every fall, and spot-fill any joint that opens up during spring or summer. It takes an afternoon and costs far less than a base repair.
The Month-by-Month schedule
Here’s the annual rhythm we recommend for a Lake Forest paver driveway. Adjust by a couple of weeks in either direction based on the weather, but keep the order: clean, inspect, re-sand, then seal.
- January – February: Rain season. Keep an eye on joint washout and drainage. Sweep debris after each storm. Don’t seal or pressure wash during a wet stretch.
- March – April: Pull spring weeds and spot-fill any joint that opened over winter. Check for settling at the edges after heavy rain.
- May – June: Light sweep and hose-rinse as needed. If you plan a seal this year, this is the window to plan it. Test any sealer in a hidden corner.
- July – August: Hot, dry months. Keep the driveway clear. Watch for any paver that rocks or moves. If you’re sealing this year, wait for a mild day and a cooler forecast.
- September – October: The big one. Deep clean, pull weeds, pressure wash, re-sand, and apply a penetrating sealer if it’s due. Clear leaf litter from edges.
- November – December: Re-check joints after the first rains. Spot-fill any washout and clear the gutters and drainage channels at the bottom of the driveway.
That’s the whole year. Two afternoons of real work plus a couple of quick sweeps, and the driveway holds up for decades.
Warning Signs Your Base Is in Trouble
Catching a base problem early turns a small repair into a small repair. Miss it for a year and it can become a full replacement. Here’s what to check during your annual walkthrough:
- A paver that rocks when you step on it. That means the bedding sand under it has shifted. One or two pavers can usually be reset. A whole area means the base needs attention.
- Sunken or raised sections. A dip or hump in the middle of the driveway usually means the base has settled or heaved. In Lake Forest, that can happen when water from a clogged drainage channel has soaked the base.
- Widening joints at the edges. If the edge pavers pull away from the rest, the base or the edge restraint is failing.
- Persistent joint washout after every storm. Joint sand that disappears after each rain means water is concentrating in that area. The fix is drainage, not more sand.
- Cracks in the concrete apron or the base visible through joint gaps. Any visible base movement is a professional call.
- Recurring efflorescence after sealing. If white haze keeps coming back after a proper seal, moisture is getting under the pavers from somewhere. Don’t seal again. Diagnose the water source.
If you see one or two of these signs, get an inspection before the rainy season. If you see three or more, especially anywhere the pavers visibly rock or dip, call a professional. Small base repairs are worth doing right, and our Groundwork Construction Co. of Lake Forest home page has more on the full scope of projects we take on.
Common Mistakes to Avoid
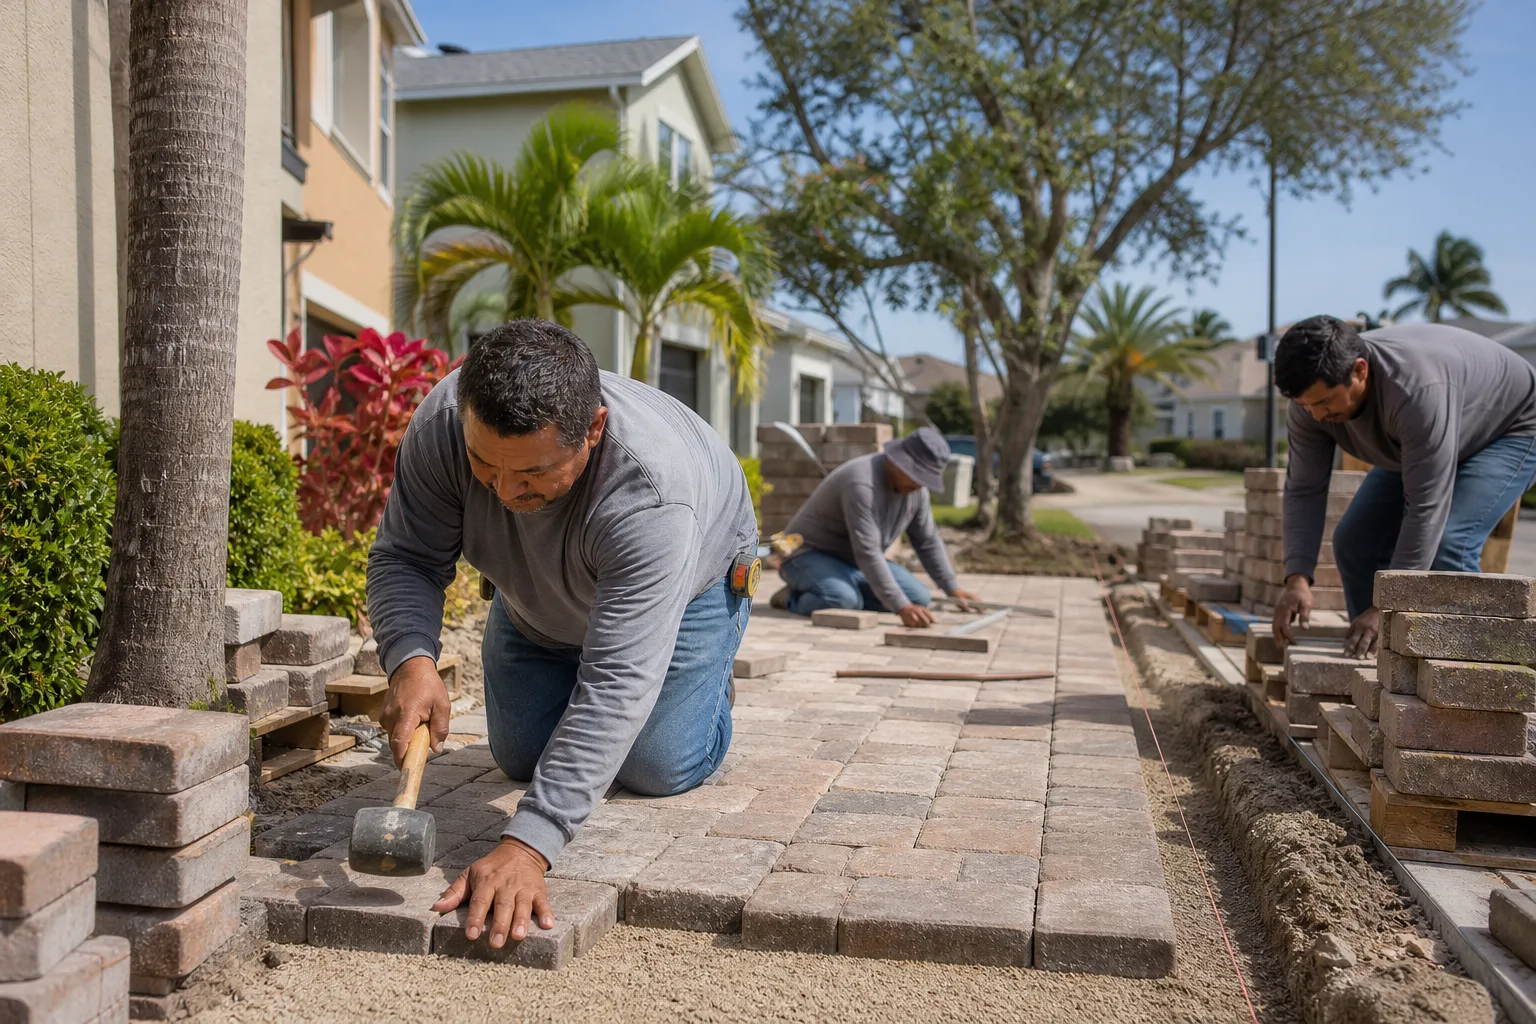
- Sealing a brand-new driveway. Fresh pavers need 60 to 90 days to cure and release moisture. Seal too soon and you trap efflorescence and moisture under a film that then blisters and peels. Wait the full window, especially on a Lake Forest driveway baking in the summer sun.
- Using a film-forming sealer on a sun-exposed driveway. Glossy film sealers look good for a season and then fail badly in Southern California heat. Stick with a breathable penetrating sealer.
- Pressure washing too hard or too hot. High pressure scours joint sand and chips paver edges. Use a wide fan tip, keep the wand moving, and let the detergent do the work.
- Skipping the fall clean. Santa Ana winds pile fine grit and leaf litter into the joints. Leave it and the joint sand fails through winter. Fall cleaning is the single highest-value maintenance task of the year.
- Re-sanding without compacting. Sand poured and swept into place but never compacted and misted won’t hold. It washes out with the first good rain.
- Ignoring a rocking paver. One rocking paver is a quick reset. Ignored for a season, it spreads and the base under it softens. Small repairs are cheap; base repairs are not.
- Sealing over efflorescence instead of fixing the moisture. Efflorescence is a moisture symptom. If it comes back after a seal, there’s a water source underneath. Diagnose it before you apply anything.
When to Call a Professional
Most annual maintenance you can do yourself. The line is base work. Call a professional if you see pavers that rock or sink, joint washout that keeps coming back after you’ve re-sanded, joints pulling away at the driveway edges, or any visible base movement. Those are not maintenance tasks. They’re repairs that need the pavers lifted, the base checked, and the edge restraint fixed. Go DIY on base work and you’ll usually end up back where you started within a season.
Also call a pro before sealing a new driveway if it hasn’t been inspected, or if the paver surface looks uneven in color or has large wet patches after rain. Those are signals the paver isn’t ready, and sealing would make things worse. Groundwork Construction Co. of Lake Forest offers free estimates in Lake Forest. We know the local conditions and can tell you in a walkthrough whether your driveway needs routine maintenance or a bigger repair. Call (855) 532-8973 to schedule yours. We also install fences and gates that pair with driveway upgrades, which you can read about on our Fence Installation in Lake Forest page.
See the difference
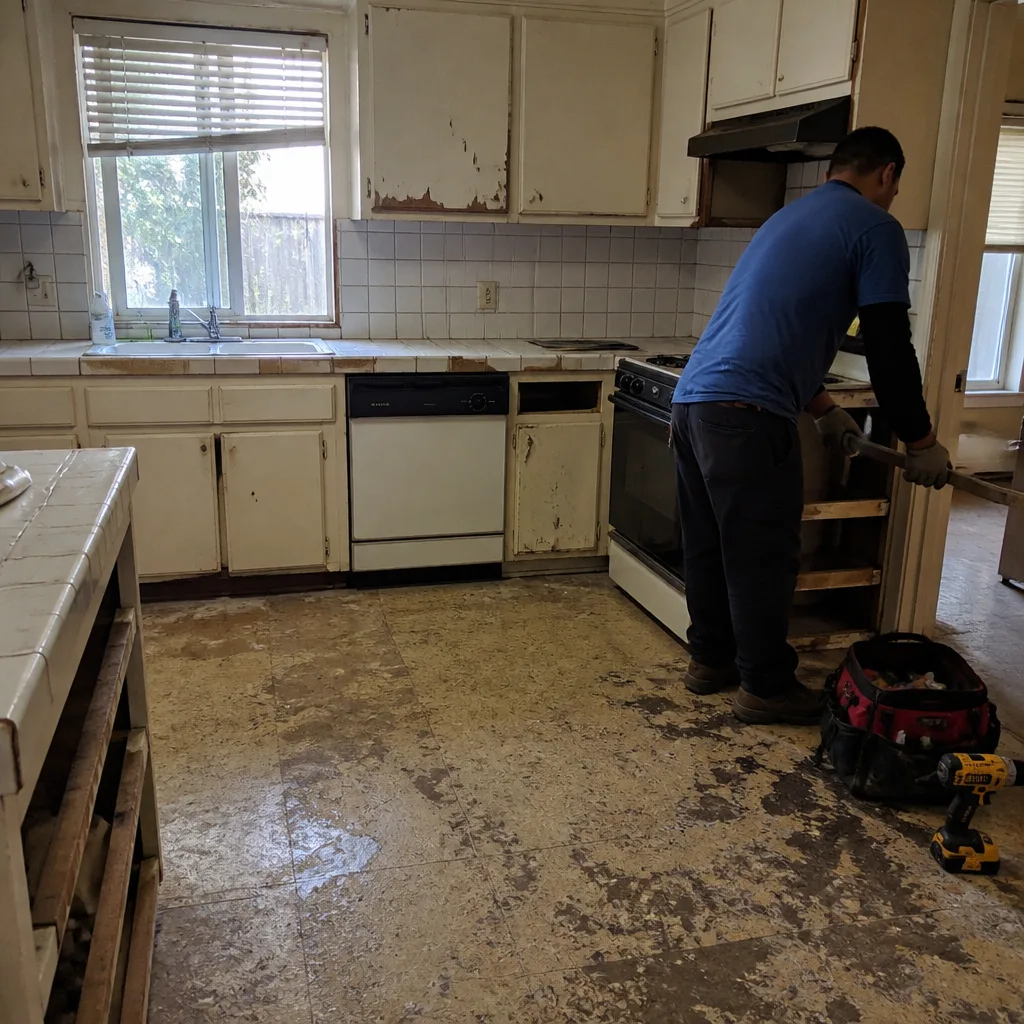 Before
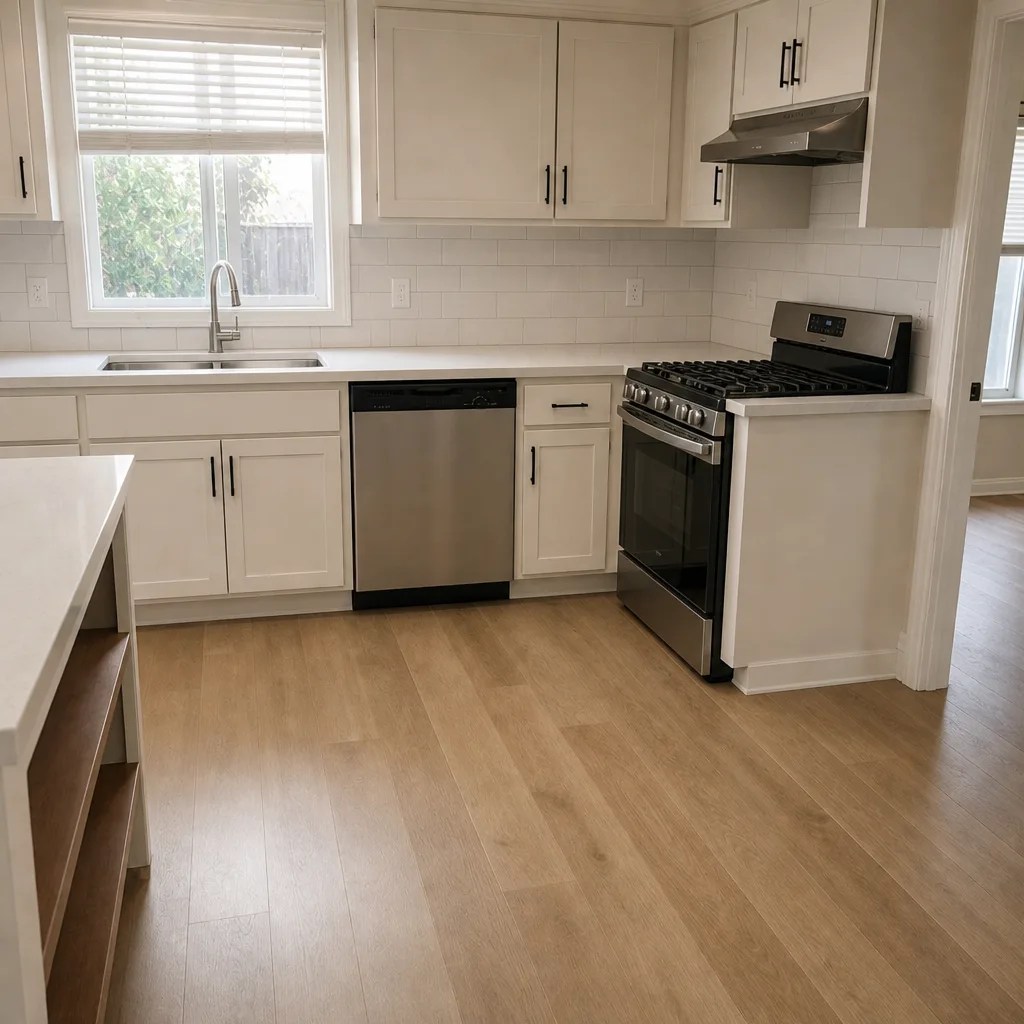 After
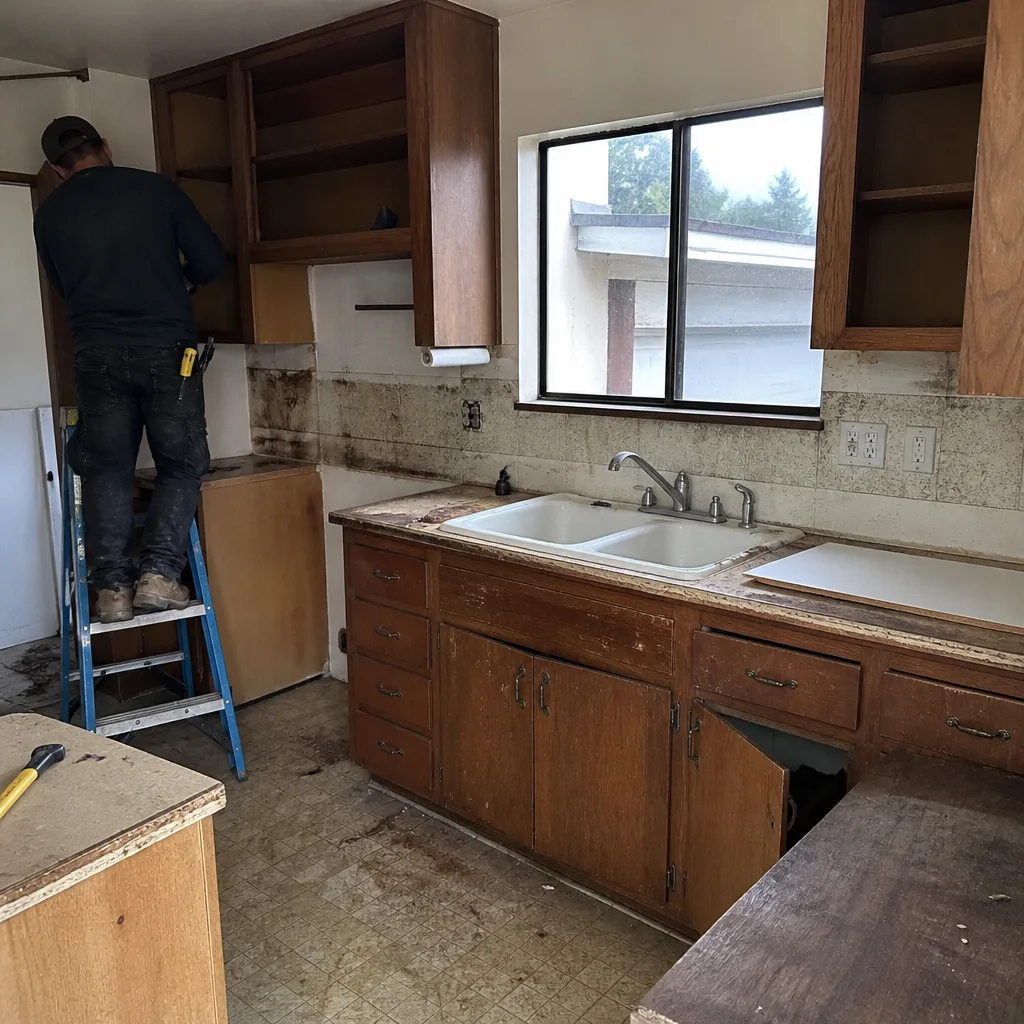 Before
 After
 Before
 After
Frequently Asked Questions
Every two to three years with a penetrating sealer, and never sooner than 60 to 90 days after installation. In Lake Forest, the Southern California sun and dry summers break down sealers faster than in cooler climates. A quick water test is the simplest check: if water beads up on the surface, the sealer is still working. If it soaks in and darkens the paver, it’s time to reseal. Do it on a mild, overcast day in fall or early spring, not on a hot afternoon. Call (855) 532-8973 for a free estimate on sealing or resealing your driveway.
That white haze is efflorescence, mineral salts pushed to the surface by moisture moving through the paver. It’s usually harmless and often appears right after installation or after heavy rain. The fix is time and a light rinse, sometimes a diluted white-vinegar wash. If it keeps coming back after sealing, moisture is getting under the pavers from somewhere, and sealing again will only trap it. Call (855) 532-8973 for an inspection.
Yes, and it’s the most important maintenance item on a paver driveway. Joint sand locks each paver in place and keeps water out of the base. Top it up every year before the rainy season, and spot-fill any joint that opens during the year. Polymeric sand lasts longer on sloped driveways, which is most of Lake Forest. If you keep up with the sand, most other maintenance becomes optional. Call (855) 532-8973 if you’d rather have someone handle it.
Yes, with a controlled setting. Use a wide fan tip, keep the wand moving, and keep pressure low enough that it doesn’t blow joint sand out. Pressure wash on a dry, mild day, let the surface dry, then inspect and re-sand any joints that lost sand. Skip pressure washing entirely for the first few months after installation. Call (855) 532-8973 if you’re not sure whether your pavers are ready.
Sealing too early, most often. Homeowners seal a new driveway within a few weeks of install because the pavers look dull, and the sealer traps moisture and efflorescence exactly when the pavers need to breathe. The second-most common mistake is skipping the fall clean, which leaves grit and leaf litter packed into the joints through the windiest months of the year. Both are easy to avoid with a simple calendar. Call (855) 532-8973 for a maintenance walkthrough with a professional.
Fifteen to twenty years longer than a neglected one, and many last 30 to 50 years with the base intact. Pavers themselves are durable. What fails is the base and the joint sand under the surface. Keep the joints filled, clean the surface each fall, and inspect after each rainy season, and the base stays intact. Let the joints erode and the base softens and the whole system has to be lifted. Our technicians have up to 12 years of experience and can tell you whether yours is on a good schedule. Call (855) 532-8973.
The Bottom Line
A paver driveway is a long-term investment, and it rewards care with a much longer life. Get the first year right by waiting 60 to 90 days before sealing. Then clean deeply each fall, before the first rain, when those Santa Ana winds are done depositing grit into every joint. Re-sand the joints, reseal with a penetrating product every two to three years, and walk the whole surface once a year looking for rocking pavers, sunken areas, and joint washout. If the driveway is part of a bigger project, like a new fence or an expanded entrance, the same disciplined approach applies. See our Home Additions & ADU in Lake Forest page for projects where a driveway connects to a larger build. A schedule followed consistently beats a bigger budget spent on repairs. If you’d rather hand off the maintenance or you’re planning a new driveway, call Groundwork Construction Co. of Lake Forest at (855) 532-8973 for a free estimate.
Written by the team at Groundwork Construction Co. of Lake Forest.