Last updated November 18, 2026






Free written scope consultation - allowances, timeline, and change-order rules on paper before a single trade is scheduled
Bathroom Remodeling Maintenance Schedule: What to Do and When
Most bathroom remodels begin failing within 18 months. Not because of bad materials, and rarely because of bad tile work. They fail because no one handed the homeowner a maintenance schedule when the crew packed up. Your brand new shower doesn’t announce that its caulk is pulling away from the frame in month seven. It just quietly lets water behind the tile until the subfloor tells you. In our experience across Lake Forest, the homeowners who get 15 years out of a bathroom are the ones who did small, scheduled checks in the first two years. This guide gives you the actual calendar: what to inspect at 30, 90, 180, and 365 days, how to read the early warning signs, and which problems you can handle yourself versus which ones void your workmanship warranty if you ignore them.
Quick Answer
A bathroom remodel needs four scheduled inspections in its first year: at 30 days, 90 days, 6 months, and 12 months. Each check focuses on caulk joints, grout lines, water staining, drainage, and the exhaust fan. After year one, move to a seasonal routine – quarterly in Southern California’s dry season, twice a year in the wetter months. Catching a hairline crack or a soft caulk line early is the difference between a $12 tube of sealant and a $4,000 shower rebuild.
Styles & brands we work with
- Kitchen remodeling
- Bathroom remodeling
- Home additions & ADU
- Roofing
- Windows & doors
- Driveway & pavers
- Fence
Table of Contents
- Why the First 12 Months Decide Your Remodel’s Future
- The 30-Day and 90-Day Post-Remodel Inspections
- The 6-Month Caulk Check: Southern California’s Expansion Cycle
- The 365-Day Full Audit: Catching Failures Before Warranty Expires
- Reading Grout Haze, Efflorescence, and Micro-Cracking
- Exhaust Fan Maintenance for Lake Forest’s Dry, Dusty Air
- Cosmetic Wear vs. Structural Maintenance: What Voids a Warranty
- The Year-Two Routine and Beyond
Why the First 12 Months Decide Your Remodel’s Future
A bathroom is the most moisture-stressed room in your house. A shower alone pushes 60 to 80 gallons of water through the space in a typical morning, and that water finds every gap you don’t seal. The first year after a remodel is when construction materials are still settling – thinset curing, wood framing adjusting to humidity, caulk stretching for the first time.
Here in Lake Forest, we get the added complication of dramatic seasonal swings. Our summers push relative humidity below 30 percent for weeks, then winter rain events jump it back up. That cycle pulls and pushes on every caulk joint in the room. A joint that looked perfect on installation day can open a 1/16-inch gap by month six. If you don’t know to look, you won’t see it until the water damage underneath is already done.
Here’s what most homeowners don’t realize: most workmanship warranties – ours included – are written around installation defects, not maintenance neglect. If your shower pan starts leaking at month 14 because the caulk at the curb dried out and pulled away, that’s not a warranty claim. That’s the maintenance window you missed.
A simple calendar of four inspections in year one catches almost all of the failures we see in Lake Forest remodels that come back to us for repairs. Below is the schedule, with specifics.
The 30-Day and 90-Day Post-Remodel Inspections
The 30-day inspection is the “settle down” check. Thinset and grout have finished their initial cure, caulk has fully skinned over, and any immediate installation issue will have shown itself.
What to check at 30 days:
- Run your finger along every caulk joint – at the tub rim, shower pan, backsplash, and vanity. Any soft spot, gap, or separation is worth flagging.
- Look at the base of the toilet for water staining or a dark ring on the floor. A wax ring that didn’t seat perfectly will show here first.
- Run the shower for 10 minutes and check under the shower pan from the floor below (or through an access panel) for moisture.
- Inspect the grout lines on the shower floor for uniform color. Darker patches that don’t dry out after use can point to a moisture trap.
- Test the exhaust fan by holding a tissue to the grille – it should pull the tissue flush. If not, the ducting may have been kinked at install.
The 90-day inspection is mostly about confirming the 30-day findings aren’t getting worse. Repeat every check. Add one: look inside the vanity cabinet under the sinks at the supply lines and drains. Any weeping at a compression fitting shows here in a month or two.
Both checks take about 20 minutes with a flashlight and a roll of paper towels. Do not skip the 30-day even if everything looks fine – this is the window where most installation defects are still easily fixable at almost no cost.
The 6-Month Caulk Check: Southern California’s Expansion Cycle
If there’s one check that separates a long-lived bathroom from one that gets remodeled again in 5 years, it’s the six-month caulk re-examination. In Lake Forest, this check should always be done in the spring or early fall – right after the biggest seasonal humidity swing.
Here’s the why. Caulk, especially silicone and siliconized acrylic, has elastic limits. When a bathroom is built in cool, wet weather, the joints set at one size. As summer dries the framing and the air, joints expand by several thousandths of an inch. Then winter rain pushes humidity back up and joints compress. Do that cycle twice and the caulk starts to crack at the edges where it bonds to tile or tub.
Which joints to check at 6 months:
- Shower pan perimeter where it meets the floor tile
- Curb top where the glass panel sits
- Tub rim to wall tile (the most-stressed joint in the room)
- Backsplash to countertop
- Vanity to wall at both ends
- Base of the shower door frame where it hits the curb
- Toe-kick and floor transition strips
Any joint with a hairline gap wider than a credit card edge needs re-caulking. Don’t just smear a new layer over the top – that hides the failure and creates a new problem. Cut it out with a utility knife, clean with denatured alcohol, and reapply a 100 percent silicone in wet zones. A 6-hour cure before water contact is the standard. Do it once a year even if it looks fine, and you’ll get 10+ years from the waterproofing.
The 365-Day Full Audit: Catching Failures Before Warranty Expires
The 12-month audit is the most important check in the entire schedule. It’s your last chance to catch installation defects before some of the material and labor warranties start to roll off. It should take about 45 minutes and hit every system in the room.
The 365-day audit checklist:
- Water test the shower – run hot water for 20 minutes, then inspect the floor-below access panel and the base of the shower curb for moisture.
- Photograph every caulk joint and grout line – the photos become your maintenance record for warranty purposes.
- Test the exhaust fan under load with the door closed and mirrors fogged – verify it clears the fog within 10 minutes.
- Check the toilet for rocking – a loose toilet flange is a silent water leak into the subfloor.
- Inspect the shower valve and trim plate for any cartridge leak – a few drops per use at the cartridge equals thousands over a year.
- Confirm the plumbing shutoff valves under the sinks are still smooth and don’t weep.
- Look at the paint and drywall around the shower and tub enclosure for any soft spots, bubbling, or discoloration.
- Verify the exhaust fan filter and grille comes off cleanly and is free of dust buildup.
- Check the toilet and sink for slow drainage – buildup in the P-trap is normal by year one but should be cleared before it becomes a backup.
Write down anything that looks off, with the date. If you ever need to invoke a workmanship warranty, that log is your documentation. The Groundwork Construction Co. of Lake Forest home team can walk you through how the 730-Day Done Right Promise applies to your specific project if you’re unsure.
Reading Grout Haze, Efflorescence, and Micro-Cracking
Three things show up on tile in every bathroom eventually. Knowing which is cosmetic and which is a structural red flag saves you a lot of stress and money.
Grout haze is a milky film on the tile surface that appears in the first few weeks. It’s residual grout pigment that wasn’t fully buffed off during installation. It’s cosmetic, easy to remove with a haze remover and a soft pad, and it never indicates a leak.
Efflorescence is the white, powdery salt deposit that shows up on grout lines or at the base of tile. It happens when water moves through a porous substrate and evaporates, leaving mineral deposits behind. On an exterior wall it’s often nothing. Inside a shower, efflorescence at the grout lines is usually the first visible sign of a moisture problem behind the tile. Treat it as a warning, not a cleaning project.
Micro-cracking – the thin spiderweb of hairline cracks in grout – has two flavors. Shrinkage cracks in the first 90 days are normal, because grout does shrink as it cures. Cracks that appear after 90 days, especially near a shower valve, floor drain, or change-of-plane, are a structural signal. They usually mean movement in the substrate.
What to do:
- Haze: buff with a haze remover. If it keeps coming back on the same tiles, the grout wasn’t sealed properly.
- Efflorescence inside a wet zone: dry the area, run the exhaust fan more aggressively, and call in a pro to check the waterproofing. Don’t just clean it – confirm the source is exterior.
- Micro-cracks after 90 days: photograph, monitor monthly, and be ready to call. Hairline fractures at a shower valve commonly point to a membrane failure.
Left alone, any of these three, except true haze, can turn into a shower pan rebuild. That’s a $3,000 to $6,000 job in Lake Forest that a $40 tube of sealant and a pro inspection would have prevented.
Exhaust Fan Maintenance for Lake Forest’s Dry, Dusty Air
Exhaust fans are the hardest-working component in your bathroom and almost always the most neglected. They’re also more maintenance-sensitive in Lake Forest than in coastal cities. Our dry air produces more airborne dust (especially during Santa Ana wind events), and that dust feeds straight into the fan’s motor and bearing assembly.
Dust on a fan blade seems trivial. It isn’t. A dust-loaded fan blade is off-balance, which wears the motor bearings faster. Once a bearing goes, the fan gets noisier, moves less air, and eventually stops pulling moisture out. A fan that’s stopped pulling moisture is the number one cause of the mildew we see in bathrooms around Foothill Ranch and Portola Hills.
Recommended exhaust fan schedule:
- Monthly: Wipe the exterior grille with a damp cloth. Ten seconds, big payoff.
- Every 3 months: Remove the grille (usually a spring clip) and vacuum the blade and housing with a brush attachment.
- Every 6 months: Deep-clean the blade with a mild degreaser and dry fully before reinstalling. Check that the fan still pulls a tissue flush to the grille.
- Annually: Pull the cover off the motor housing (with the breaker off) and inspect for dust buildup around the bearings. This is where the Santa Ana dust accumulates. A can of compressed air clears it in under a minute.
- Any time the fan starts to rattle, slow down, or lose suction: Stop using it until a technician checks it. Running a failing fan does nothing for moisture control and can overheat the motor.
Even with clean maintenance, most builder-grade exhaust fans hit the end of their useful life at 8 to 12 years. Replacing one with a properly-sized, quiet unit is a smart upgrade whenever you remodel – and a solid preventive step if you’re at year 10 or later on the original fan.
Cosmetic Wear vs. Structural Maintenance: What Voids a Warranty
Most workmanship warranties – including ours – don’t require you to keep the bathroom in like-new condition. They cover installation defects. What they don’t cover is damage caused by deferring maintenance past the point of common sense. Knowing the difference matters.
Cosmetic wear (you can ignore or delay):
- Dull grout color
- Faded paint or caulk discoloration
- Slight hardware tarnish on fixtures
- Surface scratches on tile from normal use
Structural maintenance (defer at your own risk):
- Any caulk joint that’s opened, cracked, or peeling in a wet zone
- Grout missing from a joint on the shower floor or walls
- A toilet that rocks or weeps at the base
- Efflorescence appearing at the base of the shower
- A failed exhaust fan that’s no longer moving air
- Any visible water staining on drywall adjacent to tile
Those second-category items are the ones that void coverage if they’re ignored for months and turn into a larger failure. The 730-Day Done Right Promise from Groundwork Construction Co. of Lake Forest is one of the longest workmanship guarantees in the residential construction space, and it stays in force when the bathroom has been reasonably maintained. When it hasn’t – say, a year of an actively leaking shower that no one addressed – the failure steps outside the warranty because it’s no longer a workmanship issue.
The honest answer: keeping your warranty healthy is mostly about the four inspections above. Do them, log them, fix small things fast, and you won’t have a warranty conversation at all.
The Year-Two Routine and Beyond
After the first 12 months, the maintenance schedule simplifies to a seasonal routine that fits the Southern California climate. You’re no longer hunting for installation failures – you’re protecting what’s working.
After year one, do this:
- Every 6 months (spring and fall): Full caulk inspection across all wet joints. Re-caulk any joint showing separation. This is the single most important maintenance task in a bathroom.
- Every 6 months: Grout inspection on shower walls, floor, and backsplash. Fill any missing grout before water gets behind the tile.
- Quarterly: Exhaust fan grille wipe and blade vacuum.
- Annually: Shower pan water test with a check from the floor below or access panel.
- Annually: Toilet flange check – listen for a faint “rock” when you sit down.
- Every 2 to 3 years: Re-seal natural stone tile or unsealed grout. Porcelain and glazed ceramic don’t need this; travertine, marble, and unsealed slate do.
- Every 8 to 12 years: Plan to replace the exhaust fan, the toilet fill valve, the shower cartridge, and the sink shutoff valves as preventive replacements, not emergency ones.
Total time once you’re on the routine: maybe 90 minutes a year, spread across four visits. That’s the entire difference between a bathroom you keep for 15 years and one you rebuild at year 7.
One Lake Forest-specific note: if your home sits on the slopes near Whiting Ranch or along the eastern edges of town, you’ll see more airborne dust from open-space winds than in flatter neighborhoods. Budget the exhaust fan cleanings at every 60 days instead of 90, and consider an upgraded fan with a sealed motor when it’s time for replacement.
Common Mistakes to Avoid
- Skipping the 30-day inspection entirely. This is the window when most installation defects are still easy and cheap to fix. Missing it turns cosmetic issues into structural ones by month six.
- Smearing fresh caulk over an open joint. It looks fixed and hides the failure. Cut the old caulk fully out, clean the surface, and re-apply. Anything less is a bridge, not a repair.
- Ignoring efflorescence in a wet zone. The powdery white deposit on shower grout often means water is moving through the substrate. Cleaning it without finding the source lets the damage continue behind the tile.
- Running a rattling or sluggish exhaust fan for months. The motor is telling you it’s failing. Every week you run it in that state pulls less moisture from the room. In Lake Forest’s dry season, that’s the fast lane to a mildew problem.
- Assuming the workmanship warranty covers neglect. A warranty covers installation failures. If a caulk joint opens at month 9 and isn’t addressed until a shower pan leaks at month 20, the leak is no longer a warranty item.
- Not photographing the audit findings. A dated photo log is the difference between a warranty claim that gets approved and one that gets questioned. Twenty seconds with your phone is worth it.
- Replacing one fixture without checking the others. If you’re swapping the toilet, look at the shutoff valve behind it and the supply line. Those cost about $15 combined and fail more often than the toilet itself.
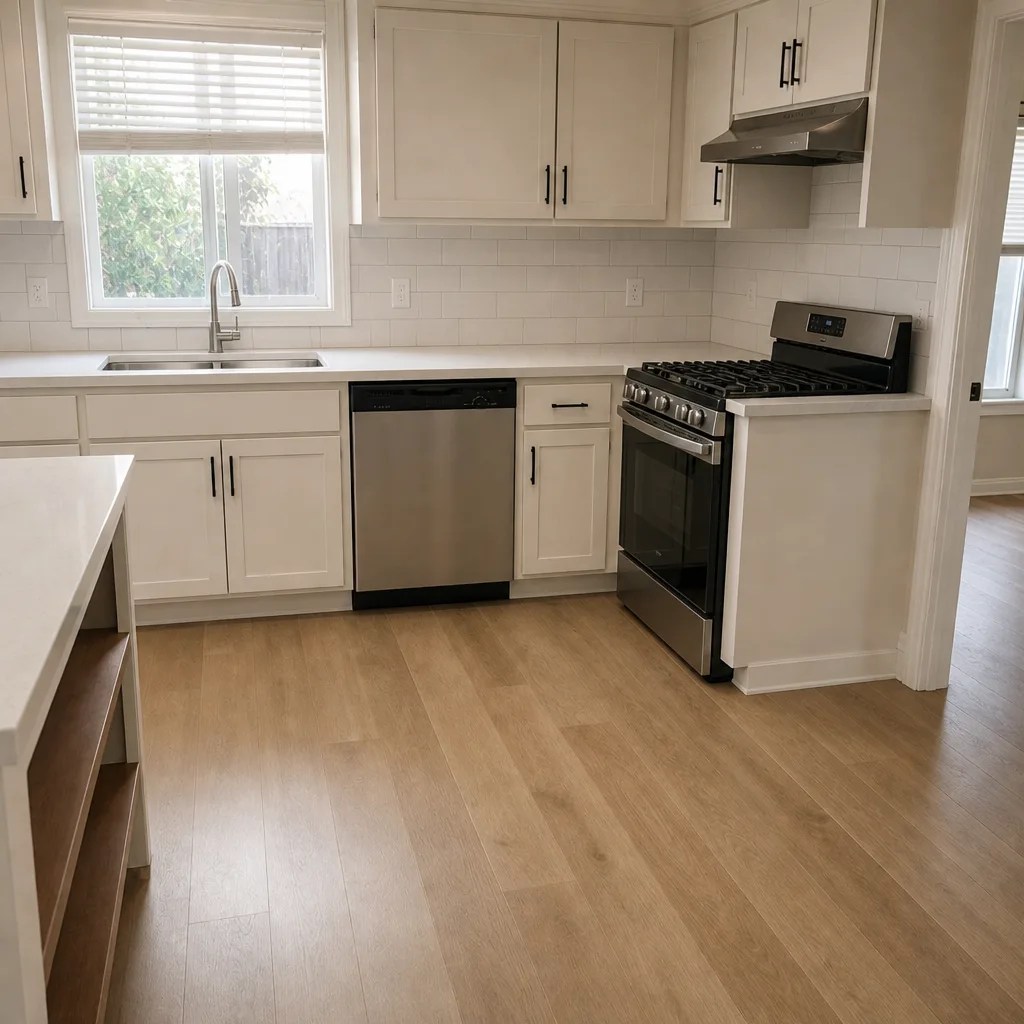
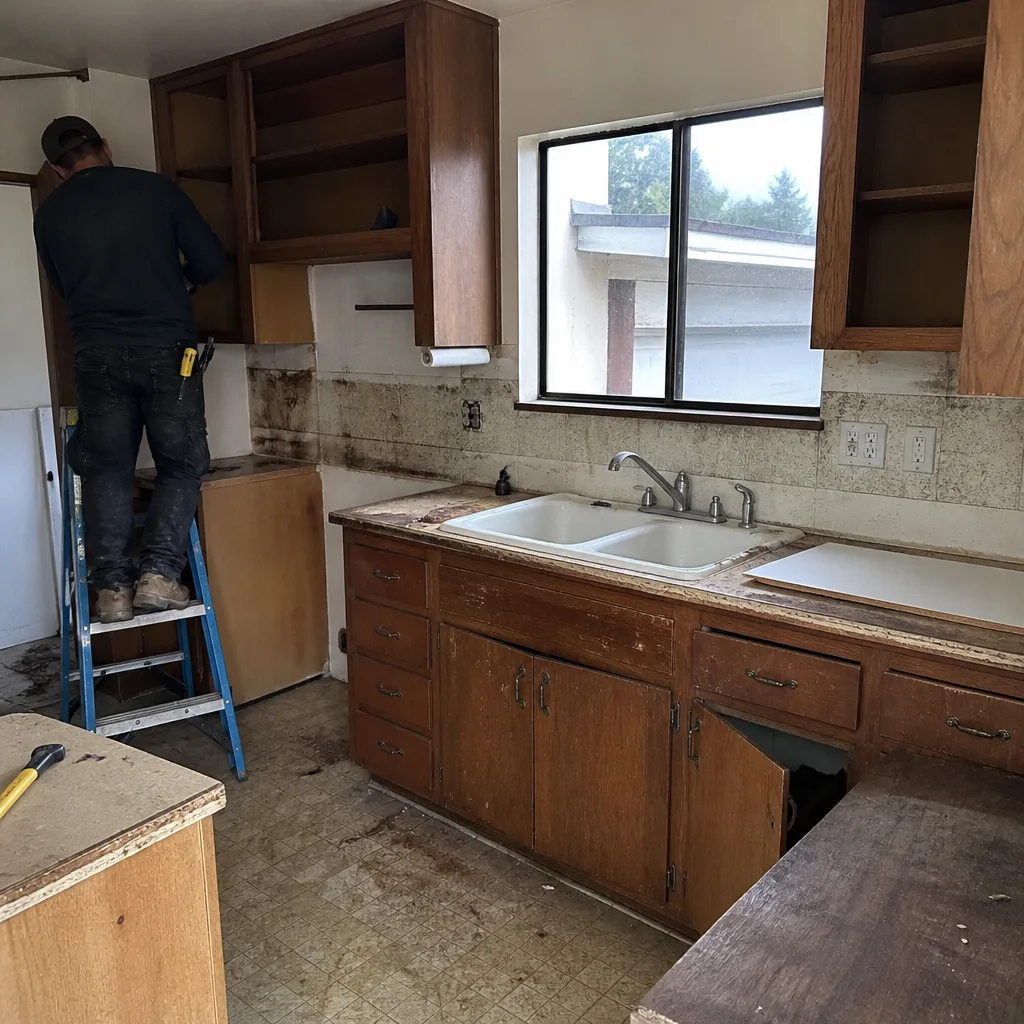
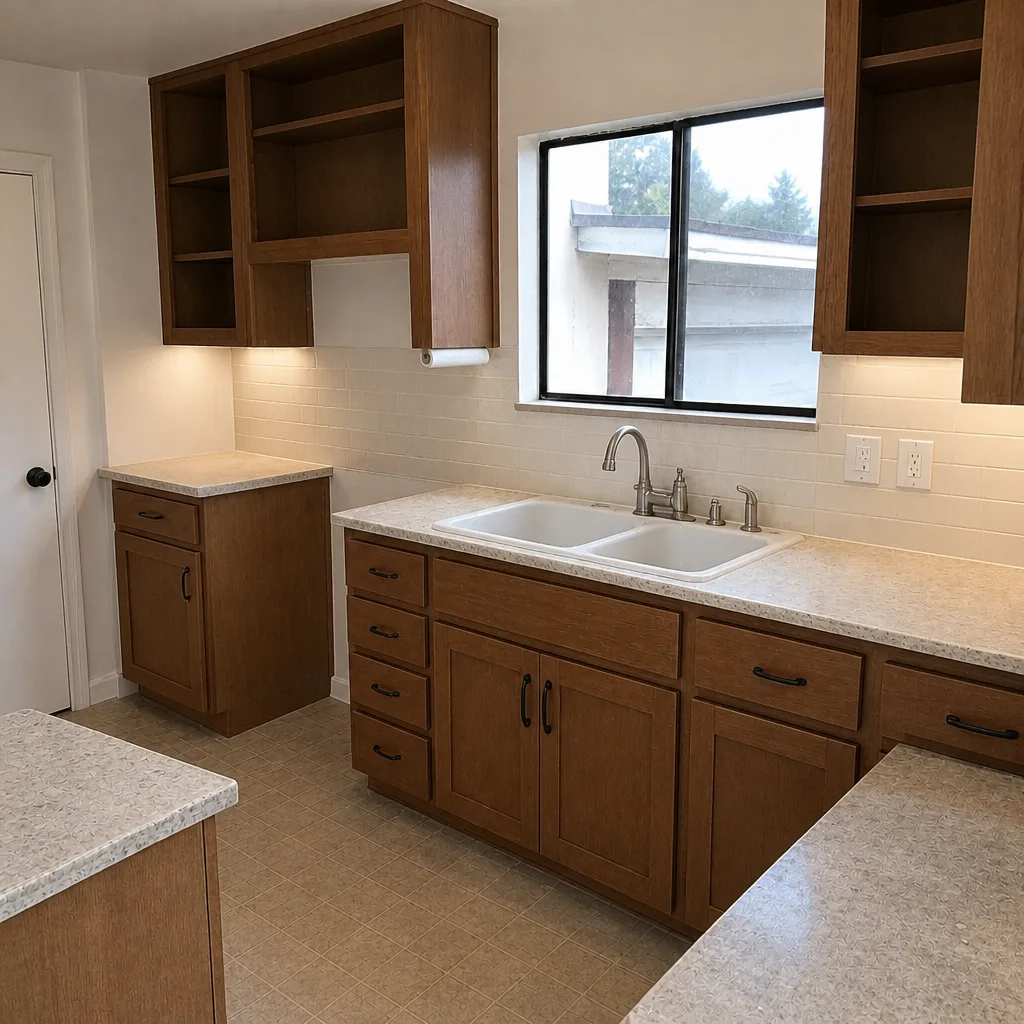
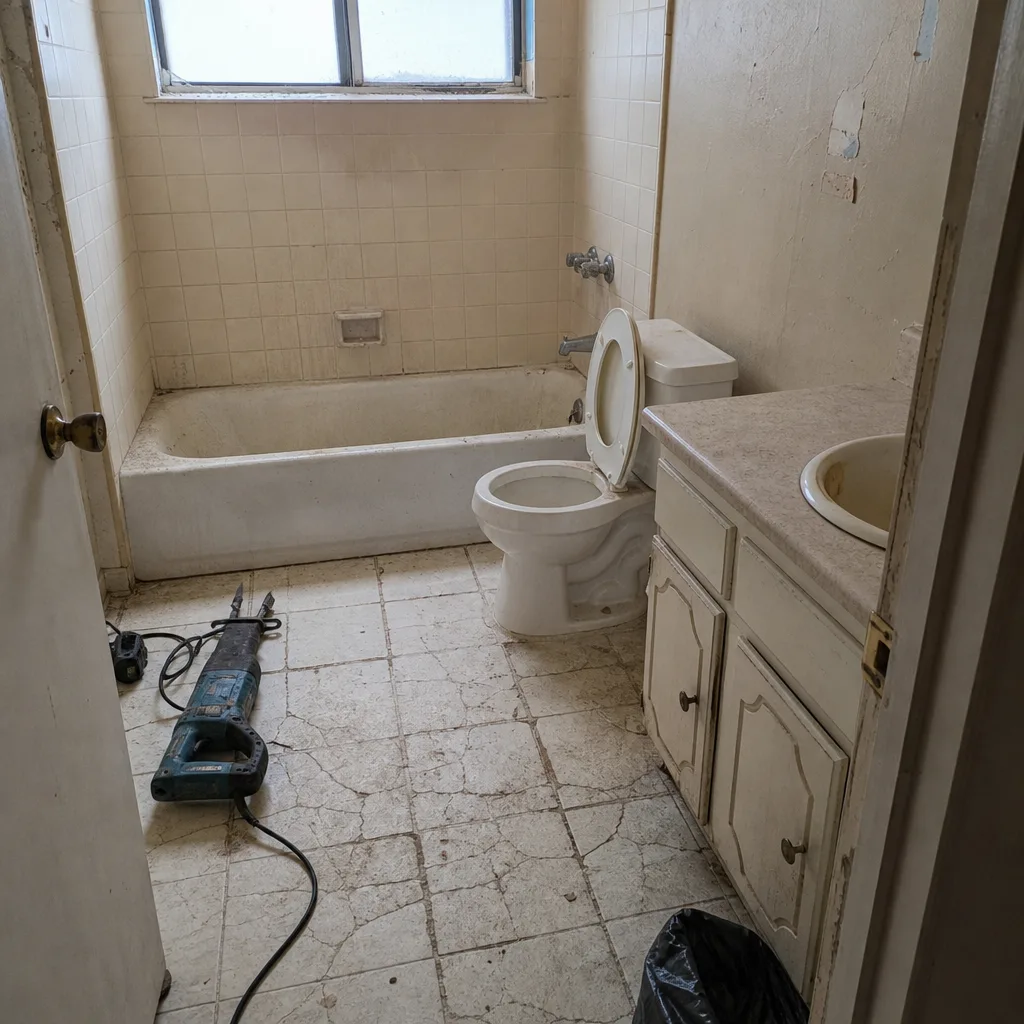
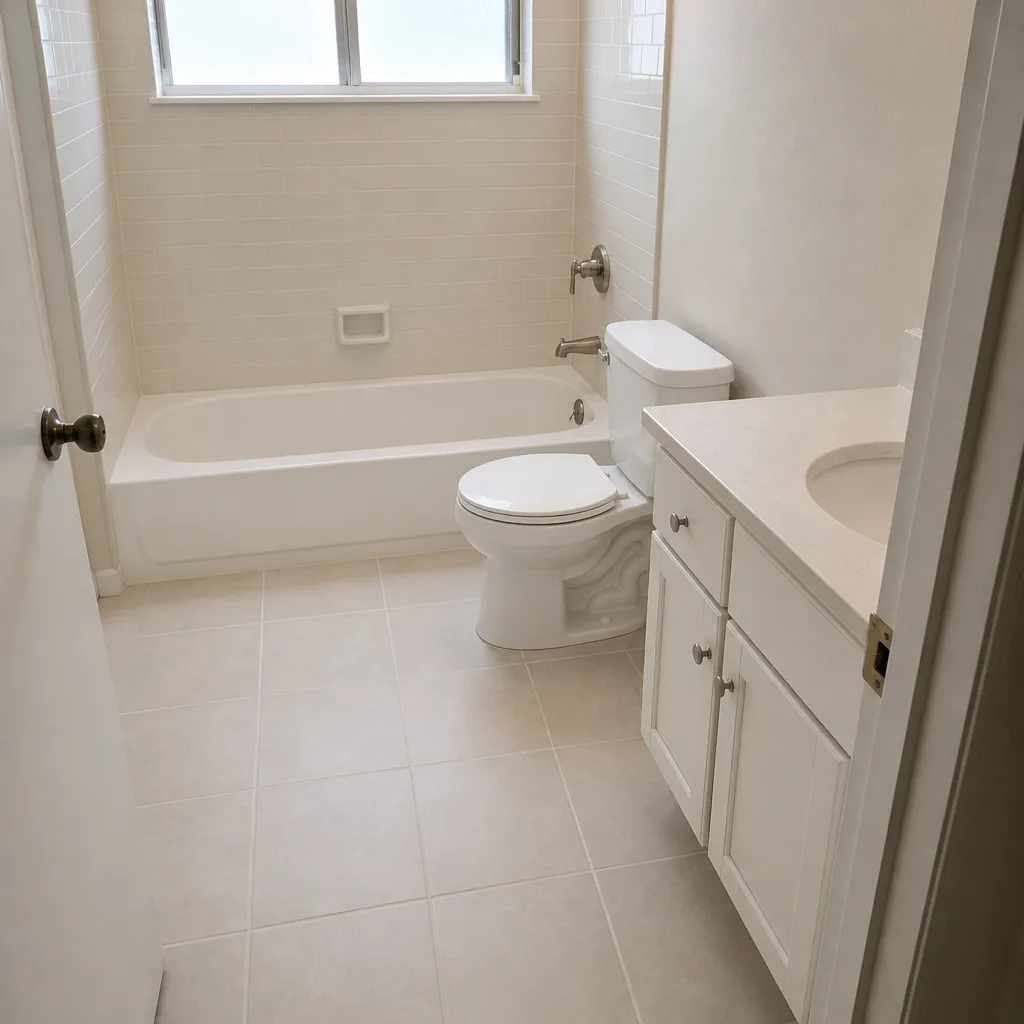
See the difference
 Before
 After
 Before
 After
 Before
 After
When to Call a Professional
Some things you fix yourself. Some things you call in for. Structural maintenance – anything related to waterproofing, plumbing behind the wall, or exhaust fan replacement – is a pro call in almost every case. The judgment line is simple: if the fix touches a wet membrane, a plumbing connection, or the fan motor, call us.
Specific situations that should get a call:
- Any visible moisture under the shower pan or on adjacent drywall
- Efflorescence that returns after cleaning on a wet-zone surface
- A toilet that rocks or has a dark ring at the base
- A shower valve that drips when you run hot water
- An exhaust fan that’s over 10 years old, or has stopped clearing the mirror within 10 minutes
- Micro-cracks that appear after the 90-day mark and grow
Groundwork Construction Co. of Lake Forest offers free estimates in Lake Forest – call (855) 532-8973 and we’ll assess what’s actually going on before you commit to any repair. Live person on the phone 24/7, no voicemail black holes. If you’re already considering a re-do, our Bathroom Remodeling in Lake Forest team can quote the full scope with upfront pricing and 0% financing for 18 months.
Frequently Asked Questions
At 30 days. That’s when thinset and grout have finished curing, caulk has fully skinned, and any installation defect has had time to show. Run every caulk joint with a fingertip, water-test the shower, and check the base of the toilet. If you see anything soft, loose, or discolored, call your contractor while the workmanship warranty window is fresh – don’t wait for the 90-day mark.
You need to inspect every six months and re-caulk whenever you find separation. In Lake Forest’s dry-then-wet seasonal cycle, joints expand and contract more than along the coast, so most showers need at least a partial re-caulk in that spring or early fall window. Full replacement isn’t always necessary – spot re-caulking where the seal has failed is usually enough. The rule is: if a joint is opening, fix it. If it’s holding, leave it.
Efflorescence on shower grout usually means water is moving through the substrate and evaporating on the surface, leaving mineral deposits behind. On exterior concrete it’s often harmless. Inside a wet zone, it’s a moisture problem worth investigating. Call a pro to check the waterproofing behind the tile before the leak spreads. Cleaning the surface without finding the source lets the damage continue quietly.
Wipe the exterior grille monthly, vacuum the blade every three months, and clean the motor housing annually. Lake Forest’s dry, dusty air – especially during Santa Ana wind events – accelerates dust buildup on fan blades. If your home backs onto open space near Whiting Ranch or the eastern hillsides, tighten that to every 60 days. A dust-loaded fan works against a worn motor and eventually stops moving moisture out of the room.
Workmanship warranties cover installation defects, not neglect. If a caulk joint opens at month 9 and isn’t addressed until a shower pan leaks at month 20, the leak isn’t a warranty claim – it’s a maintenance failure. The 730-Day Done Right Promise from Groundwork Construction Co. of Lake Forest stays in force when the bathroom has been reasonably maintained. Doing the four first-year inspections keeps your coverage intact and gives you a dated record if you ever need it.
Do the inspection yourself, and do the caulk and grout touch-ups yourself. Call a pro for waterproofing issues, plumbing behind the wall, exhaust fan replacement, or anything with a growing micro-crack after 90 days. Say the word and we’ll quote the repair – Groundwork Construction Co. of Lake Forest offers free estimates. Call (855) 532-8973.
The Bottom Line
Your bathroom remodel is a 15-year investment, and it fails faster because of missed maintenance than because of bad materials. The schedule is simple: 30 days, 90 days, six months, and 365 days in year one. Then a seasonal routine – caulk and grout twice a year, exhaust fan quarterly, water test annually. Read the difference between cosmetic wear and structural maintenance, keep a dated log of every inspection, and don’t defer the wet-zone fixes. That’s the whole playbook. The homeowners who follow it won’t be remodeling their bathroom again in five years. If you’re looking for the actual repair or a new full-scope project, look at our Driveway & Pavers in Lake Forest and Fence Installation in Lake Forest services too – the same maintenance discipline applies outdoors.
Ready to talk through what your bathroom actually needs? Groundwork Construction Co. of Lake Forest handles full-scope remodeling with upfront pricing, the 730-Day Done Right Promise, and $1,000 off projects over $10,000. Call (855) 532-8973 for your free estimate – live person on the phone, 24/7.
Written by the team at Groundwork Construction Co. of Lake Forest.