Last updated November 18, 2026



Free written scope consultation - allowances, timeline, and change-order rules on paper before a single trade is scheduled
DIY vs Professional Windows & Doors: What’s Safe to Do Yourself
Window installation is the most commonly botched DIY project in home improvement. Not because homeowners can’t hang a window – most can. It’s because they don’t know that the flashing sequence, not the window itself, is what keeps water out for the next 20 years. We’ve walked into Lake Forest homes where a homeowner saved $400 on labor and inherited $14,000 in water damage that insurance barely touched. This guide draws a hard line between what’s genuinely a Saturday project and what’s a building code event: the handles, weatherstripping, and screens you can handle yourself versus the rough openings, flashings, and thresholds that carry liability long after you’ve put the tools away.
Quick Answer
Hardware swaps, weatherstripping, screens, and door sweeps are safe DIY territory and require no permit. Anything that touches the rough opening – full window replacement, new door installation, sliding glass doors – is a permit-and-inspection job in California, and the flashing sequence that keeps water out is the step most homeowners get wrong. If you’re replacing like-for-like in Lake Forest, you may qualify for a simplified permit path, but the installation still has to be done to code. Call (855) 532-8973 for a free estimate if you’re unsure which side of that line your project falls on.
Styles & brands we work with
- Kitchen remodeling
- Bathroom remodeling
- Home additions & ADU
- Roofing
- Windows & doors
- Driveway & pavers
- Fence
Table of Contents
- What “like-for-like replacement” actually means in California
- The five-step flashing sequence most DIY installs skip
- What’s genuinely safe to do yourself (no permit needed)
- Why sliding glass doors are riskier than standard doors
- How a bad install follows your homeowner’s insurance
- Permits, inspections, and the Lake Forest process
- How to verify a pro did the job right
- When to call a professional
What “Like-for-Like Replacement” Actually Means in California
Here’s where most homeowners get tripped up: “like-for-like” is a specific legal term, not a marketing phrase. In California, a like-for-like window replacement means the new unit fits the same rough opening as the one coming out, with no change to the framing, header, or structural wall. Same width, same height, same sill height, same operation type. That’s it.
What it does not mean is that you can skip the permit. Depending on your jurisdiction, a like-for-like swap may qualify for a streamlined permit or an over-the-counter path, but the work still needs to be pulled under permit and inspected. The permit exists because the inspector has to see the flashing, the shims, and the attachment before the siding or drywall goes back on. Miss that step and you can’t prove the work was done to code down the road.
What breaks like-for-like status, and forces a full structural permit:
- Changing the rough opening size – going bigger means cutting into framing, adding a header, and possibly engineering
- Converting a window to a door – load path changes, new footing work if it’s at grade
- Adding a window where none existed – new opening in a bearing wall
- Changing the operation type in a way that alters the frame (slider to casement, for example, if the rough opening differs)
- Egress bedroom windows – the opening size is code-mandated, so if the existing window doesn’t meet current egress, matching it isn’t truly “like-for-like”
In our experience, a lot of Lake Forest homes built in the 1970s and 1980s have single-pane aluminum sliders that fall short of current egress requirements in bedrooms. That’s the point where a simple swap becomes a framing job, and that’s the point where DIY stops being an option.
The Five-Step Flashing Sequence Most DIY Installs Skip
The window itself is a manufactured product with a warranty behind it. The flashing is where installers either earn their reputation or quietly set up a callback. Water intrusion almost never comes through the glass – it comes in at the sill, the head, or the jambs where the flashing overlaps in the wrong direction. Get the sequence wrong and the window will leak for years before you notice, by which point the sheathing behind it is soft.
The correct sequence for a flanged (nail-fin) window installed over a weather-resistive barrier:
- Sill pan first. A sloped sill pan or piece of flashing tape set at the rough sill, running up the jambs a few inches. The slope matters – water needs somewhere to go. Flat sills fail.
- Window set and fastened. Shims placed so the unit is level and square, with the shims directly under the fastener locations, not floating in the middle of the sill.
- Jamb flashing. Tape runs up each side, overlapping the sill pan at the bottom. This is the step where sequencing matters most: jamb tape goes over the sill pan, not under it.
- Head flashing. This is the one almost everyone misses. A piece of flashing tape or a metal head flashing laps over the jamb tape at the top. Water runs downhill and the head flashing is the shingle-style lap that sheds water over the sides. Skip it and water gets behind the jamb tape at the top corner, which is the most common leak point we find on Lake Forest home inspections after a heavy winter rain.
- Weather-resistive barrier laps back over the sides. The house wrap or felt should overlap the flanges on the sides and below the head flashing but run under the sill. This is the classic “shingle fashion” – every layer laps over the one below it, going downhill.
None of that is complicated. All of it is easy to get wrong, and once siding goes back on, you can’t see whether it was done. Which is exactly why the inspector has to look before the wall closes.
What’s Genuinely Safe to Do Yourself (No Permit Needed)
Plenty of window and door work is a genuine weekend job, no permit, no inspection, no liability. Here’s the clean list:
- Door hardware swaps. Knobs, deadbolts, handlesets, and strike plates. If you’re just changing the latching mechanism, you’re within your rights as a homeowner. (Exterior doors in California still need to meet egress and lock requirements, so don’t swap a knob for something that won’t open from the inside without a key.)
- Weatherstripping. Door bottoms, jambs, window sashes. Fresh weatherstripping on an aging French door is one of the highest-value, lowest-effort projects in the house – it’ll cut your summer cooling bill noticeably in a Lake Forest house with west-facing glass.
- Door sweeps and thresholds. Replacing a worn sweep is a 15-minute job with a screwdriver.
- Window screens. Rescreening a torn screen is a backyard project. So is replacing the spline.
- Adjusting door closers, hinges, and sag. If a door sticks or rubs, adjusting the hinges or planing a fraction off the strike edge is a homeowner task.
- Caulking and sealant maintenance. Running a fresh bead of exterior caulk along the perimeter of a window once a season is not just allowed – it’s the maintenance that keeps you from needing a service call. Use a paintable exterior-grade sealant, not interior caulk.
- Glass cleaning, glazing putty on older wood windows, and screen repair. Age-related touch-ups that don’t affect the assembly.
The dividing line: if the work involves the frame of the house or the attachment of the window or door to the structure, it’s a pro job. If it involves the operating parts or the finish, it’s yours to handle.
Why Sliding Glass Doors Are Riskier Than Standard Doors
A standard hinged exterior door weighs 50 to 100 pounds. A sliding glass door can run 200 to 300 pounds, sometimes more for a multi-panel unit. That weight is the first of three problems.
Weight. Two people can hang a standard door. A sliding glass door needs a minimum of two, often three, and the risk of the unit dropping during set is real. Dropped units crack glass, bend frames, and can injure. We’ve seen more than one homeowner with a shattered slider and a weekend worth of wasted work.
Track alignment. Sliders have a top track, a bottom track, and a roller assembly that has to be shimmed to within a millimeter to keep the door sliding smoothly and sealing when closed. If the track is off by a few degrees, the door drags, the weather seal doesn’t seal, and water pools at the threshold. Track alignment is also where the floor-to-threshold height ties in: if the interior floor is higher than the exterior threshold by too much, you’ve created a water trap.
Threshold waterproofing. This is the killer. Sliding door thresholds sit directly on the floor system, and water has to be shed outward and down. That means a properly flashed threshold pan, a sloped exterior finish, and a sill that sits at least the code minimum above exterior grade. Get any of those wrong and a Lake Forest winter rain – or the spray off a garden hose – will push water under the threshold and into the flooring system. By the time the floor swells, you’re looking at thousands in damage.
Add in that a slider replacement often changes the rough opening (because new units don’t always match old ones exactly), and the permit path gets more involved. Sliding glass doors are the single biggest “wish I’d called a pro” category in window and door work, and it’s not close.
How a Bad Install Follows Your Homeowner’s Insurance
This is the part nobody warns you about, and it’s the part that turns a $600 weekend project into a $30,000 problem a decade later.
When water damage occurs in a home, the insurance adjuster asks one question before anything else: what caused the loss? If the answer is “the window was improperly installed,” the claim can be denied or drastically reduced. Most homeowner policies have language excluding damage from “faulty workmanship” or “improper installation.” The policy covers the resulting damage in some cases and not in others – it depends on the policy and the specific language – but the standard argument the insurer will make is that a defective installation is the homeowner’s responsibility, not theirs.
What that looks like in practice:
- Water intrusion traced to a missing head flashing after a rainy season. Insurer argues the installation, not a covered peril, caused the loss. Claim denied or reduced.
- Mold behind the drywall that shows up two winters later. Insurer questions whether the installation was permitted and inspected. If it wasn’t, coverage gets complicated fast.
- Structural damage to sheathing and framing from rot. Often excluded under “wear and tear” or “gradual deterioration” language once the timeline is established.
- Sliding door threshold failure that floods flooring and ruins cabinets. Same argument – faulty installation, not a covered event.
What protects you is a paper trail. A permitted installation, an inspection sign-off, a written workmanship warranty on the company that did the work. That paper trail is what a claims adjuster needs to see before they’ll pay. When we install windows and doors in Lake Forest, the permit and inspection record is part of the job, and the work is covered under our 730-Day Done Right Promise – if it’s not done right, we make it right, for two full years after the final walkthrough. That’s the kind of coverage an insurer can actually point to.
Permits, Inspections, and the Lake Forest Process
Lake Forest falls under Orange County’s building jurisdiction with the city’s own permitting office handling residential window and door replacements. The exact requirements shift with the project, but here’s the practical shape of it:
- Determine if the work is like-for-like. Same rough opening, same operation type, no structural change. If yes, you may qualify for a simplified or over-the-counter permit path. If no, you’re looking at a full building permit and possibly engineering.
- Check egress requirements for bedrooms. Any window serving a sleeping room has a mandated minimum clear opening. If your existing window falls short, the replacement has to fix that – and matching the old size may not pass inspection.
- Pull the permit before work starts. Not after. A permit pulled after the fact is a red flag to any future buyer, and it can complicate insurance and resale.
- Schedule the inspection at the right stage. The inspector needs to see the flashing, the shims, and the attachment before the siding or interior trim goes back on. Sequencing the inspection wrong means opening walls back up.
- Keep the sign-off. That piece of paper is your evidence if you ever sell the house or file an insurance claim.
How long does it take? For a straightforward like-for-like swap on a single window in a Lake Forest home, plan on a couple of weeks from permit application to inspection sign-off. Full door replacements and anything structural run longer. Compare that to what you save doing it unpermitted – and consider what it costs you at resale, at insurance, and at inspection.
If your project touches multiple trades, it’s worth understanding how a single contractor handles the full scope from foundation to finish line. Our Groundwork Construction Co. of Lake Forest home page walks through how we coordinate window and door work with broader projects, and if you’re also considering exterior upgrades at the same time, our pages on Driveway & Pavers in Lake Forest and Fence Installation in Lake Forest show how we sequence the exterior of a home so the trades don’t collide.
How to Verify a Pro Actually Did the Flashing Right
If you’re hiring out – whether it’s a window replacement, a door installation, or a larger project – here’s how to verify the flashing was done correctly, either during the inspection window or after the fact.
- Look at the sill before the window is set. A sloped sill pan and flashing tape running up the jambs is the correct starting point. Flat, dry sills with the window already set – and no pan – are the failure sign.
- Confirm the head flashing is installed. This is the piece that laps over the jamb flashing at the top. Ask specifically: “Did you install head flashing, or just tape the flanges?” If the answer is “just taped the flanges,” that’s a leak waiting to happen.
- Check the direction of laps. Every layer of weather barrier and tape should lap over the layer below it, going downhill. Shingle fashion. If a peel-and-stick tape is running up-and-under instead of down-and-over, the install is inverted.
- Get the inspection card signed. The city inspector has to physically see the flashing before the wall closes. If the card isn’t signed, ask why.
- Get it in writing. The workmanship warranty – the length of it, what it covers, and what “if it’s not done right, we make it right” actually means in practice. A warranty that’s conditional or shorter than the material warranty is a warning sign.
Our technicians have up to 12 years of experience in window and door installation, and we only quote brands we’d put on our own homes – Andersen, Pella, James Hardie for the trim and exterior detail. That’s part of what “built to last, backed in writing” means when we say it. If you’re comparing bids, ask each contractor the five questions above and see whose answers are specific and whose are vague. The generalist who says “we do it to code” isn’t answering the question. The specialist who can walk you through the sequence in the order the inspector checks it – that’s the one you want.
If the same visit includes larger structural work or you’re considering an addition that moves a wall with windows in it, our team handles Home Additions & ADU in Lake Forest alongside window and door work, so the framing, glazing, and finishing sequence stays coordinated instead of getting handed off between three contractors.
Common Mistakes to Avoid
- Skipping head flashing. The single most common DIY mistake. Most installers tape the jambs and call it done, but without head flashing the top corners leak in every heavy rain. In a Lake Forest home under wind-driven winter rain, the top corner is where water finds its way in first.
- Using the wrong sealant. Silicone caulk on the exterior of a window looks fine for a season and then pulls away. Exterior-grade paintable sealant is what lasts through the temperature swings inland Orange County gets. Interior caulk on an exterior window is a callback in the making.
- Not checking egress requirements. Replacing a bedroom window with the same-sized unit as the one coming out seems safe, but if the existing unit doesn’t meet current egress code, the new one has to. The inspector catches this at inspection – after the wall is closed.
- Forgetting the threshold on sliding doors. A sliding door’s threshold is the number-one leak point on the entire exterior envelope. If the threshold isn’t sloped, flashed, and properly sealed against the exterior finish, water finds its way under the door and into the framing.
- Doing the work unpermitted, then trying to sell. Unpermitted window and door work shows up in title searches and buyer’s inspections. It can delay or kill a sale, and it complicates insurance claims. The permit isn’t paperwork – it’s the record that the work was done right.
- Buying a window without checking the rough opening first. Homeowners order a replacement, take the old unit out, and discover the new one doesn’t fit the opening by a quarter inch. Measure the rough opening, not the glass, not the frame – the rough opening.
- Hiring a contractor who won’t put the workmanship warranty in writing. Verbal assurance is worth nothing when water shows up two winters later. The 730-Day Done Right Promise exists because “if it’s not done right, we make it right” has to mean something you can point to.
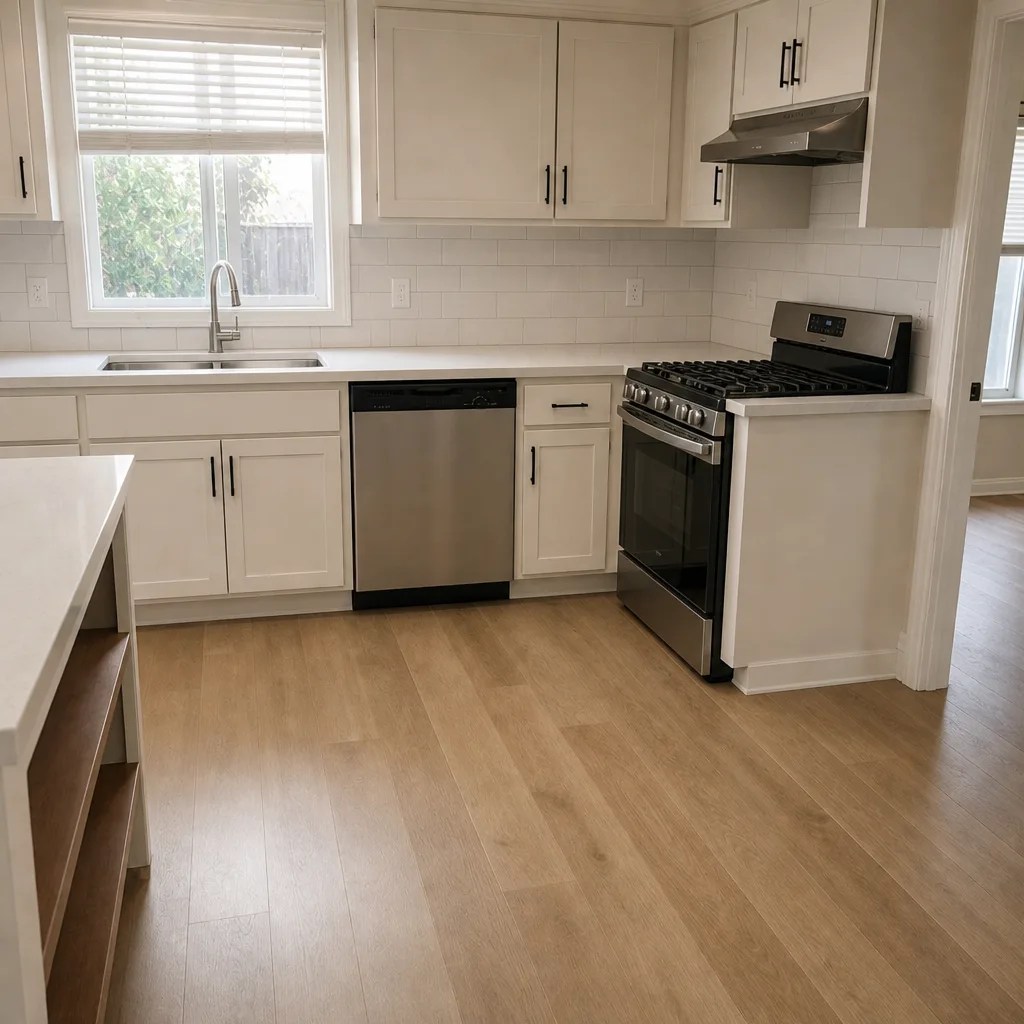
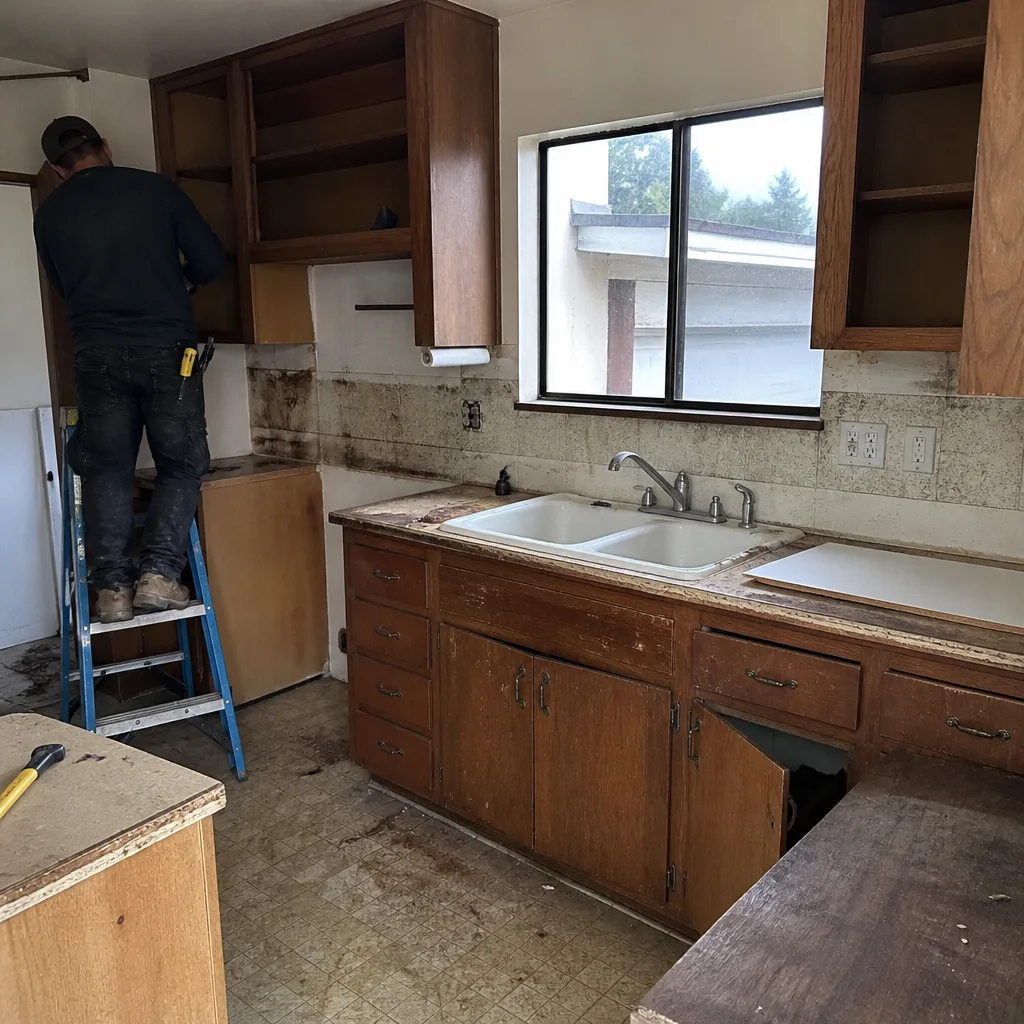
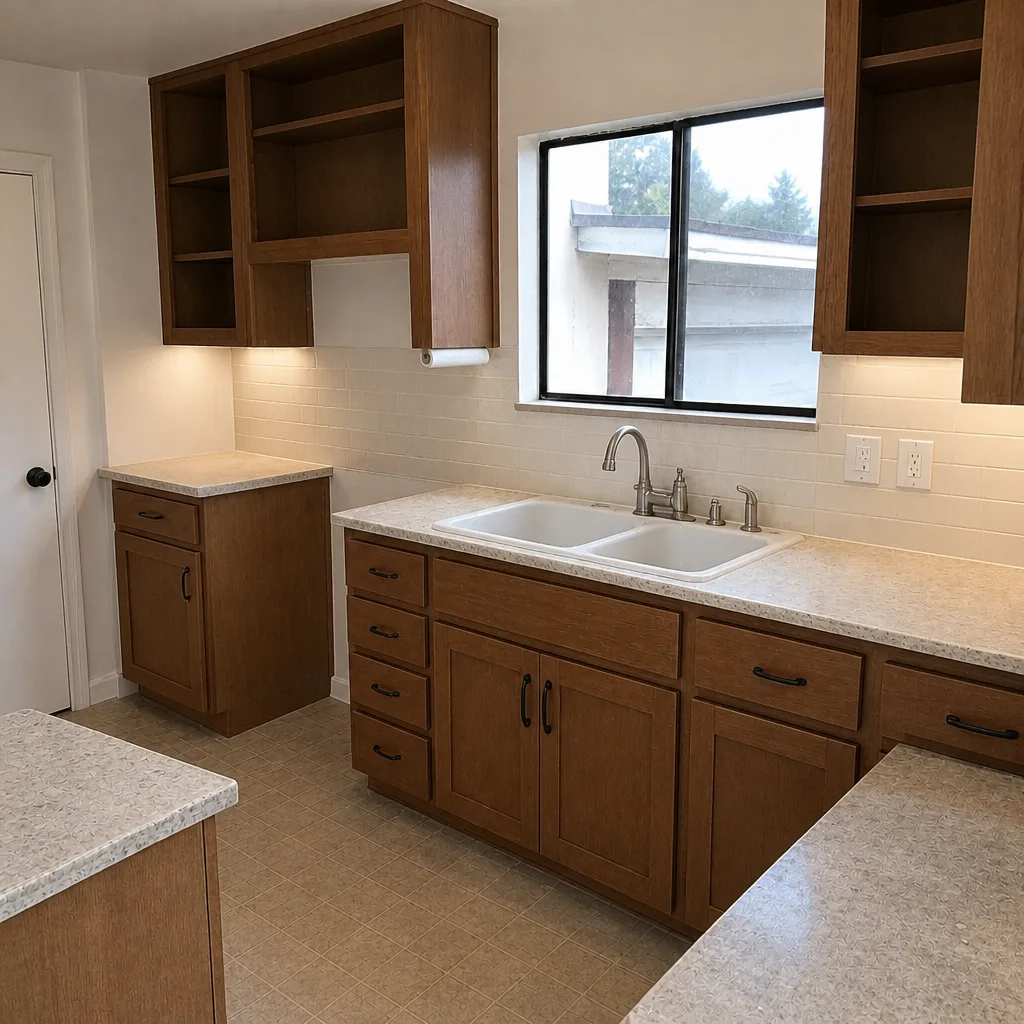
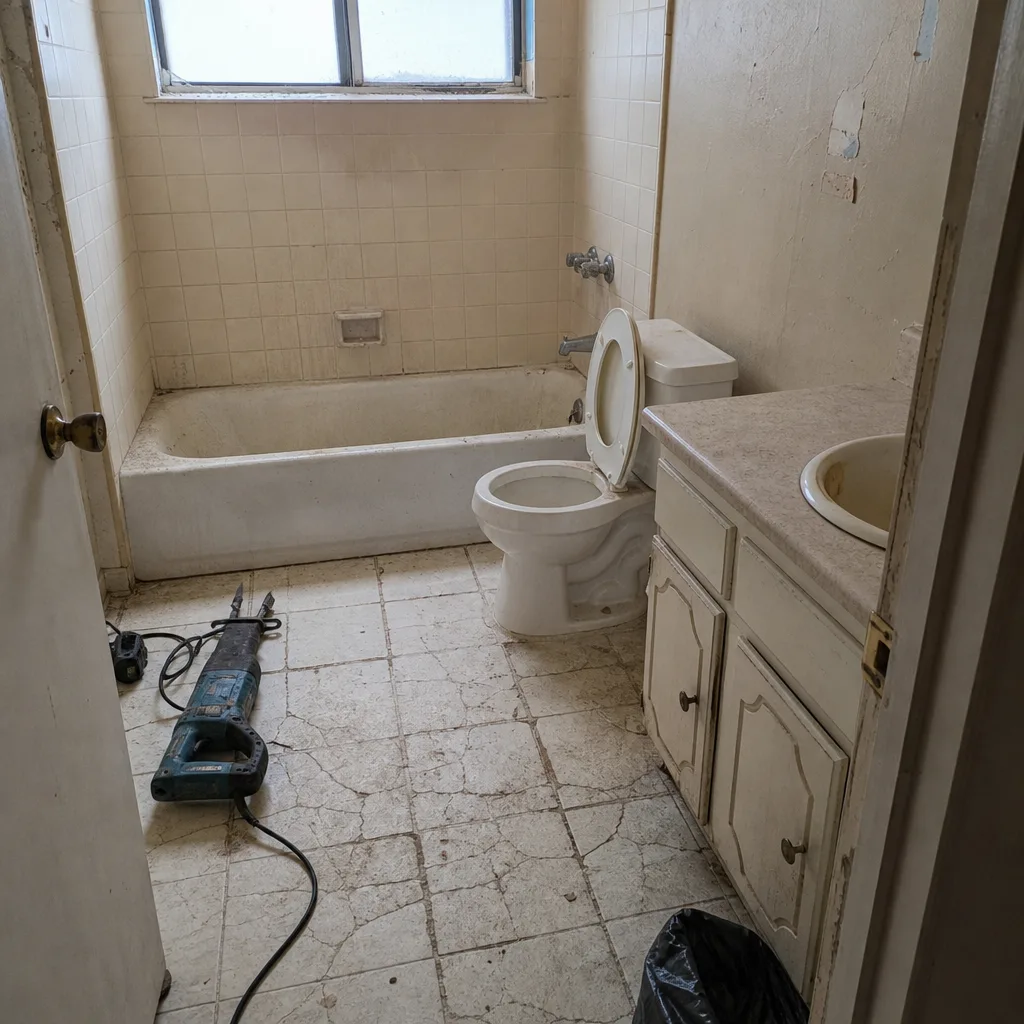
See the difference
 Before
 After
 Before
 After
 Before
 After
When to Call a Professional
Call a professional when the work touches the rough opening, the framing, or the exterior envelope – full window replacement, new door installation, sliding glass doors, any project that changes the size or operation of an opening. Call when the existing window or door serves a bedroom and you’re not certain it meets egress. Call when the work needs a permit, which is most window and door replacement in Lake Forest. And call when water intrusion has already happened – because a leak that starts under a window and shows up on the ceiling below is a much bigger job than a bad window install, and it’s much easier to fix before the drywall shows it. Groundwork Construction Co. of Lake Forest offers free estimates in Lake Forest – call (855) 532-8973 and we’ll walk you through what your specific project needs, whether it’s a straightforward like-for-like swap or something bigger.
Frequently Asked Questions

Yes, a homeowner can legally do their own window replacement in California, but the work still has to be pulled under permit and inspected if it touches the rough opening or exterior envelope. Like-for-like swaps are the track most homeowners can manage themselves; anything that changes the size, operation, or framing is a pro job. For a Lake Forest project, call (855) 532-8973 and we’ll tell you exactly which side of the line you’re on, free of charge.
Like-for-like means the new unit fits the same rough opening as the one it replaces – same width, height, sill height, and operation type – with no framing, header, or structural change. A new opening means cutting into the wall where no window existed, which requires framing, a header, possibly engineering, and a full structural permit. Like-for-like usually qualifies for a simplified permit path in Lake Forest, but it’s still permitted.
Yes. A sliding glass door replacement in Lake Forest requires a permit. The door’s threshold ties into the exterior floor system and its attachment affects the structural envelope, which means the installation has to be inspected before the interior finish goes back on. If the rough opening changes size, it’s a full building permit, not a simplified one. Call (855) 532-8973 for a free estimate that includes the permit scope.
Hardware (knobs, handles, deadbolts, hinges), weatherstripping, door sweeps, window screens, caulk and sealant maintenance, and door adjustments don’t need a permit in Lake Forest and are genuinely homeowner-safe tasks. Anything that involves the rough opening, the frame attachment, or the exterior envelope requires a permit. The dividing line is simple: the operating parts are yours, the frame of the house belongs to a licensed professional.
Your insurer may deny or reduce a water damage claim if the damage traces to faulty or unpermitted installation. Most homeowner policies exclude damage from improper workmanship, and the insurer will argue that a bad installation is your responsibility, not a covered event. A permitted, inspected installation with a written workmanship warranty is what protects you – which is where our 730-Day Done Right Promise comes in. It’s one of the longest workmanship guarantees in the residential construction space, and it’s the paper a claims adjuster actually wants to see.
DIY material cost for a standard window replacement in Lake Forest typically runs $300 to $900 per unit, plus roughly $100 to $300 in additional materials (flashing tape, sealant, shims, permit fees) and 4 to 8 hours of labor per window. A professional install in Lake Forest typically runs $550 to $1,600 per window, installed, permitted, and inspected. The gap narrows sharply once you account for a permit re-pull, a water damage repair, or an insurance claim denial – any one of which can wipe out the savings from a dozen DIY installs. Call (855) 532-8973 for a written, line-item estimate for your specific windows and doors – estimates are free.
The Bottom Line
The line between “safe to do yourself” and “a building code event” is sharper than it looks. Hardware, weatherstripping, screens, caulk, and door adjustments are genuinely homeowner work with no permit and no liability. Once a project touches the rough opening – a window replacement, a new door, a sliding glass door – the flashing sequence, the permit path, and the inspection requirement kick in. Get the flashing right and the window lasts 20 years. Get it wrong and the water damage, the insurance claim, and the resale headache are all on you. In Lake Forest, the safest path is the boring one: pull the permit, get the inspection sign-off, keep the paper trail, and hire the pro when the work involves the envelope. That’s exactly what our 730-Day Done Right Promise is written for. From foundation to finish line, we’re the contractor homeowners call when the alternative is gambling on their biggest investment.
Ready to price your project? Call (855) 532-8973 for a free estimate. You’ll get a written line-item quote, upfront pricing with no surprises, and a live person on the phone, 24/7. Financing options include 0% for 18 months and $1,000 off projects over $10,000, so a window and door upgrade doesn’t have to wait for next spring’s bonus.
Written by the team at Groundwork Construction Co. of Lake Forest.