Last updated November 18, 2026
Free written scope consultation - allowances, timeline, and change-order rules on paper before a single trade is scheduled
DIY vs Professional Driveway & Pavers: What’s Safe to Do Yourself
YouTube makes paver installation look like a weekend project, and the top layer is. But the two days of base excavation, compaction testing, and drainage grading underneath it determine whether that weekend work lasts 25 years or 3. In Lake Forest, where our clay-heavy soil swells after winter rain and bakes hard by August, we’ve watched DIY driveways fail in a single wet season because the subgrade was never compacted to spec. This guide breaks down exactly which paver tasks are genuinely safe to handle yourself, which ones will cost you far more than you save, and how to vet a contractor so you’re paying for real base prep, not YouTube-level guesswork.
Quick Answer
Joint sanding, sealing, individual paver resets, and routine cleaning are genuinely DIY-safe and save real money. Everything below the pavers – excavation, subgrade compaction, and drainage grading – is not. The base is where 90% of paver failures start, and the equipment and testing skill required to do it right puts it firmly in professional territory. Do the surface work yourself if you want. Hire out the base or you’ll be redoing the whole driveway.
Styles & brands we work with
- Kitchen remodeling
- Bathroom remodeling
- Home additions & ADU
- Roofing
- Windows & doors
- Driveway & pavers
- Fence
Table of Contents
- The Paver Tasks That Are Actually Safe to DIY
- Why the Base Preparation Phase Is Not a DIY Job
- Plate Compactors and Compaction Testing: The Real Gatekeepers
- Lake Forest Permits and Grading Requirements You Can’t Skip
- What You Actually Save DIY vs What Failure Costs You
- How to Vet a Paver Contractor’s Base Prep Process
- Materials That Hold Up in Lake Forest’s Climate
- Fixing What’s Already Failed
The Paver Tasks That Are Actually Safe to DIY
We want to be specific here, because “some of it is DIY” is useless advice. These are the tasks where a confident homeowner with the right basic tools will do a job as good as any crew, and save real money doing it.
- Joint sanding and re-sanding. Once or twice a year, polymeric sand works its way out of the joints, especially after a wet winter. Sweeping fresh sand into the gaps, misting it, and letting it cure is a two-hour job on a typical Lake Forest driveway. It costs about $30 to $50 in material and protects the whole surface.
- Sealing. A paver sealer applied with a roller every two to three years locks in the joint sand and slows color fade from the Southern California sun. This is genuinely a homeowner job if you’re patient and follow the product’s temperature window. Avoid sealing on days above 85°F or you’ll get a milky haze that never clears.
- Individual paver resets. A single heaved or cracked paver can be lifted with a flat pry bar, the sand beneath it cleaned out and re-leveled, and the paver set back with a rubber mallet. This is where the DIY instinct pays off, and doing it early prevents the small dip from spreading into a larger low spot.
- Routine cleaning. Power washing at low pressure (under 1,500 PSI, wide nozzle, keep the wand moving) removes the dust, leaf tannin, and tire marks that make a driveway look tired. Efflorescence – the white chalky haze that shows up on new pavers – comes off with a diluted white vinegar spray.
None of that work requires a permit, a crew, or a single day off. It’s the kind of maintenance work that adds years to the surface and keeps the driveway looking sharp for the Lake Forest foothills dust and dry summer heat.
Why the Base Preparation Phase Is Not a DIY Job
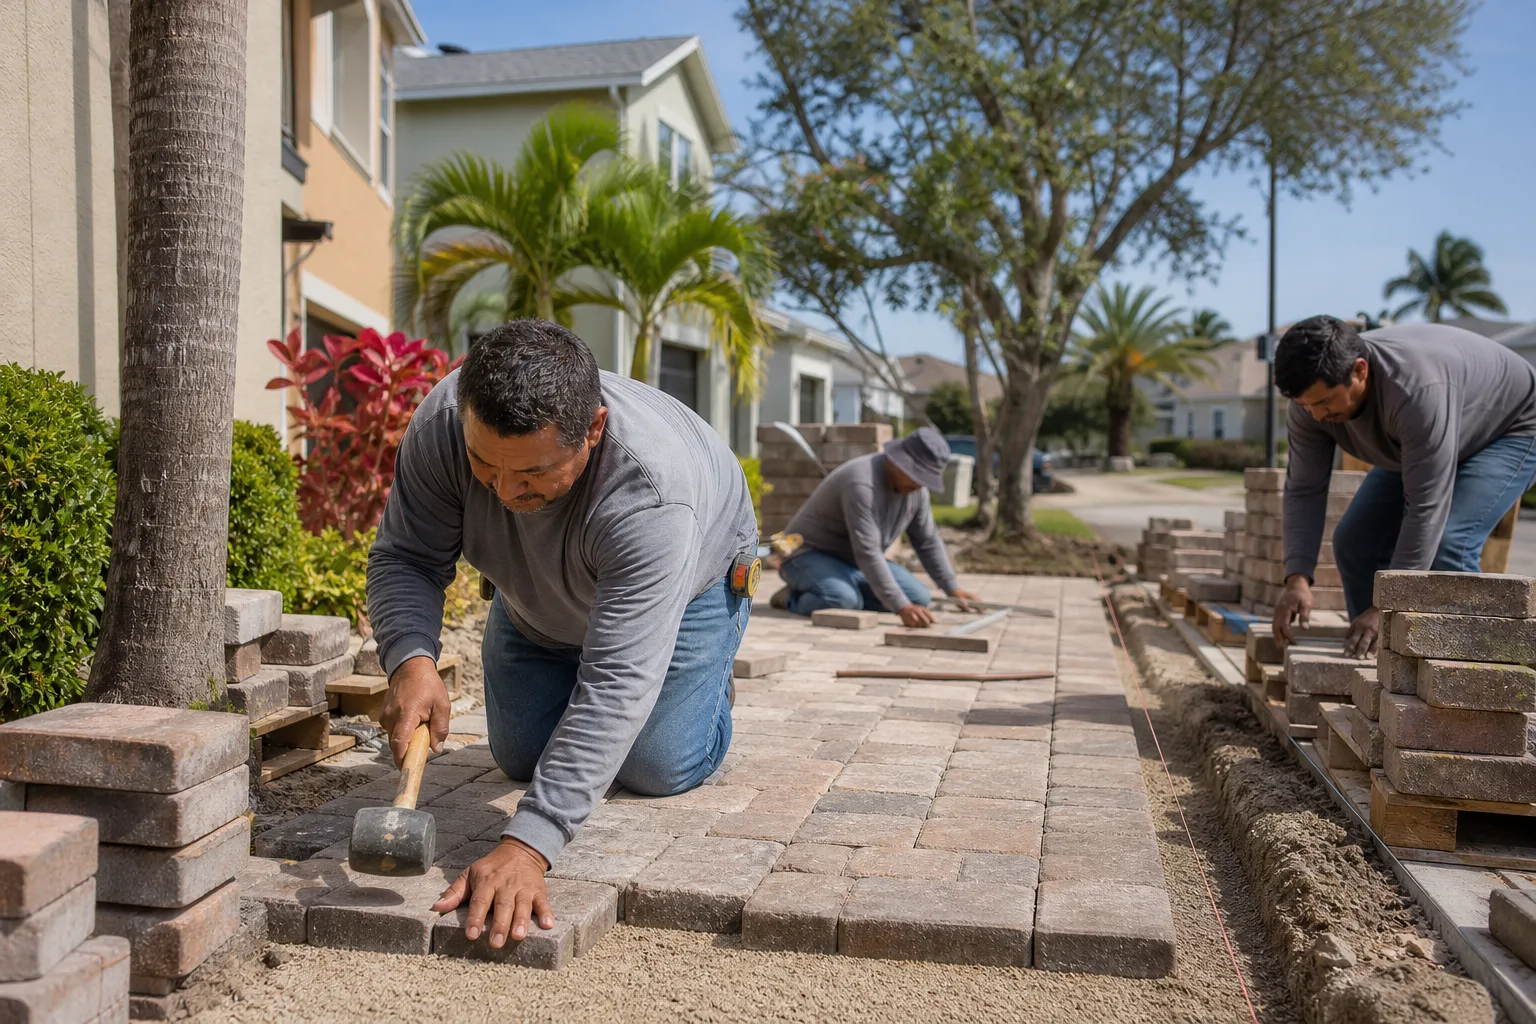
Here’s the hard truth most videos skip. A paver driveway is not pavers. It’s a structural system: compacted subgrade soil, then a geotextile separation fabric, then 6 to 10 inches of compacted Class II base rock, then 1 inch of bedding sand, then the pavers themselves. About 80% of the work is underground, and the underground part is what fails.
On a residential driveway, you’re moving 40 to 60 cubic yards of soil and aggregate. That’s not a wheelbarrow job. Excavation requires a mini-excavator and a plan for what to do with the spoils – in most Lake Forest neighborhoods, hauling off that much soil is a permitted, fee-based process at the waste transfer station. Getting the subgrade to 95% relative compaction (the standard most Southern California municipalities accept) requires a plate compactor run in overlapping passes, in lifts of no more than 4 to 6 inches, with moisture controlled the whole way. That’s a two-person job, minimum, and each lift takes real time.
Then there’s the part nobody thinks about until it’s too late: drainage. Under a Lake Forest driveway, water needs a path away from the foundation, usually toward the street or a designated drainage feature. Get the grade backward by a quarter inch per foot and water pools against the slab, soaks into the subgrade, and turns your compacted base into muck. That’s the failure we see most often from DIY jobs in older Lake Forest neighborhoods, and it usually shows up the first winter after installation.
There’s also safety. Mini-excavators on a residential slope are genuinely dangerous, and utilities are the wild card. In Lake Forest, some properties in the foothills have old irrigation lines, gas stubs to outdoor kitchens, or unknown electrical runs from previous owners. Hitting one is a very expensive mistake. Call 811 before any excavation, no exceptions, and get a professional utility locate even if you think you know where everything runs.
Plate Compactors and Compaction Testing: The Real Gatekeepers
If you want to know why so few DIY paver driveways last, look at these two words: compaction testing. The plate compactor you rent at a big-box store runs at a fraction of the compaction energy the pro units deliver, and it’s fine for a small patio with 4 inches of base, not a driveway taking 3 tons of vehicle load.
But the bigger issue is testing. A professional crew tests compaction with a nuclear density gauge or a lightweight deflectometer, both expensive calibrated equipment. The point isn’t to pass a test. It’s to know whether your 8 inches of base is actually at 95% compaction or whether you’re guessing. Guessing has a price tag. Two years later, the driveway dips, pavers cup, sand washes out of the joints, and you’re looking at a full tear-out and redo.
In our experience in Lake Forest, the number of discrete things that have to go right in the base phase is what makes it non-DIY:
- Excavate to the right depth. Final grade minus paver thickness minus bedding sand minus compacted base depth (which depends on soil type and load). Most DIY videos don’t account for the compaction loss of the base itself, so people dig shallow.
- Install geotextile. Gets skipped constantly. It’s the separation layer that keeps Lake Forest clay from pumping up into the base.
- Place base in lifts. Never more than 6 inches per lift. Never dump the whole base and compact the top.
- Moisture-condition before each pass. Dry base won’t compact and wet base is a sponge. This is feel-and-experience work.
- Test the results. A passing deflection or density result on every lift.
- Fine grade and screed. The bedding sand layer has to be dead flat, or the pavers telegraph every soft spot.
Every one of those is a place a DIY job can silently fail. And by the time you find out, the pavers are already down and the money is already spent.
Lake Forest Permits and Grading Requirements You Can’t Skip
This is where DIY base work goes from risky to genuinely expensive. Most driveways that widen, change the footprint, or alter how stormwater leaves the property are subject to a grading permit or an encroachment permit from the city. Many Lake Forest properties sit on HOA-governed lots, and HOAs frequently have their own architectural review process for driveway changes, which means plan submittals, neighbor notification windows, and material approvals before any excavation begins.
Here’s the resale part that gets missed. When you sell a Lake Forest home, your listing disclosures ask whether you’ve made any grading or driveway changes. If the answer is yes and there’s no permit on file with the city, the buyer’s inspector will find it, the buyer will ask for a permit retroactive, and the city may ask for engineered plans, compaction documentation, or – in the worst case – removal of the unpermitted work. A paver driveway that cost you a weekend and $6,000 of your own labor can turn into a $20,000 problem at the negotiating table.
A permitted installation gets you a paper trail: the site plan, the grading details, the inspection sign-offs. Those documents live with the property, not with the contractor, so whoever owns the home in 2040 has proof the work was done right. That’s not a small thing in Lake Forest real estate, where buyers compare driveway condition closely and an unpermitted driveway prices like a driveway at the end of its life.
If you’re also planning fencing, landscape walls, or hardscape near the driveway, work those permits in the same submission window. We regularly see Lake Forest homeowners tackle a fence installation in Lake Forest at the same time as a driveway replacement, and it’s cheaper and cleaner to combine the submittals.
What You Actually Save DIY vs What Failure Costs You
This is the part where the spreadsheet has to be honest. A professional paver driveway in Lake Forest runs in the range of $16 to $28 per square foot installed, depending on material, base depth, and site access. A typical 20-by-40-foot driveway is 800 square feet, so you’re looking at $13,000 to $22,000 for a full install with proper base, permits, and warranty.
Here’s the DIY math, using that same 800-square-foot driveway:
- DIY savings on surface work only (in a professionally installed base): $800 to $1,500 over the life of the driveway, mostly through maintenance and reseal work you’d otherwise pay for.
- DIY savings on the full install (doing everything yourself): $5,000 to $9,000 in labor costs, offset by $2,500 to $4,000 in equipment rental, disposal fees, permits, and material waste. Real net savings, best case, are in the $2,000 to $4,000 range – and that’s before anything goes wrong.
- Cost of a failed DIY base: Full demolition and disposal of the pavers and base ($3,500 to $6,000 on that same driveway), plus the correct install ($13,000 to $22,000). You’ve now paid 150% to 180% of the professional price for a driveway that’s a year older than it should be.
- Cost of unpermitted work at resale: $3,000 to $15,000 depending on what the city requires to legalize it, plus a negotiated price reduction scaled to buyer risk tolerance.
The savings on the surface work are real. The savings on the base are a bet that the subgrade is fine and the drainage is fine and the compaction is fine. When that bet wins, you keep a few thousand dollars. When it loses, you pay twice. Set against a professional installation with a written workmanship guarantee, the DIY base is a bad trade.
For homeowners comparing the full scope of outdoor work – driveway, hardscape, and a possible accessory structure – the cost baseline shifts again. A home addition or ADU in Lake Forest often reshapes the driveway approach and drainage, and it’s cheaper to plan those together than to redo a driveway after the addition goes up.
How to Vet a Paver Contractor’s Base Prep Process
Every paver contractor will tell you their base prep is better than the other guy’s. Here’s how to find out if that’s true, in one free estimate conversation. If they can’t answer these six questions cleanly, walk.
- How deep is the base, and how did you decide? A pro will ask your soil type and if it’s a driveway or a patio. In Lake Forest, they’ll mention the clay. A stock answer of “6 inches” for everything is a red flag.
- How many inches per lift are you compacting? Anything above 6 inches per lift is either a lie or bad practice.
- Do you test compaction, and what equipment do you use? The answer should include a specific test method. “We use a plate compactor, it’s fine” is not testing.
- How do you handle the spoils and utilities? They should be calling 811 and having a plan for the soil hauling.
- Who’s pulling the permit, and do you show me the sign-off before final payment? Permits are the contractor’s job and the paperwork is yours to keep.
- What does your warranty actually cover? Base failure, heaves, and joint sand loss – or is it “materials only” fine print?
That last one is where the Driveway & Pavers in Lake Forest process matters most. Our 730-Day Done Right Promise is a workmanship guarantee on the whole installation, base included. If something settles or fails within that window, we come back and make it right. That’s the piece that changes the DIY math – because if a professional install goes wrong, the warranty covers it, and if a DIY install goes wrong, you do.
For context on what a full-service contractor relationship looks like, our Groundwork Construction Co. of Lake Forest home page lays out how we handle every project from first estimate through final walkthrough.
Materials That Hold Up in Lake Forest’s Climate
Material selection is one of the places DIY and professional diverge sharply, because it’s where you get to choose quality. A paver driveway in Lake Forest gets UV at full Southern California strength, dry summers into the 90s, occasional winter rain that can drop an inch in a day, and foot traffic off the Whiting Ranch trail system that tracks fine dust onto the surface. The wrong paver fades, chalks, or spalls within a few years.
The materials that hold in this climate are concrete pavers rated for at least 8,000 PSI with integral color (not surface-applied color), and clay pavers only if they’re rated for freeze-thaw even though we rarely see a freeze. Belgard’s Catalina and Lafitt lines show up often on Lake Forest driveways for a reason – they’re through-body color and hold up to sun without the white bloom that hits cheaper concrete pavers. In our experience, the difference between a $16-per-square-foot install and a $24-per-square-foot install is usually base depth and material grade, and the material grade is the part that aged badly on cheap jobs we’ve seen torn out in Foothill Ranch and Portola Hills.
If you’re doing the surface work DIY, do yourself a favor and buy quality polymeric sand and a UV-stable sealer, not the cheapest big-box option. The cheap brands break down in a season, and the re-sand cost adds up faster than the upfront premium.
Fixing What’s Already Failed
If you’re reading this because your existing driveway is already failing – pavers heaving, joints washing out, dips forming after rain – the good news is that repair is often less expensive than replacement, and it usually doesn’t require redoing the pavers themselves. The fix depends on what failed.
- Isolated heave or dip: Usually a subgrade or drainage problem under ten or twenty paver courses. The pavers get lifted, the base under that spot gets re-excavated, re-compacted, and the pavers are reset. Small-area repair, real fix.
- Joint sand loss across the driveway: If the sand loss is uniform and the surface is otherwise flat, this is maintenance, not a repair. Re-sand with polymeric and reseal.
- Widespread settling or cupping: This is a base failure. The base wasn’t compacted to spec, or the drainage is wrong, or both. The only fix is a full tear-out and redo of the base.
- Efflorescence that keeps coming back: Usually a moisture issue. The sealer has to come off, the pavers have to dry (dry out a few weeks in the summer heat), and a breathable sealer is applied on top.
Before any repair, have a pro walk the driveway and explain what failed. It’s the difference between spending $800 on a targeted fix and spending $15,000 on a full replacement.
Common Mistakes to Avoid
- Compacting the whole base in one lift. If you dump 8 inches of base gravel and run a compactor over the top, the bottom 4 inches are effectively loose. It looks good for a year, then it dips.
- Skipping the geotextile fabric. In Lake Forest’s clay soils, this is where the failure begins. The fabric keeps the base clean and the clay from pumping up through the pavers.
- Getting the drainage slope backward. Water should shed toward the street or a designated feature, not toward the garage slab or foundation. A quarter inch per foot slope reversal is invisible at install and catastrophic after the first rainy winter.
- Not calling 811 before digging. Utility strikes on residential properties happen more often than people think, and irrigation, gas, and electrical lines are all in the risk mix. Call first, every time.
- Skipping the permit because “it’s just replacing an existing driveway.” If the footprint changes, or the drainage changes, or a grading certificate is required, that assumption is a resale liability waiting to happen.
- Renting a small plate compactor for a driveway. The rental units in the $70-per-day range are patio-grade. They’re not a substitute for a compaction pass on a vehicle-loaded base.
- Sealing before the pavers cure. Concrete pavers need to cure and dry before any sealer goes on. Sealing too early traps moisture and causes the efflorescence you were trying to prevent.
See the difference
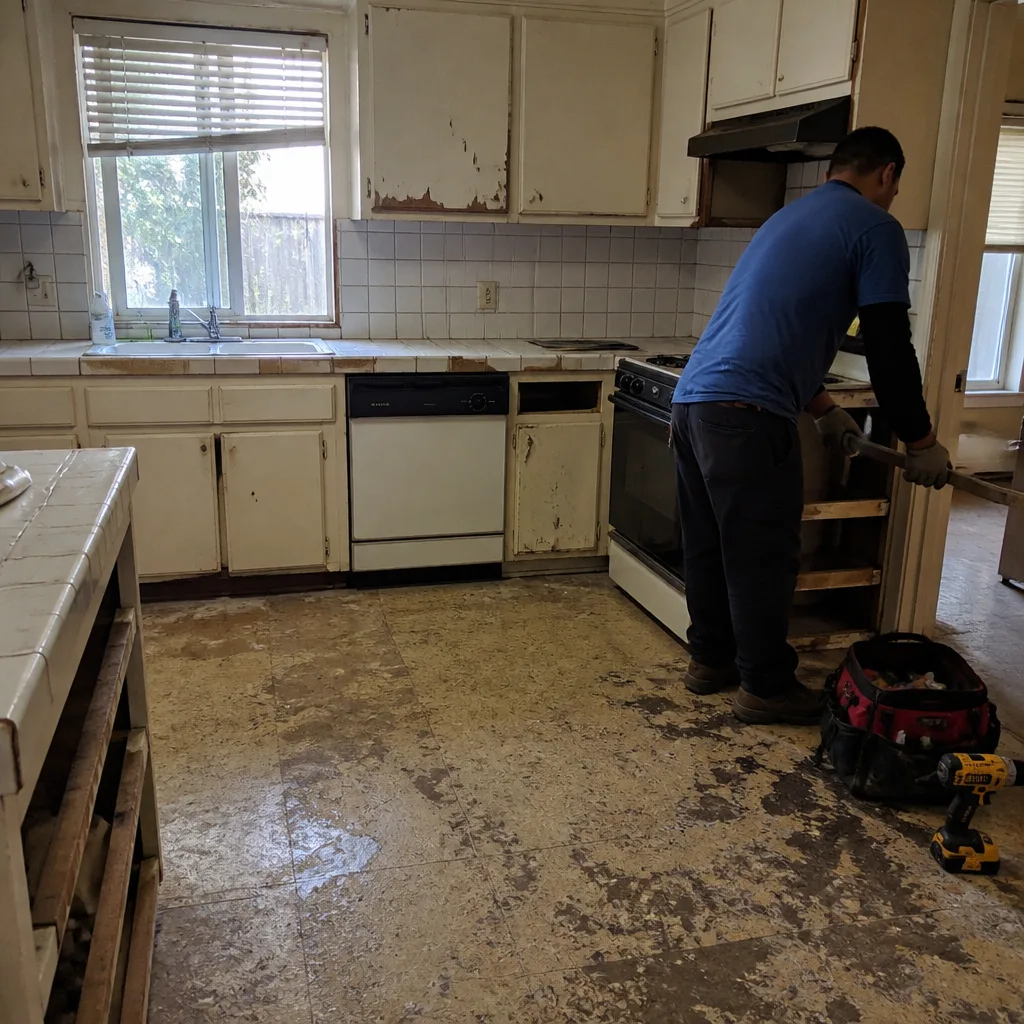 Before
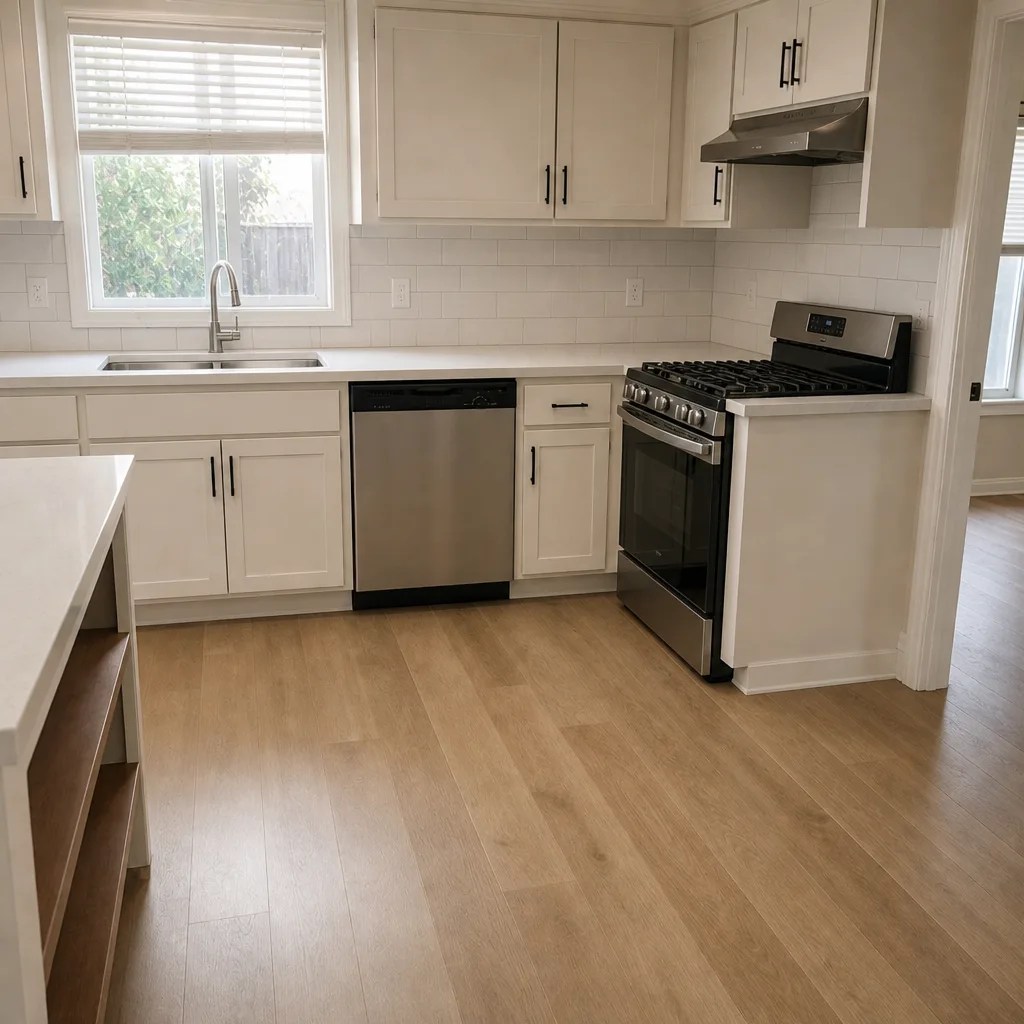 After
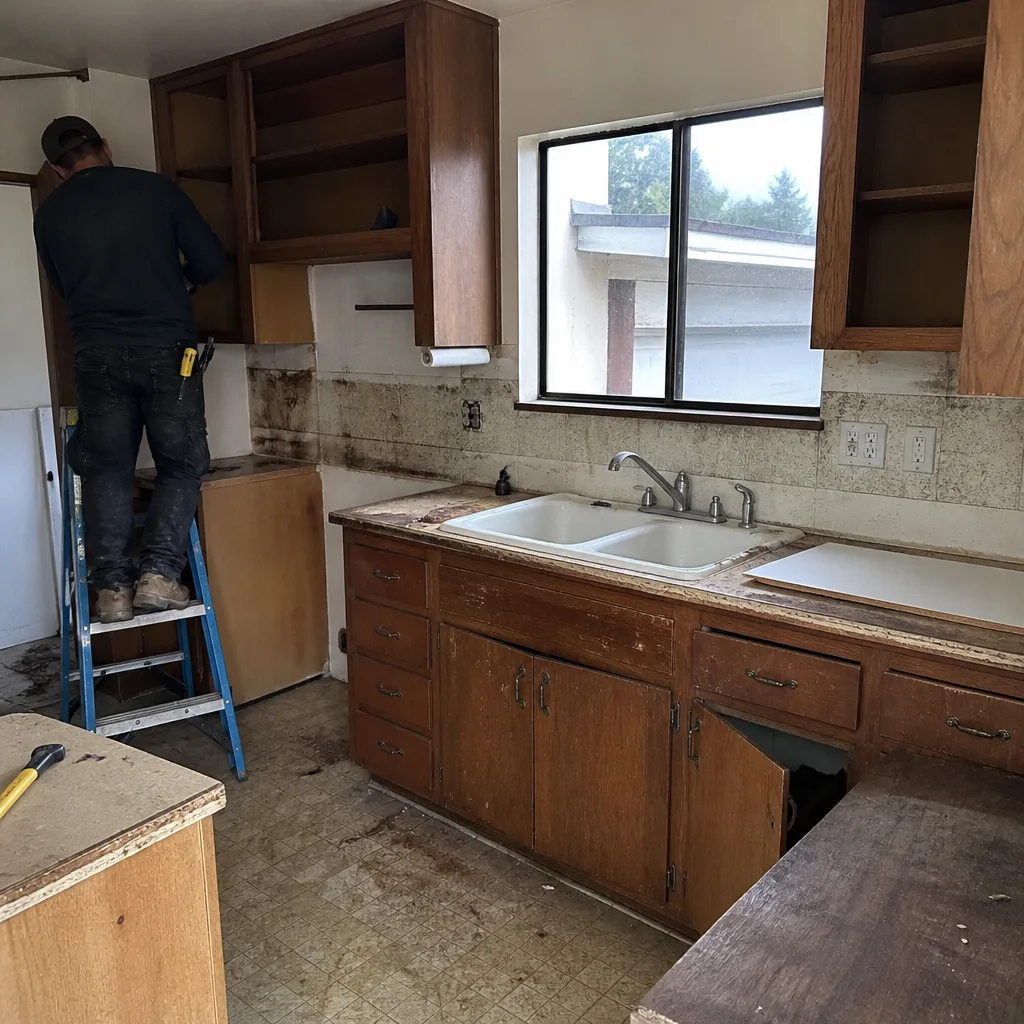 Before
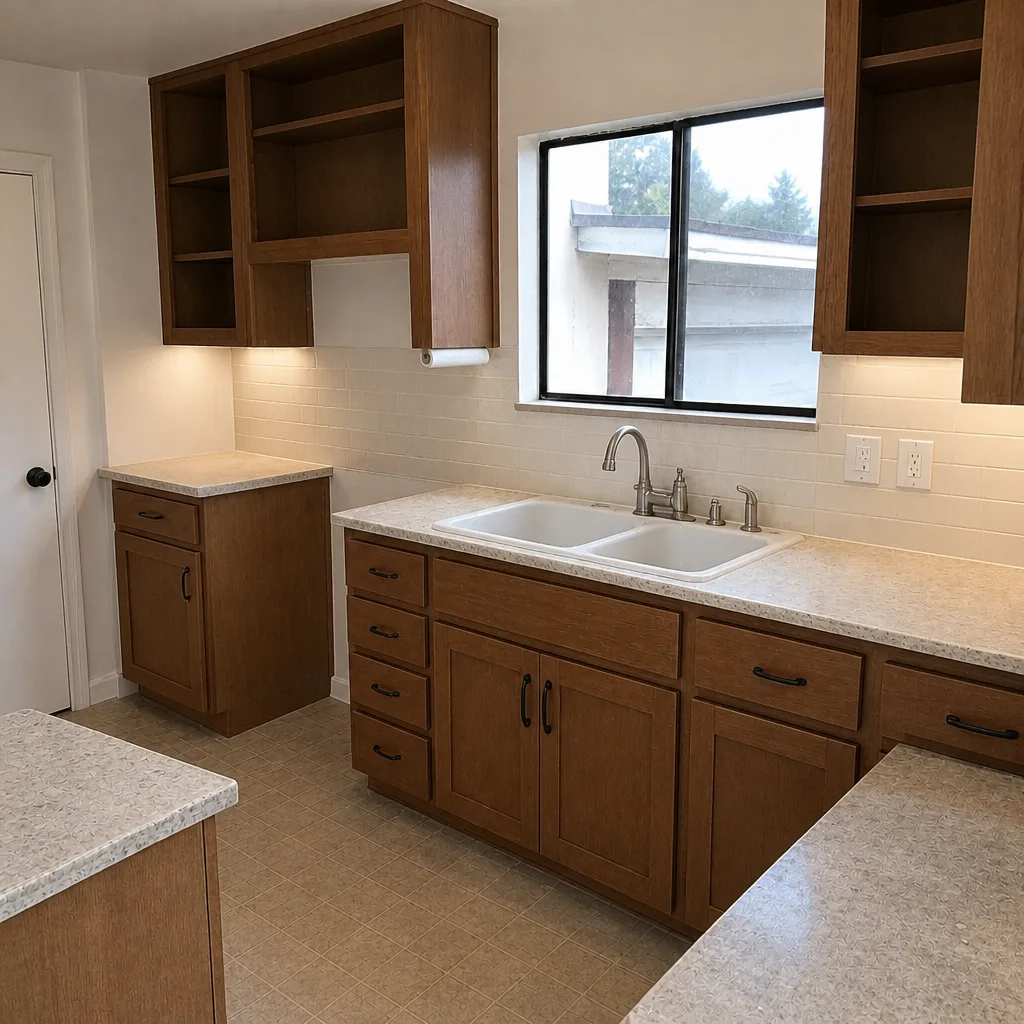 After
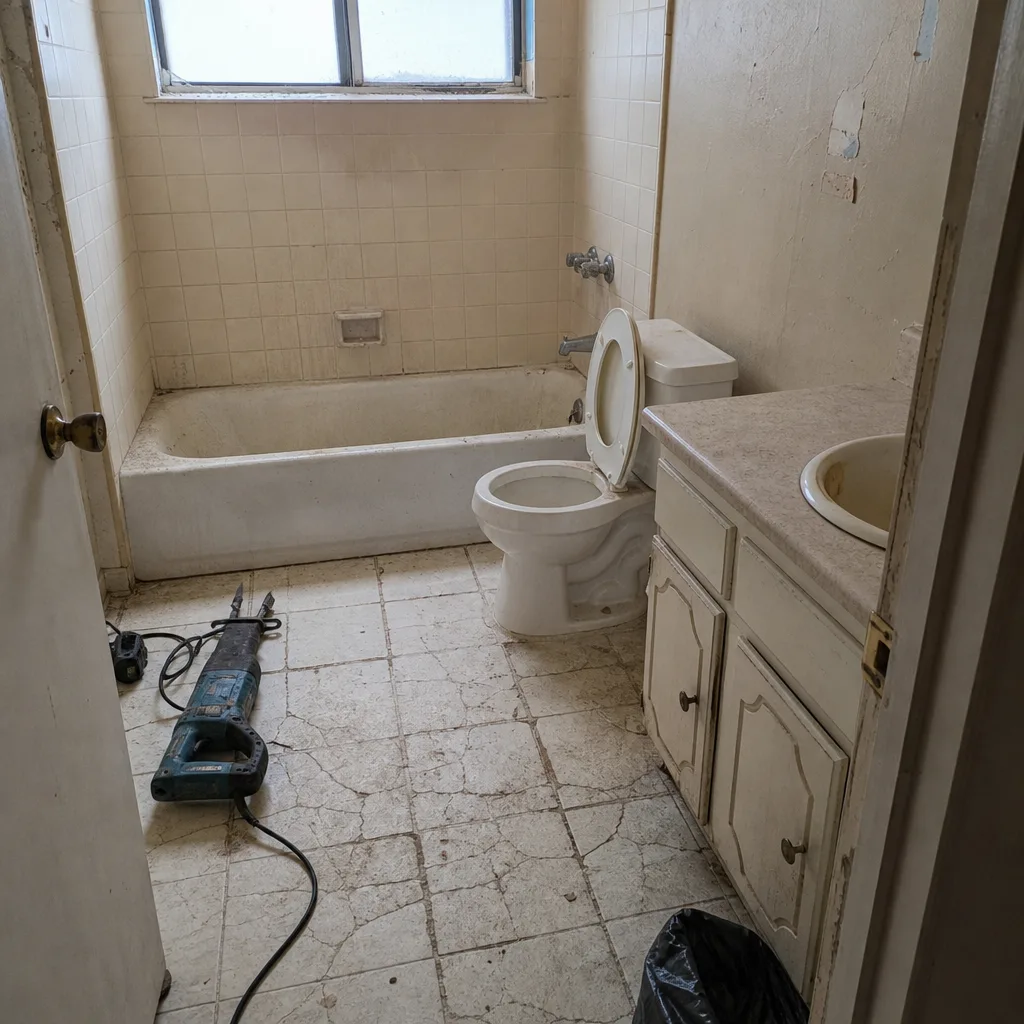 Before
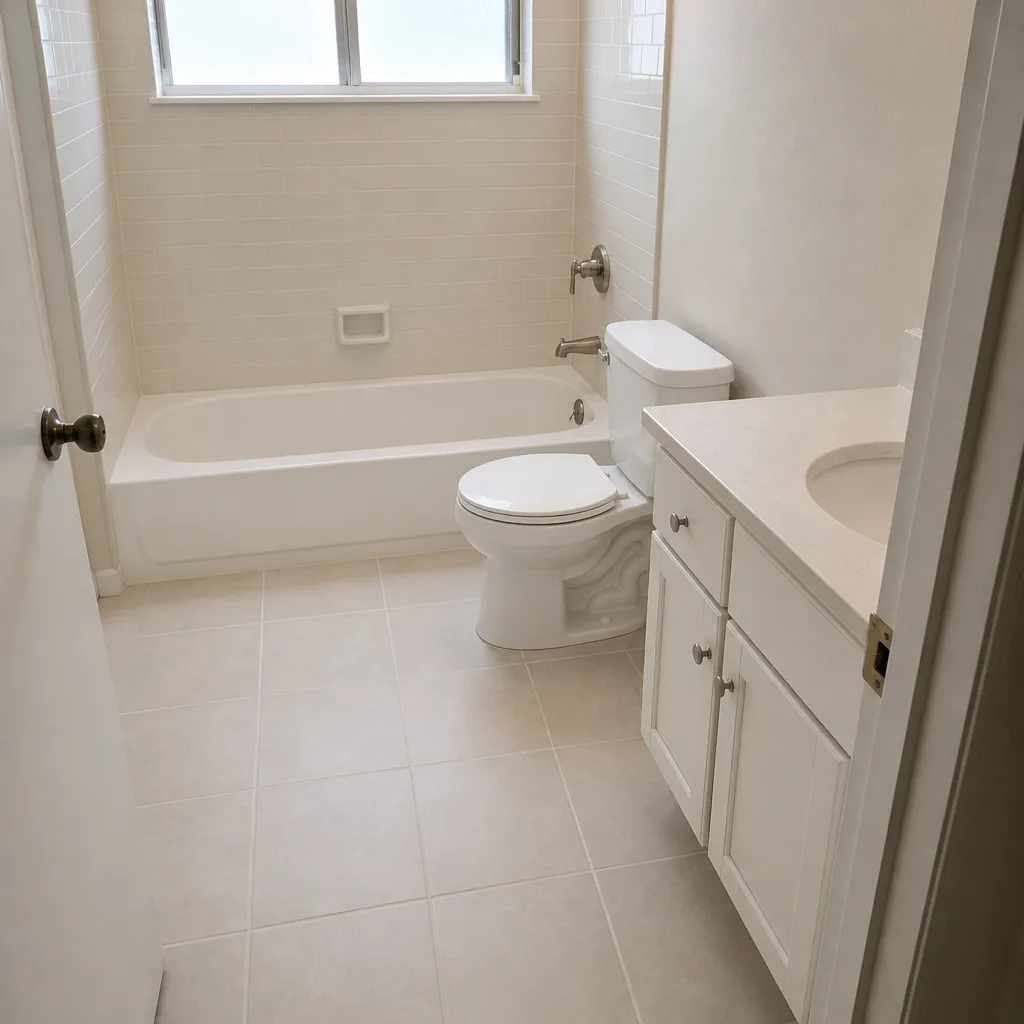 After
When to Call a Professional
The line is actually pretty clear. If the work touches the base, drainage, or permits, call a professional. That means any new driveway installation, any driveway that’s widening, any driveway where the pavers are heaving or settling, and anything requiring a grading or encroachment permit. It also means any work over existing utilities that haven’t been located, and anything on a slope or adjacent to the foundation where getting drainage wrong creates a water problem inside the house.
For Lake Forest homeowners, Groundwork Construction Co. of Lake Forest offers free estimates on paver driveways and the full scope of exterior work. Estimates are written, line-item, and include the base depth and compaction plan so you can compare bids on equal footing. Calls are answered by a live person, 24/7, and technicians arrive background-checked and in uniform. Call (855) 532-8973 to schedule your free estimate.
Frequently Asked Questions
On the surface work, yes – re-sanding, sealing, and the occasional paver reset save a homeowner $800 to $1,500 over the life of the driveway. On the full installation, the net savings after equipment, disposal, permits, and material waste are typically $2,000 to $4,000, and that’s if nothing goes wrong. If the base fails, you’ll pay 150% to 180% of the professional price to tear it out and redo it. Call (855) 532-8973 for an exact quote on your driveway – estimates are free.
With a properly scoped estimate, no. Upfront pricing means the number you see is the number you pay, and change orders only happen if you change the scope. The reason DIY installs always run over budget is that the base surprises you – a clay lens, an old slab, a failed utility run from a previous owner – and there’s no estimate to hold the price. With a contractor, those surprises are their problem, priced in before you sign.
Yes. Grading and encroachment permits, utility locates, and any required HOA architectural approvals are handled before excavation begins. The sign-off paperwork is handed to you at final walkthrough so it stays with the property for resale. Unpermitted driveway work is one of the most common resale problems we see in Lake Forest, and it’s avoidable with a phone call at the start.
Typically five to eight working days for a standard 800-square-foot driveway, depending on site access, base depth, and weather. The base phase alone is two full days of excavation, compaction, and testing. DIY installs run three to four weekends because the base work gets compressed into short windows and each lift has to be done right before the next one can start. Call (855) 532-8973 for a project timeline specific to your property.
Concrete pavers rated for at least 8,000 PSI with integral through-body color hold up best to Southern California UV. Belgard’s Catalina and Lafitt lines are commonly used on Lake Forest driveways because the color runs all the way through the paver, so chips and wear don’t show. Cheap surface-colored pavers fade and chalk within a few years, and we’ve seen them torn out and replaced in Portola Hills and Foothill Ranch well before their time.
Isolated heaves and single-paver dips are usually fixable with targeted base repair under that spot. Widespread settling, cupping across the surface, or joint sand that keeps washing out after re-sanding indicates a base or drainage failure, and that requires a full tear-out to fix correctly. A professional walk-through in-person usually tells the difference in about twenty minutes. Call (855) 532-8973 to schedule one – estimates are free.
The Bottom Line
The paver tasks a confident Lake Forest homeowner can safely handle are real and specific: joint sanding, sealing, individual resets, routine cleaning. Do them, and do them well – they add years to the driveway and save real money. The base preparation phase, though, is not one of them. Excavation depth, lift-by-lift compaction, drainage grading, and permit documentation are what separate a 25-year driveway from a 3-year regret, and they need the equipment and testing skill you can’t rent at a big-box store. If the base is involved in your project, get a written estimate with a base plan and a real workmanship warranty behind it. The savings on the top layer are a bonus. The savings on the base are a gamble.
For a paver driveway that lasts, start with a free estimate from Groundwork Construction Co. of Lake Forest. Call (855) 532-8973 – calls are answered by a live person, 24/7, and every project is backed by our 730-Day Done Right Promise.
Written by the team at Groundwork Construction Co. of Lake Forest.